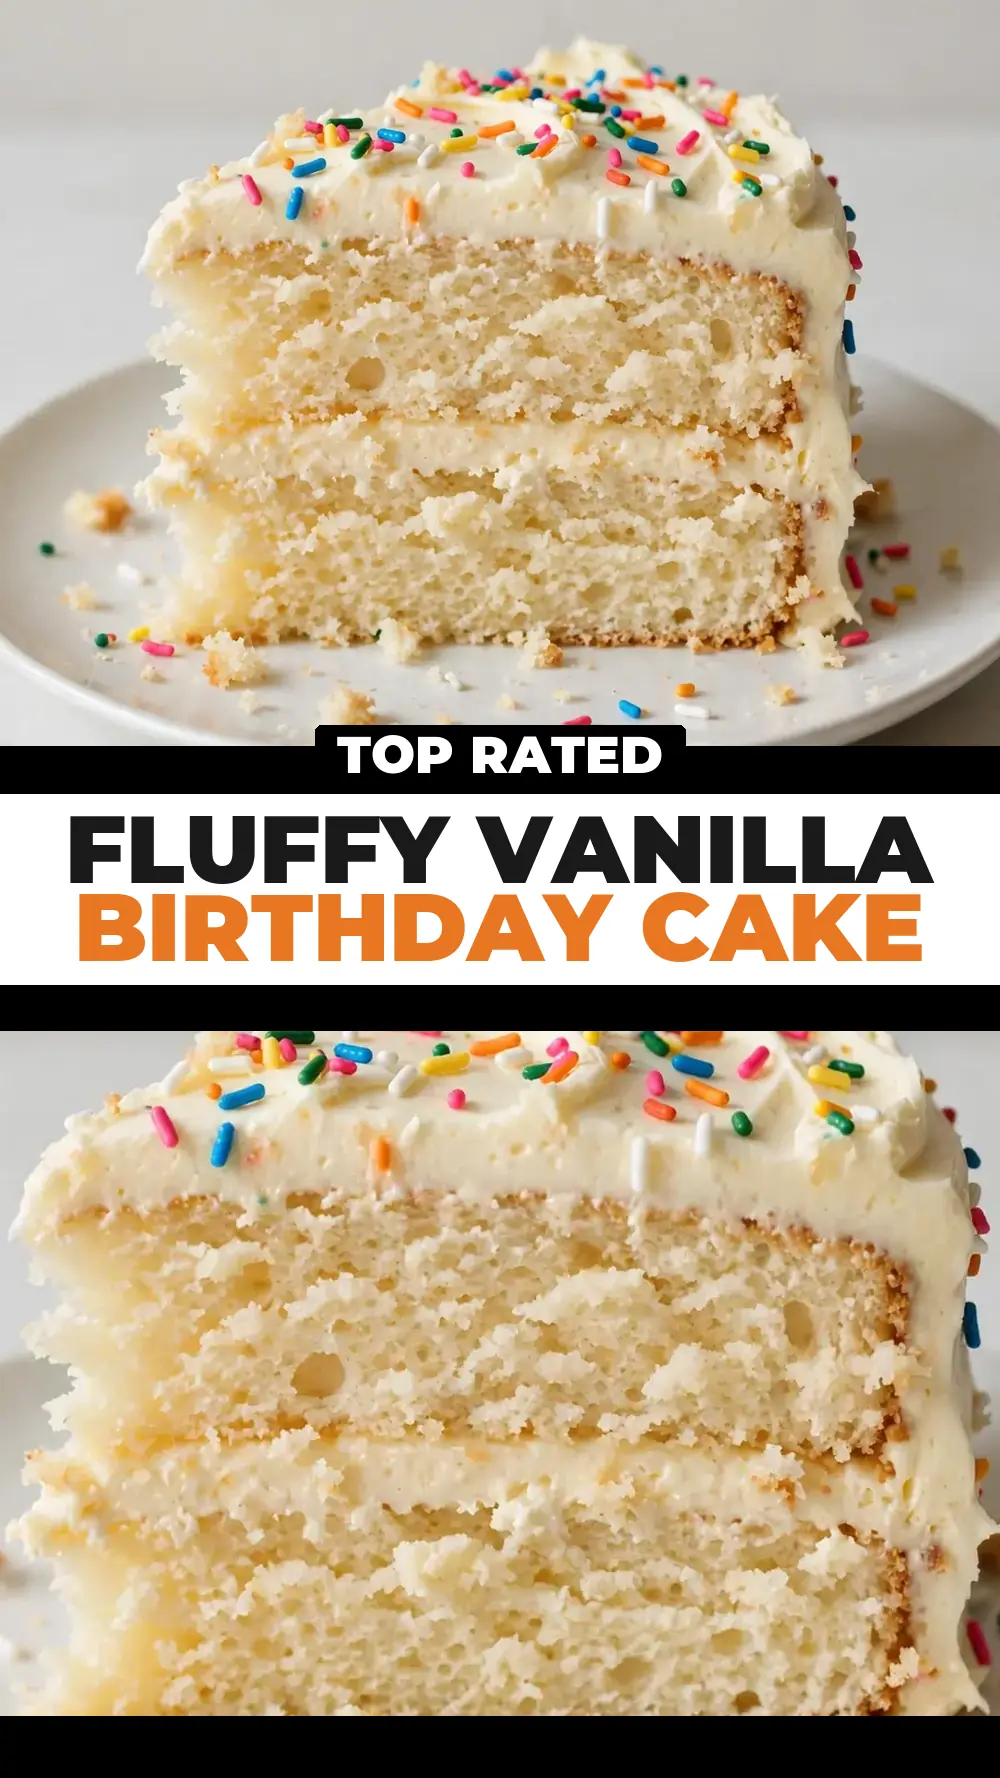
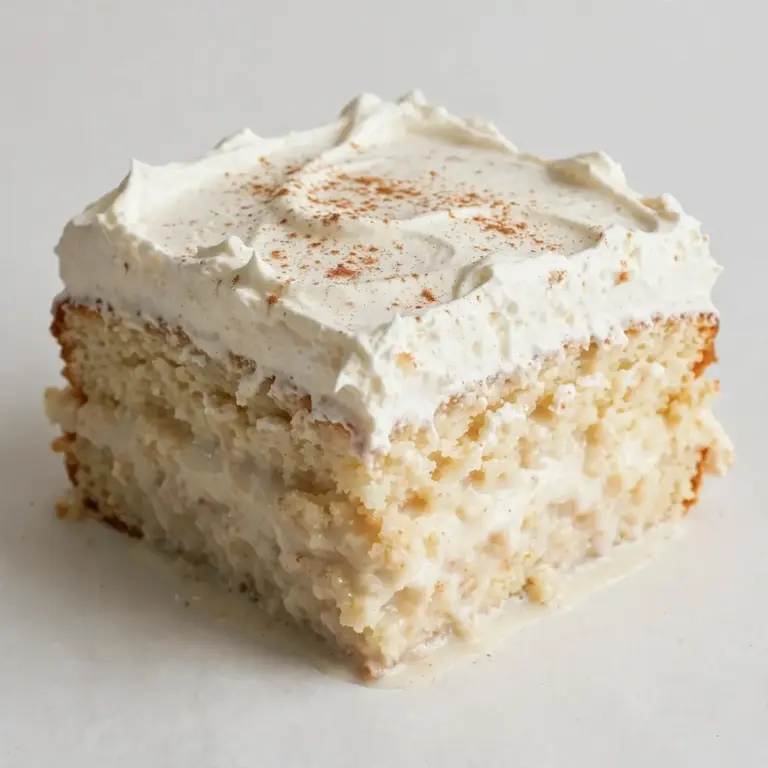
Fluffy Vanilla Birthday Cake
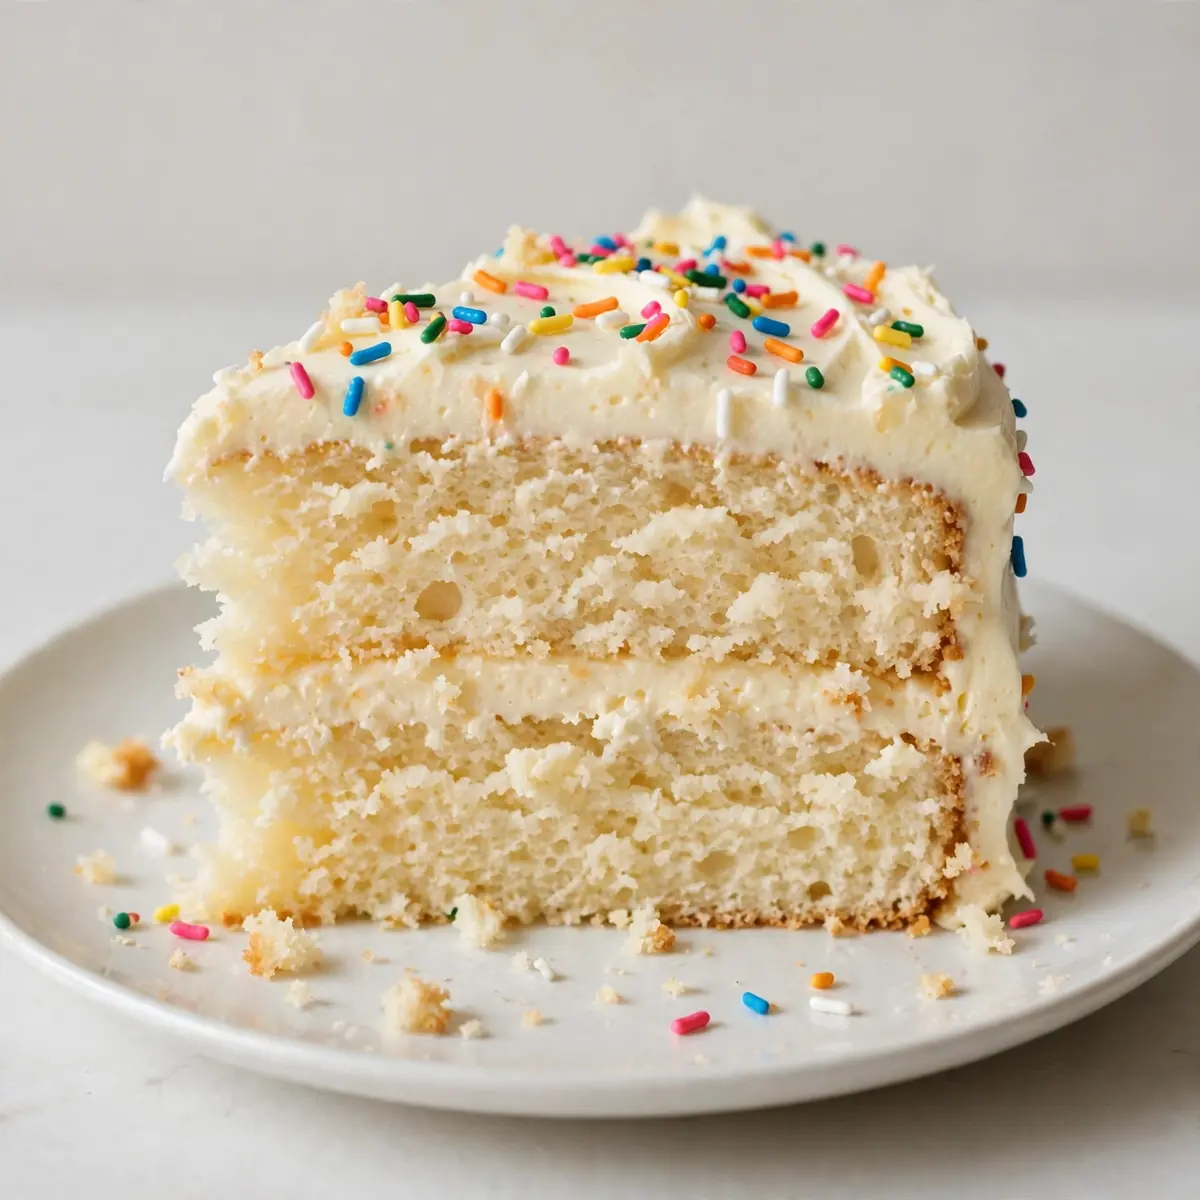
Picture this: a candlelit table, the soft clink of glasses, and a cake that arrives at the centre of the room demanding a moment of awe. That is the power of a truly impressive Fluffy Vanilla Birthday Cake. This isn’t just any sheet cake; it is a towering, cloud-soft masterpiece designed to be the star of your dinner party, finished with a silken frosting and delicate garnishes that scream restaurant-quality finesse. I’ve been making this for over 4 years, and it never disappoints when I want to elevate a simple celebration into a memorable event.
Recipe Overview
- Prep Time: 30 minutes
- Cook Time: 25-30 minutes
- Total Time: 1 hour 30 minutes (including cooling)
- Servings: 12 generous slices
- Difficulty: Intermediate (but achievable with care)
Why You’ll Love This Fluffy Vanilla Birthday Cake
- Plating Perfection: This recipe is built for presentation. The tall, even layers and stable crumb make it a dream to stack and decorate, giving you that professional, straight-sided look every time.
- Silken, Not Sugary: The frosting is a light, whipped vanilla buttercream that feels luxurious on the tongue, not cloying. It’s the perfect canvas for edible flowers or a dusting of gold leaf.
- Unmistakable Texture: We are chasing that specific, airy crumb that feels like a soft cloud. The method ensures a moist, tender bite that holds its shape beautifully when sliced.
- Adaptable Aesthetic: From a minimalist naked cake to a fully frosted showstopper, this base recipe adapts to any colour scheme or theme you dream up for your guests, pairing beautifully with a glass of Watermelon Mint Cooler.online/classic-chocolate-cream-pie/”>Classic Chocolate Cream Pie .online/moist-banana-cake-with-brown-butter-frosting/”>Moist Banana Cake With Brown Butter Frosting.online/watermelon-lemonade/”>Watermelon Lemonade.
- Make-Ahead Friendly: The sponge tastes even better the next day. You can bake the layers in advance, wrap them well, and focus all your energy on the final assembly and plating on the day of your party.
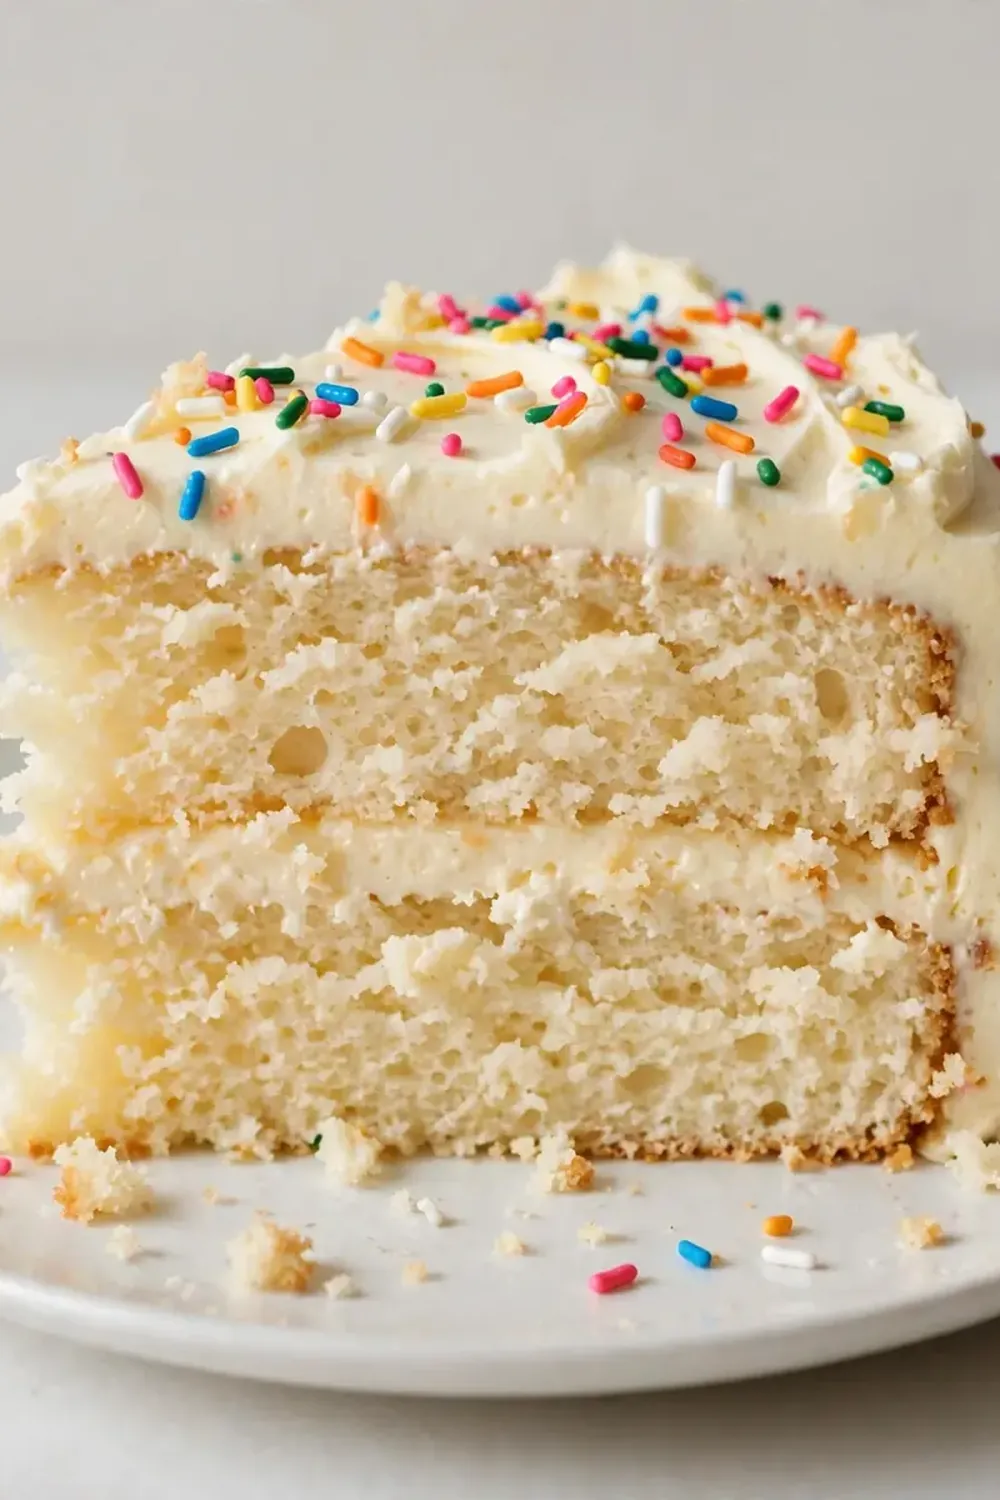
Ingredients You’ll Need
- 300g plain (all-purpose) flour
- 350g caster (superfine) sugar
- 3 tsp baking powder
- ½ tsp fine sea salt
- 240ml whole milk, at room temperature
- 120g unsalted butter, softened to room temperature
- 4 large eggs, at room temperature
- 2 tsp vanilla bean paste (or pure vanilla extract for a clearer flavour)
- 120ml vegetable or sunflower oil
- For the Vanilla Buttercream:
- 250g unsalted butter, softened
- 500g icing (powdered) sugar, sifted
- 4 tbsp whole milk or double cream
- 1½ tsp vanilla bean paste
- Pinch of fine sea salt
Tip: Room temperature ingredients are non-negotiable here. Cold butter and eggs will not emulsify properly, leading to a denser, less fluffy crumb. Take them out of the fridge a good hour before you begin.
How to Make Fluffy Vanilla Birthday Cake
- Prepare the tins and oven. Preheat your oven to 180°C (160°C fan). Grease three 20cm round cake tins and line the bases with a circle of parchment paper. This ensures your layers will release cleanly, a crucial first step for pristine plating.
- Whisk the dry ingredients. In a large bowl, whisk together the flour, sugar, baking powder, and salt until fully combined. You should see a uniform, pale mixture with no lumps of baking powder. This aerates the flour, giving the cake a lighter start.
- Combine the wet ingredients. In a separate jug or bowl, whisk the milk, eggs, vanilla bean paste, and oil until the mixture is homogenous and slightly frothy on top. The oil is our secret weapon for a moist, tender crumb that stays soft for days.
- Create the batter. Add the softened butter to the dry ingredients. Using a hand mixer or stand mixer on low speed, mix until the butter is broken into small, pea-sized pieces coated in flour. It will look like coarse sand.
- Add the wet mixture. Pour the wet ingredients into the flour-butter mixture. Mix on low speed for 30 seconds, then increase to medium speed for a full 2 minutes. The batter will transform from lumpy to smooth, thick, and glossy. You’ll smell the sweet vanilla and see a pale, satiny sheen. Scrape the bowl well.
- Divide and bake. Divide the batter evenly between the three prepared tins. Gently tap each tin on the worktop to release any large air bubbles. Bake for 25-30 minutes. The cakes are ready when they are a deep golden brown, the tops spring back firmly when touched, and a skewer inserted into the centre comes out clean with only a few moist crumbs clinging to it.
- Cool completely. Let the cakes cool in their tins on a wire rack for 10 minutes. The edges will pull away slightly from the tin. Turn them out onto the rack, peel off the parchment, and let them cool completely. This is essential; warm cake will melt your buttercream into a sad puddle.
- Make the buttercream. In a clean bowl, beat the softened butter on medium-high speed for 5-7 minutes until it is pale, fluffy, and almost white. The sound will change from a heavy slosh to a light, airy whoosh. Reduce speed to low, add the sifted icing sugar in three additions, then add the milk, vanilla, and salt. Once combined, beat on high for 2-3 minutes until silky smooth and spreadable.
- Assemble for impact. Place one cooled cake layer on your serving plate or a cake board. Spread a generous layer of buttercream on top. Repeat with the second layer. Place the third layer on top, flat side up. Apply a thin “crumb coat” of buttercream all over the cake and chill for 20 minutes. This traps any loose crumbs for a flawless final finish. Then, apply a thick, final layer of frosting, using a bench scraper for sharp, clean edges.
Tips From My Kitchen
- Weigh your flour correctly. The most common reason for a dry cake is too much flour. Do not scoop your measuring cup into the bag. Instead, spoon the flour into your measuring cup and level it off with a knife. For the best accuracy, use a digital kitchen scale. The difference is tangible—you can feel the batter’s silky, heavy weight versus a stiff, dry one.
- Embrace the reverse creaming method. This recipe uses the reverse creaming method (mixing butter into the flour first). This coats the flour proteins in fat, which inhibits gluten development. The result is a remarkably tender, fine-crumbed cake that is less prone to doming, making it much easier to stack and plate neatly for guests.
- Don’t overmix after adding the wet ingredients. Once the flour is fully hydrated, stop mixing. Overworking the batter at this stage develops gluten, leading to a tough, rubbery sponge. You should see a smooth, glossy batter with a few tiny air bubbles, and it should smell sweet and clean, not doughy.
- Chill your cake before the final frosting. After the crumb coat, a 20-minute chill in the fridge is your best friend. It firms the buttercream, creating a stable surface for the final layer. This ensures your edges are razor-sharp and your decorations sit perfectly, giving you that high-end bakery look.
- Use a turntable and bench scraper. For a truly restaurant-quality finish, invest in a cheap cake turntable and a metal bench scraper. These tools allow you to spin the cake while holding the scraper steady, creating perfectly smooth sides and a flat top. It’s the single biggest upgrade you can make to your home plating.
- Room temperature is your ally. If your buttercream looks curdled or separated, it is likely too cold. Place the bowl over a pan of barely warm water for 5 seconds, then beat again. It will come back together into a silky, cohesive cream. A smooth buttercream is non-negotiable for a clean, polished look.
Equipment You’ll Need
- Stand mixer or hand mixer
- Three 20cm round cake tins (preferably loose-bottomed)
- Baking parchment paper
- Digital kitchen scales
- Wire cooling rack
- Offset spatula
- Cake turntable (highly recommended)
- Metal bench scraper
Common Mistakes to Avoid
- Overcrowding the pan: Do not be tempted to bake this as two thicker layers instead of three. The batter needs that specific volume to rise evenly without doming or sinking in the middle. Using three tins ensures each layer bakes through quickly and remains level, which is vital for a stable, professional-looking tower.
- Wrong temperature: Baking at too high a temperature will cause the outside to set before the centre has risen, leading to a cracked, uneven top. Stick precisely to 180°C (160°C fan). Your oven thermometer is your best friend here; internal oven temperatures can be wildly inaccurate.
- Skipping the rest time: Do not rush the cooling process. Cutting into a warm cake to assemble it will cause the buttercream to melt into a greasy mess, ruining your beautiful presentation. Patience is the secret ingredient. Let the layers cool completely on a wire rack for at least one hour before you even think about the frosting.
What to Serve With Fluffy Vanilla Birthday Cake
- A delicate coulis of fresh raspberries or strawberries, drizzled artfully on the plate.
- A dollop of lightly sweetened, softly whipped double cream infused with a hint of vanilla.
- A small glass of chilled Lavender Lemonade for a refreshing, floral counterpoint to the rich cake.
- A scoop of high-quality vanilla bean ice cream, served on the side for a classic, indulgent pairing.
- A scattering of fresh, edible flowers like violas or rose petals for an instant, elegant garnish.
Still hungry for ideas? You might also love Brownie Cheesecake Birthday Cake Recipe, Try This Fun Birthday Cake Overnight Oats Recipe from our sister kitchens.
Frequently Asked Questions
Fluffy Vanilla Birthday Cake
Ingredients
Method
-
Prepare the tins and oven. Preheat your oven to 180°C (160°C fan). Grease three 20cm round cake tins and line the bases with a circle of parchment paper. This ensures your layers will release cleanly, a crucial first step for pristine plating.
-
Whisk the dry ingredients. In a large bowl, whisk together the flour, sugar, baking powder, and salt until fully combined. You should see a uniform, pale mixture with no lumps of baking powder. This aerates the flour, giving the cake a lighter start.
-
Combine the wet ingredients. In a separate jug or bowl, whisk the milk, eggs, vanilla bean paste, and oil until the mixture is homogenous and slightly frothy on top. The oil is our secret weapon for a moist, tender crumb that stays soft for days.
-
Create the batter. Add the softened butter to the dry ingredients. Using a hand mixer or stand mixer on low speed, mix until the butter is broken into small, pea-sized pieces coated in flour. It will look like coarse sand.
-
Add the wet mixture. Pour the wet ingredients into the flour-butter mixture. Mix on low speed for 30 seconds, then increase to medium speed for a full 2 minutes. The batter will transform from lumpy to smooth, thick, and glossy. You’ll smell the sweet vanilla and see a pale, satiny sheen. Scrape the bowl well.
-
Divide and bake. Divide the batter evenly between the three prepared tins. Gently tap each tin on the worktop to release any large air bubbles. Bake for 25-30 minutes. The cakes are ready when they are a deep golden brown, the tops spring back firmly when touched, and a skewer inserted into the centre comes out clean with only a few moist crumbs clinging to it.
-
Cool completely. Let the cakes cool in their tins on a wire rack for 10 minutes. The edges will pull away slightly from the tin. Turn them out onto the rack, peel off the parchment, and let them cool completely. This is essential; warm cake will melt your buttercream into a sad puddle.
-
Make the buttercream. In a clean bowl, beat the softened butter on medium-high speed for 5-7 minutes until it is pale, fluffy, and almost white. The sound will change from a heavy slosh to a light, airy whoosh. Reduce speed to low, add the sifted icing sugar in three additions, then add the milk, vanilla, and salt. Once combined, beat on high for 2-3 minutes until silky smooth and spreadable.
-
Assemble for impact. Place one cooled cake layer on your serving plate or a cake board. Spread a generous layer of buttercream on top. Repeat with the second layer. Place the third layer on top, flat side up. Apply a thin “crumb coat” of buttercream all over the cake and chill for 20 minutes. This traps any loose crumbs for a flawless final finish. Then, apply a thick, final layer of frosting, using a bench scraper for sharp, clean edges.
Notes
Friends always ask me for this recipe after trying it at dinner parties, and I love watching their faces light up when they realise how achievable that professional finish really is. This Fluffy Vanilla Birthday Cake is more than a dessert; it is a statement piece that turns any evening into a special occasion. I cannot wait to hear how you plate yours up—what garnishes will you choose to make it your own? Drop a comment below and share your masterpiece!