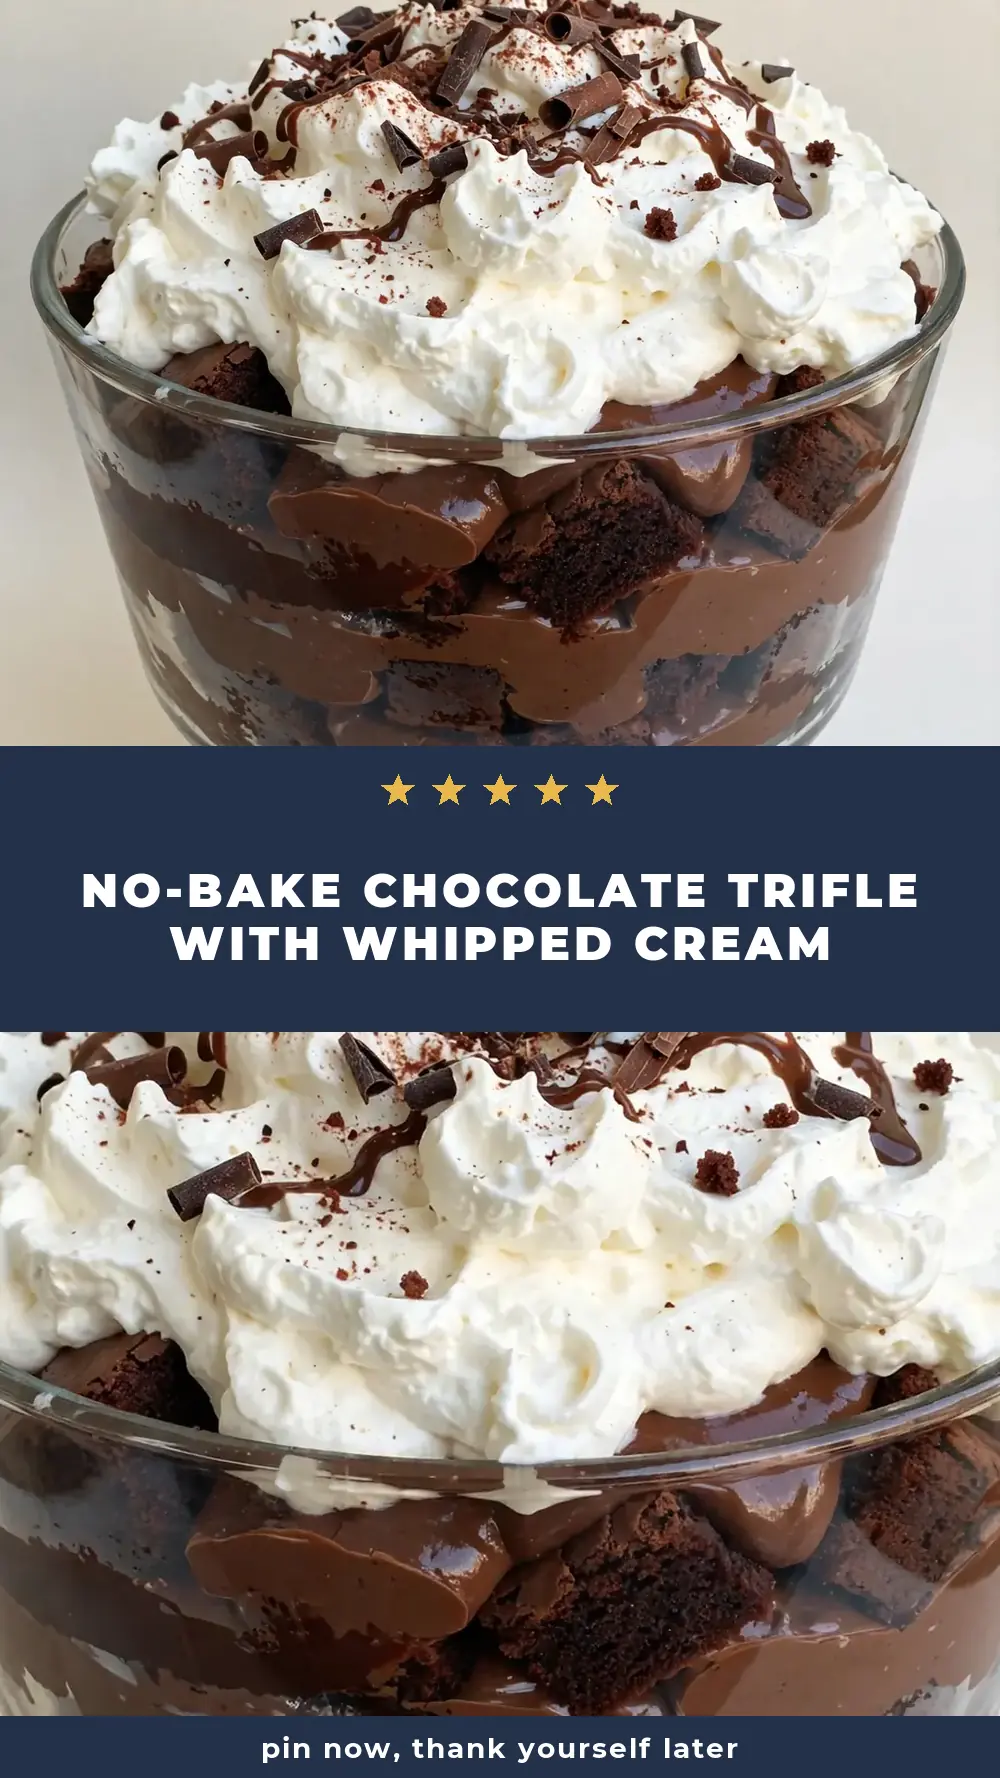
No-Bake Chocolate Trifle With Whipped Cream
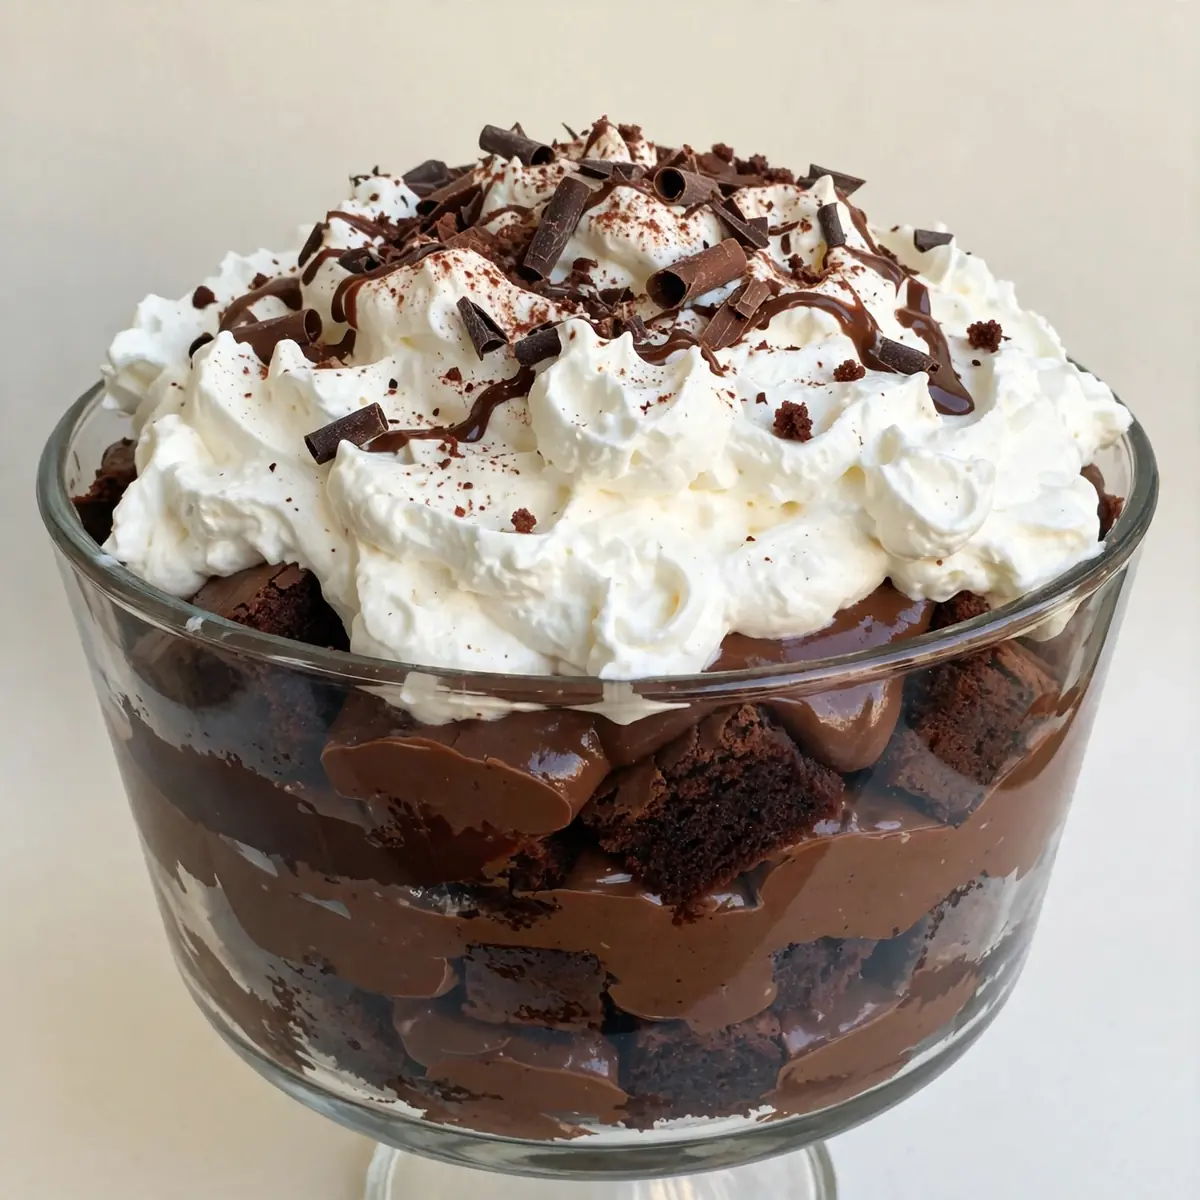
I still remember the first time I served this No-Bake Chocolate Trifle with Whipped Cream at a dinner party; a friend leaned over and whispered, “Did you actually make this, or did you buy it from a patisserie?” That moment taught me that a stunning dessert doesn’t require hours in the kitchen or a complicated oven-baked base—just clever layering, quality ingredients, and a few presentation secrets. Today, I’m going to walk you through every step to create a restaurant-worthy trifle that looks as though it came from a professional pastry kitchen, yet asks nothing of you but patience and a steady hand.
Recipe Overview
- Prep Time: 30 minutes
- Chill Time: 4 hours (minimum)
- Total Time: 4 hours 30 minutes
- Servings: 10–12 generous portions
- Difficulty: Easy
Why You’ll Love This No-Bake Chocolate Trifle with Whipped Cream
- Stunning visual layers: Each glass or dish becomes a work of art, with dark chocolate, creamy filling, and airy whipped cream stacking into a beautiful gradient.
- No oven required: Perfect for warm weather or when your oven is already occupied with a main course – this trifle comes together entirely on the countertop and in the fridge.
- Make-ahead magic: You can assemble this the morning of your event, or even the night before, which means zero last-minute scrambling when guests arrive.
- Customisable elegance: Use a large glass bowl for a dramatic centrepiece or individual glasses for personalised portions – both look polished and intentional.
- Deep, grown-up chocolate flavour: By using good-quality dark chocolate and a touch of coffee powder, we avoid anything cloyingly sweet, giving the dessert a sophisticated edge.
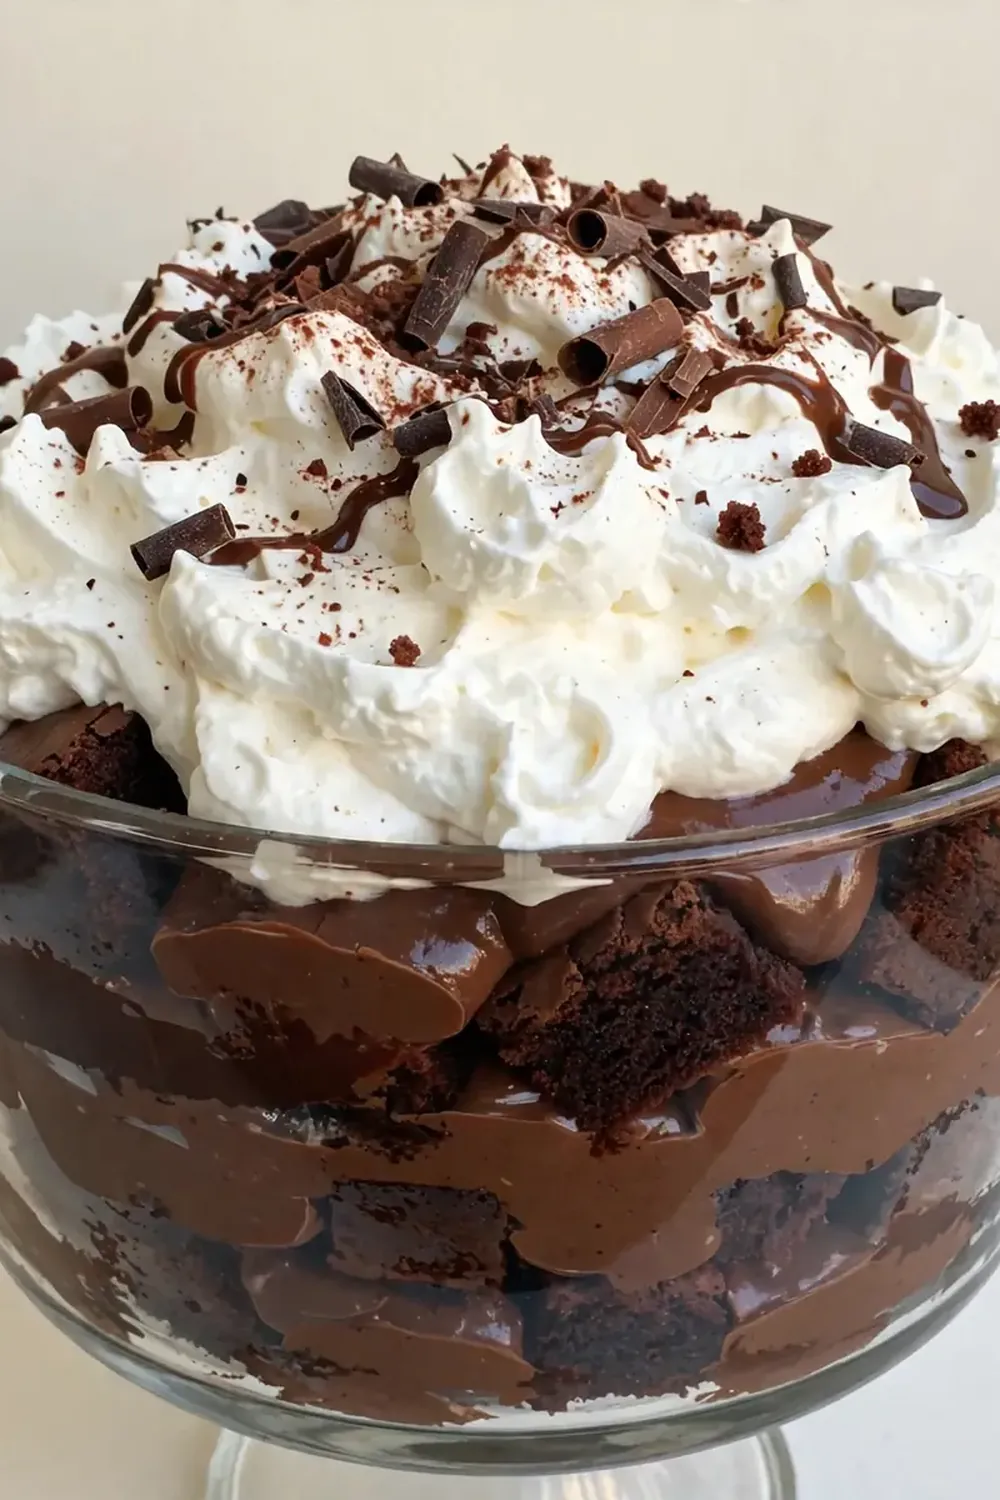
Ingredients You’ll Need
- 400g dark chocolate (70% cocoa solids), finely chopped
- 600ml double cream
- 250g mascarpone cheese, at room temperature
- 80g caster sugar
- 2 teaspoons vanilla bean paste (or extract)
- 200ml strong black coffee, cooled
- 2 tablespoons unsalted butter
- 300g sponge fingers (ladyfingers or savoiardi)
- 50g cocoa powder, for dusting
- 100g dark chocolate shavings, for garnish
- 1 teaspoon sea salt flakes (optional, for contrast)
- Fresh raspberries or strawberries, for topping (optional)
Tip: For the most impressive restaurant-style finish, buy a block of dark chocolate and use a vegetable peeler to create long, elegant chocolate curls rather than using pre-made sprinkles. It takes two minutes and makes the dessert look extraordinary.
How to Make No-Bake Chocolate Trifle with Whipped Cream
- Prepare the chocolate ganache layer: Place the finely chopped dark chocolate in a heatproof bowl. In a small saucepan, warm 300ml of the double cream over medium heat until it just begins to steam and small bubbles form around the edge—do not let it boil. Pour the hot cream over the chocolate and let it sit undisturbed for 2 minutes. Stir gently in one direction until the mixture becomes glossy, smooth, and completely homogenous, with a thick, velvety texture that coats the back of a spoon. Set aside to cool for 15 minutes.
- Whip the mascarpone cream: In a large mixing bowl, combine the mascarpone cheese, the remaining 300ml double cream, caster sugar, and vanilla bean paste. Using an electric mixer on medium speed, whisk until soft peaks form—the mixture should be thick enough to hold its shape but still feel luscious and airy. You’ll know it’s ready when you lift the beaters and the cream folds over gently without collapsing. Be careful not to overwhip, or the cream will turn grainy.
- Prepare the coffee dip: Pour the cooled strong black coffee into a shallow dish. If you want a deeper flavour, add a pinch of instant coffee granules and stir until dissolved. The liquid should be at room temperature—if it’s too hot, the sponge fingers will turn to mush.
- Layer the sponge fingers: Working one at a time, dip each sponge finger into the coffee for no more than 2 seconds per side—you want them lightly moistened, not saturated. Arrange them in a single layer at the bottom of your serving dish or individual glasses. Press them gently so they form an even base. You should hear a faint, soft squish as they settle.
- Add the first ganache layer: Spoon half of the cooled chocolate ganache over the sponge fingers, spreading it evenly with a small offset spatula or the back of a spoon. The ganache should be thick and fudgy, with a dark, glossy sheen that looks like molten chocolate silk. Let it settle for 1 minute.
- Add the mascarpone cream layer: Dollop half of the whipped mascarpone mixture on top of the ganache, then spread it gently to the edges. The cream should be pale ivory in colour, with a billowy, cloud-like texture. Use a circular motion to create gentle swoops on the surface—this adds visual interest when the trifle is sliced or viewed through glass.
- Repeat the layers: Dip and arrange another layer of sponge fingers, then top with the remaining ganache, and finish with the remaining mascarpone cream. Smooth the top layer of cream into a neat, even surface. The trifle should now have five distinct stripes when viewed from the side: sponge, ganache, cream, sponge, ganache, cream.
- Chill and set: Cover the dish tightly with cling film and refrigerate for at least 4 hours, or overnight. During this time, the layers will meld together and the sponge fingers will soften into a cake-like texture. You’ll know it’s ready when the top feels firm to the touch and a spoon glides through the layers without resistance.
- Finish and garnish: Just before serving, dust the top generously with cocoa powder through a fine-mesh sieve. Scatter over the dark chocolate shavings and, if using, a few fresh raspberries or strawberries. For a final restaurant touch, sprinkle a tiny pinch of sea salt flakes over the top—it cuts through the richness and makes the chocolate flavour sing.
Tips From My Kitchen
- Chill your bowl and beaters for the cream: I pop my mixing bowl and whisk attachments into the freezer for 10 minutes before whipping the mascarpone cream. This keeps the mixture cold and helps it whip up faster with a lighter, more stable texture. Warm cream will never achieve the same volume.
- Don’t skip the coffee step: The coffee doesn’t make the trifle taste like coffee—it simply deepens and rounds out the chocolate flavour, giving it a sophisticated, almost smoky complexity. Use a good-quality instant or brewed coffee; avoid anything bitter or stale.
- Dip sponge fingers with precision: I cannot stress this enough: a two-second dip on each side is all you need. If you leave them in the coffee longer, they will disintegrate and your layers will turn into a muddy mess. The perfect sponge should still feel slightly firm in the centre after dipping.
- Use a glass dish for maximum impact: A clear glass trifle bowl or individual glass tumblers let your guests see the beautiful striated layers before they even take a bite. This visual cue builds anticipation and makes the dessert feel far more special than a ceramic dish would.
- Let the ganache cool properly: If you pour warm ganache directly onto the sponge fingers, it will soak in and ruin the distinct layers. Wait until the ganache is just warm to the touch—around 25–30°C—before layering. It should be fluid but not hot.
Equipment You’ll Need
- Large glass trifle bowl (or 8–10 individual serving glasses)
- Electric hand mixer or stand mixer
- Heatproof mixing bowl
- Small saucepan
- Shallow dish for coffee dip
- Offset spatula or rubber spatula
- Fine-mesh sieve for dusting cocoa
- Vegetable peeler (for chocolate curls)
- Cling film for covering
Common Mistakes to Avoid
- Overwhipping the mascarpone cream: Mascarpone is delicate; if you whip it too vigorously or for too long, it will separate and become grainy. Stop as soon as soft peaks form, and remember that the mixture will firm up further in the fridge. If you see the cream starting to look curdled, you’ve gone too far.
- Using low-quality chocolate: This trifle relies almost entirely on the flavour of the chocolate, so cheap chocolate with added vegetable fats will taste waxy and flat. Spend a little extra on a bar with 70% cocoa solids and a clean ingredient list—your guests will notice the difference.
- Skipping the resting time: I know it’s tempting to serve this immediately, but the 4-hour chill is non-negotiable. Without it, the sponge fingers remain crunchy and the layers don’t meld into that cohesive, elegant texture. The trifle needs time to transform from assembled components into a unified dessert.
Delicious Variations to Try
- Spicy Version: Add ½ teaspoon of cayenne pepper and 1 teaspoon of ground cinnamon to the ganache while it’s still warm. The gentle heat plays beautifully against the cold cream and adds a surprising, memorable kick that pairs wonderfully with the dark chocolate.
- Vegan Option: Use a high-quality dark chocolate that is dairy-free, replace the double cream with full-fat coconut cream (chilled overnight and whipped), and use a vegan mascarpone alternative or blended silken tofu. Soak the sponge fingers in a mixture of cooled coffee and a splash of oat milk.
- Different Base: Swap the sponge fingers for crushed chocolate biscuits mixed with melted butter, pressed firmly into the base of the dish. This creates a crunchy, cheesecake-like bottom layer that contrasts with the soft cream and ganache above.
What to Serve With No-Bake Chocolate Trifle with Whipped Cream
- A small cup of strong espresso or black coffee to cut through the richness
- A light, citrusy palate cleanser like lemon sorbet between courses
- Fresh berries on the side—raspberries or sliced strawberries add acidity and colour
- A glass of cold milk for younger guests or anyone who wants a classic pairing
Still hungry for ideas? You might also love Pistachio Cream Croissant Bake, No Bake Strawberry Cheesecake Jars from our sister kitchens.
Frequently Asked Questions
No-Bake Chocolate Trifle with Whipped Cream
Ingredients
Method
-
Prepare the chocolate ganache layer: Place the finely chopped dark chocolate in a heatproof bowl. In a small saucepan, warm 300ml of the double cream over medium heat until it just begins to steam and small bubbles form around the edge—do not let it boil. Pour the hot cream over the chocolate and let it sit undisturbed for 2 minutes. Stir gently in one direction until the mixture becomes glossy, smooth, and completely homogenous, with a thick, velvety texture that coats the back of a spoon. Set aside to cool for 15 minutes.
-
Whip the mascarpone cream: In a large mixing bowl, combine the mascarpone cheese, the remaining 300ml double cream, caster sugar, and vanilla bean paste. Using an electric mixer on medium speed, whisk until soft peaks form—the mixture should be thick enough to hold its shape but still feel luscious and airy. You’ll know it’s ready when you lift the beaters and the cream folds over gently without collapsing. Be careful not to overwhip, or the cream will turn grainy.
-
Prepare the coffee dip: Pour the cooled strong black coffee into a shallow dish. If you want a deeper flavour, add a pinch of instant coffee granules and stir until dissolved. The liquid should be at room temperature—if it’s too hot, the sponge fingers will turn to mush.
-
Layer the sponge fingers: Working one at a time, dip each sponge finger into the coffee for no more than 2 seconds per side—you want them lightly moistened, not saturated. Arrange them in a single layer at the bottom of your serving dish or individual glasses. Press them gently so they form an even base. You should hear a faint, soft squish as they settle.
-
Add the first ganache layer: Spoon half of the cooled chocolate ganache over the sponge fingers, spreading it evenly with a small offset spatula or the back of a spoon. The ganache should be thick and fudgy, with a dark, glossy sheen that looks like molten chocolate silk. Let it settle for 1 minute.
-
Add the mascarpone cream layer: Dollop half of the whipped mascarpone mixture on top of the ganache, then spread it gently to the edges. The cream should be pale ivory in colour, with a billowy, cloud-like texture. Use a circular motion to create gentle swoops on the surface—this adds visual interest when the trifle is sliced or viewed through glass.
-
Repeat the layers: Dip and arrange another layer of sponge fingers, then top with the remaining ganache, and finish with the remaining mascarpone cream. Smooth the top layer of cream into a neat, even surface. The trifle should now have five distinct stripes when viewed from the side: sponge, ganache, cream, sponge, ganache, cream.
-
Chill and set: Cover the dish tightly with cling film and refrigerate for at least 4 hours, or overnight. During this time, the layers will meld together and the sponge fingers will soften into a cake-like texture. You’ll know it’s ready when the top feels firm to the touch and a spoon glides through the layers without resistance.
-
Finish and garnish: Just before serving, dust the top generously with cocoa powder through a fine-mesh sieve. Scatter over the dark chocolate shavings and, if using, a few fresh raspberries or strawberries. For a final restaurant touch, sprinkle a tiny pinch of sea salt flakes over the top—it cuts through the richness and makes the chocolate flavour sing.
Notes
There you have it—my go-to No-Bake Chocolate Trifle with Whipped Cream that has rescued countless dinner parties and earned me more compliments than I can count. Friends always ask me for this recipe after trying it at dinner parties, and now you have every detail to make it your own. I’d love to hear how yours turns out—drop a comment below and tell me which variation you tried, or if you discovered a new garnish that made it look even more stunning. For more sweet inspirations, head over to Sweettable.Online and browse our All Recipes collection. Happy layering!