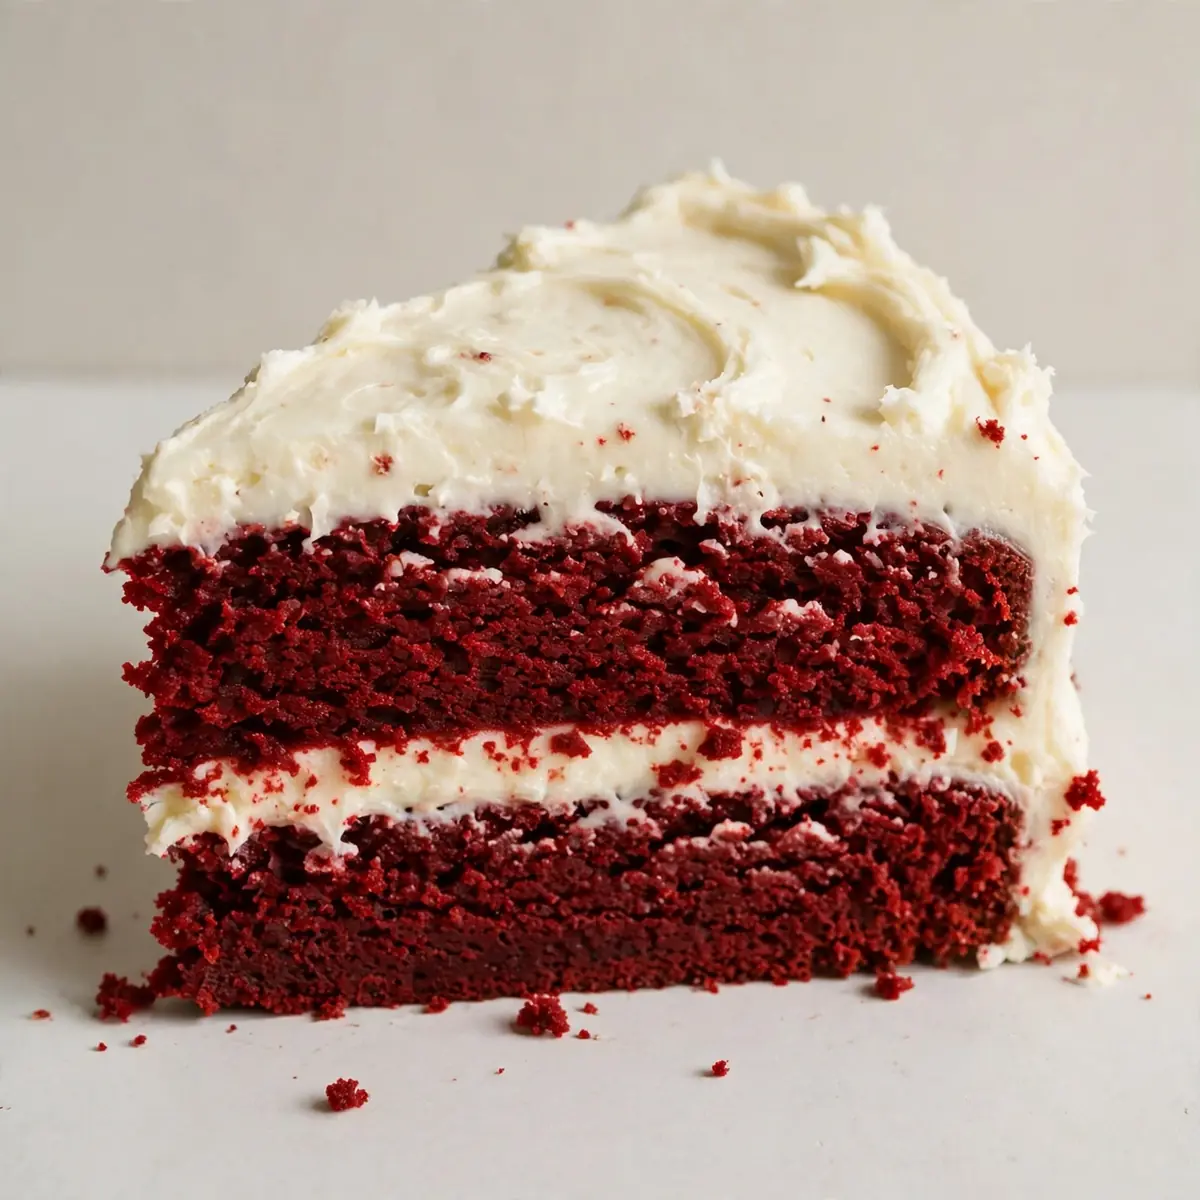
Ingredients
Method
- Preheat and prepare your tins. Set your oven to 175°C (350°F) with a rack in the centre. Grease two 20cm round cake tins and line the bases with parchment paper. The paper should sit flush against the bottom—any wrinkles will mark your cake.
- Whisk the dry ingredients together. In a large bowl, combine the flour, cocoa powder, bicarbonate of soda, and salt. Whisk them thoroughly until the cocoa has evenly dispersed and the mixture looks a uniform pale brown. Sift if you want extra assurance against lumps.
- Mix the wet ingredients. In a jug, stir together the buttermilk, vinegar, vanilla extract, and red food colouring. The mixture will turn a vibrant ruby shade, and you'll notice a slight fizz from the vinegar reacting with the buttermilk—this is exactly what you want.
- Cream the butter and sugar. In the bowl of a stand mixer fitted with the paddle attachment, beat the softened butter and caster sugar on medium speed for 3-4 minutes. You're looking for a pale, fluffy mixture that looks like whipped cream and smells sweetly of butter. Scrape down the sides halfway through.
- Add the eggs one at a time. Beat in each egg until fully incorporated before adding the next. The mixture should look glossy and smooth, with no signs of separation. If it looks curdled, your eggs were too cold—don't panic, it will come together in the next step.
- Alternate the dry and wet ingredients. With the mixer on low speed, add one-third of the flour mixture, then half of the buttermilk mixture, mixing until just combined after each addition. Repeat, ending with the final third of flour. Stop the mixer the moment the last streak of flour disappears—overmixing will make the cake tough. The batter should be thick, silky, and a deep crimson colour.
- Bake until springy. Divide the batter evenly between the two tins and smooth the tops. Bake for 30-35 minutes. The cakes are done when a skewer inserted into the centre comes out clean or with a few moist crumbs, and the tops spring back when gently pressed. You'll smell a faint, warm cocoa aroma filling your kitchen.
- Cool completely. Leave the cakes in their tins on a wire rack for 10 minutes, then turn them out onto the rack to cool completely. Do not attempt to frost them while they're even slightly warm, or the cream cheese frosting will slide right off. The layers should feel cool to the touch all the way through.
- Make the frosting. In a clean mixer bowl, beat the softened cream cheese and butter together on medium speed until smooth and lump-free—about 2 minutes. Reduce speed to low, add the sifted icing sugar in three batches, mixing until combined after each. Add the vanilla and beat on medium-high for 1 minute until the frosting is light, fluffy, and holds a firm peak. Taste it—it should be tangy and sweet in perfect balance.
- Assemble and plate. Place one layer on a serving plate or cake stand. Spread a generous layer of frosting (about 1cm thick) right to the edge. Top with the second layer, bottom-side up for a flat surface. Apply a thin crumb coat all over the cake and refrigerate for 20 minutes. Then, apply a final, thick layer of frosting, using a palette knife to create smooth sides or decorative swirls. Chill for at least 30 minutes before slicing for clean, sharp edges.
Notes
Use room temperature ingredients for best results. Do not overmix the batter. Chill the frosted cake before slicing for clean edges.