Ingredients
Method
- Prepare the crust: Crush the digestive biscuits into fine crumbs. I like to put them in a sealed bag and bash them with a rolling pin until no large pieces remain. Mix the crumbs with the melted butter and 30g caster sugar. Press this mixture firmly into the base of a 23cm springform tin lined with parchment paper. The crumbs should feel compact and hold together when pressed. Bake at 160°C (fan) for 10 minutes, until you can smell a toasty biscuit aroma. Set aside to cool completely.
- Make the red velvet batter: In a large bowl, whisk the 600g cream cheese until it is smooth and looks glossy, with no lumps. Add the 200g caster sugar and beat until the mixture feels light and fluffy. Add the eggs one at a time, beating well after each addition. The batter should look pale and silky. In a separate bowl, mix the sour cream, vanilla extract, red food colouring gel, cocoa powder, and white vinegar. The colour should be a deep, dark red. Fold this into the cream cheese mixture gently – you want the batter to be uniformly red, with no white streaks.
- Combine the flour and buttermilk: Sift the plain flour and bicarbonate of soda together. Fold half the flour mixture into the red batter, then half the buttermilk. Repeat with the remaining flour and buttermilk. Mix until just combined. The batter will be thick, velvety, and a striking shade of crimson. Pour this over the cooled biscuit base.
- Bake the cheesecake: Place the springform tin on a baking tray. Pour boiling water into the tray until it comes halfway up the sides of the tin – this water bath prevents cracking. Bake at 160°C (fan) for 55–65 minutes. The edges will be set and lightly puffed, but the centre should wobble like a set jelly when you gently shake the tin. Turn off the oven, crack the door open, and let the cheesecake cool inside for one hour. This gentle cooling stops a dramatic crack from forming.
- Chill the cheesecake: Remove the cheesecake from the oven and let it reach room temperature on the counter. The surface should feel firm to the touch. Then, cover the tin with cling film and refrigerate for at least 6 hours, preferably overnight. The texture will become dense and creamy.
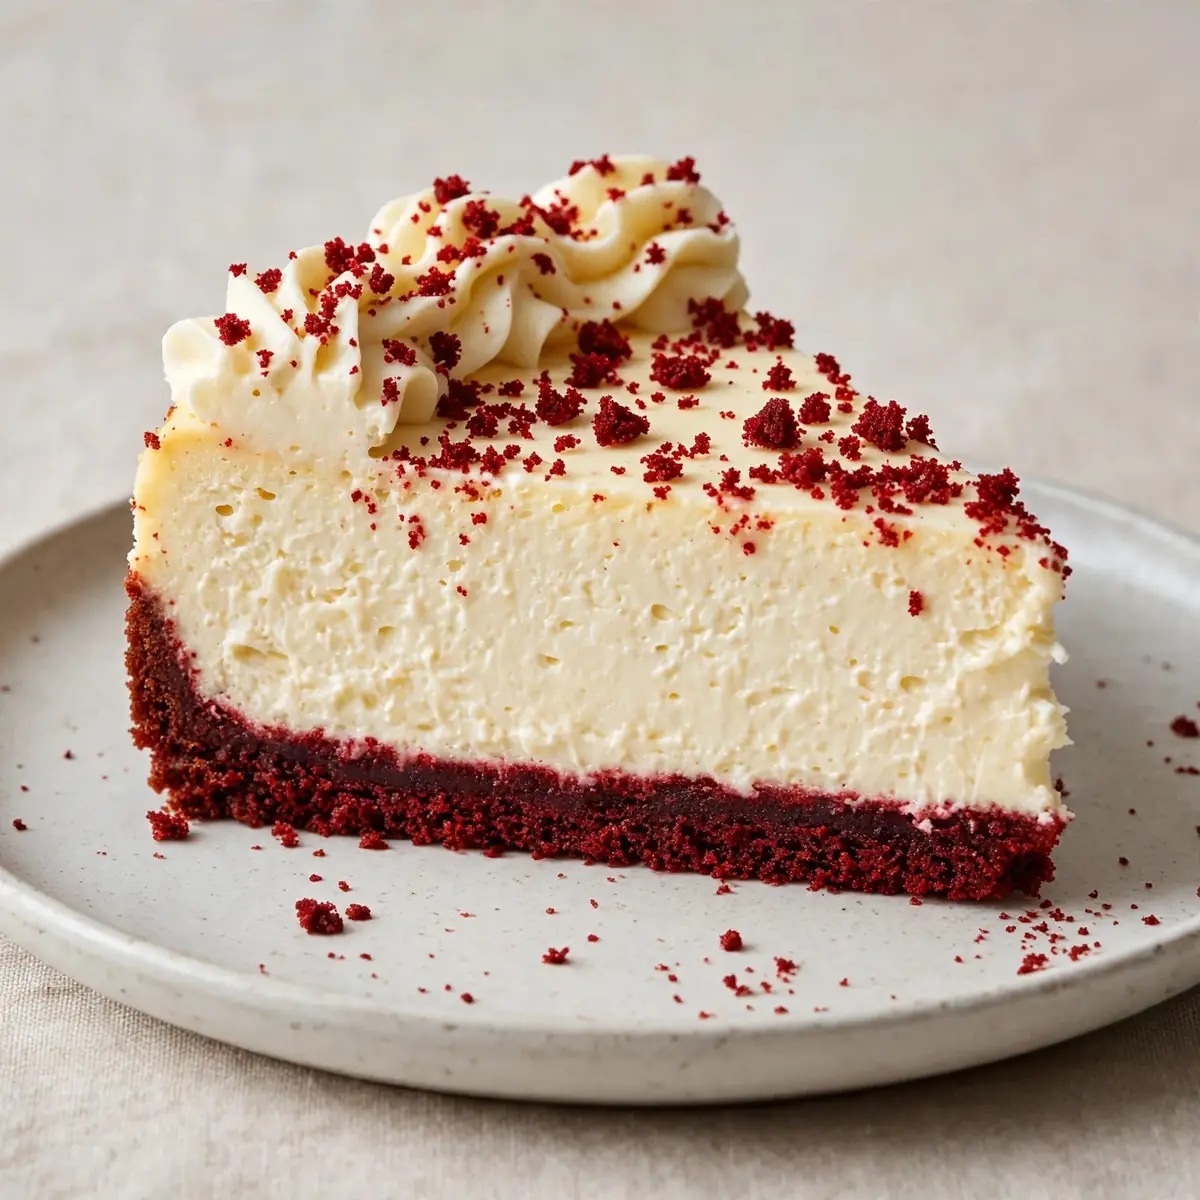
- Make the cream cheese topping: Whip the double cream with the icing sugar until soft peaks form. In a separate bowl, beat the remaining 200g cream cheese until smooth. Gently fold the whipped cream into the cream cheese until you have a light, fluffy frosting that holds its shape. The colour should be pure white, contrasting beautifully with the red cake.
- Assemble and present: Run a hot knife around the edge of the tin before removing the springform ring. Spread or pipe the topping over the chilled cheesecake. For a restaurant-style finish, use a palette knife to create smooth swirls. Chill for another 30 minutes before slicing. When you cut, wipe the knife clean between each slice for immaculate edges.
Notes
Ensure all dairy ingredients (cream cheese, eggs, sour cream, buttermilk) are at room temperature for a smooth, lump-free batter. Using food colouring gel instead of liquid is crucial for a vibrant red colour. The water bath and slow cooling steps are key to preventing cracks in the cheesecake. For best results, chill the cheesecake overnight.