Ingredients
Method
- Prepare your banana: Peel the banana and break it into 4-5 chunks. Spread them on a plate and pop them in the freezer for 10 minutes. This step is the key to a thick, milkshake-like consistency without watering the drink down with too much ice. The banana should feel firm to the touch but not rock-solid.
- Layer the ingredients in the blender: Pour the milk into the blender first. This helps the blades spin freely. Add the frozen banana chunks, then the peanut butter, chocolate protein powder, cocoa powder, honey (if using), vanilla extract, and finally the ice cubes. I like to add the powder last so it doesn’t stick to the bottom of the jug.
- Blend until silky smooth: Start your blender on a low speed to break up the ice, then gradually increase to high. Blend for 45-60 seconds. You’ll know it’s ready when you hear the sound change from a loud, rattling chop to a low, smooth hum. The mixture should look thick, glossy, and dark brown, with no visible flecks of protein powder.
- Check the consistency: Stop the blender and scrape down the sides with a spatula. The smoothie should be thick enough to coat the back of a spoon. If it’s too thick, add a splash more milk (1 tablespoon at a time) and pulse briefly. If it’s too thin, add 2-3 more ice cubes and blend again. The final texture should be like a soft-serve ice cream that just begins to flow.
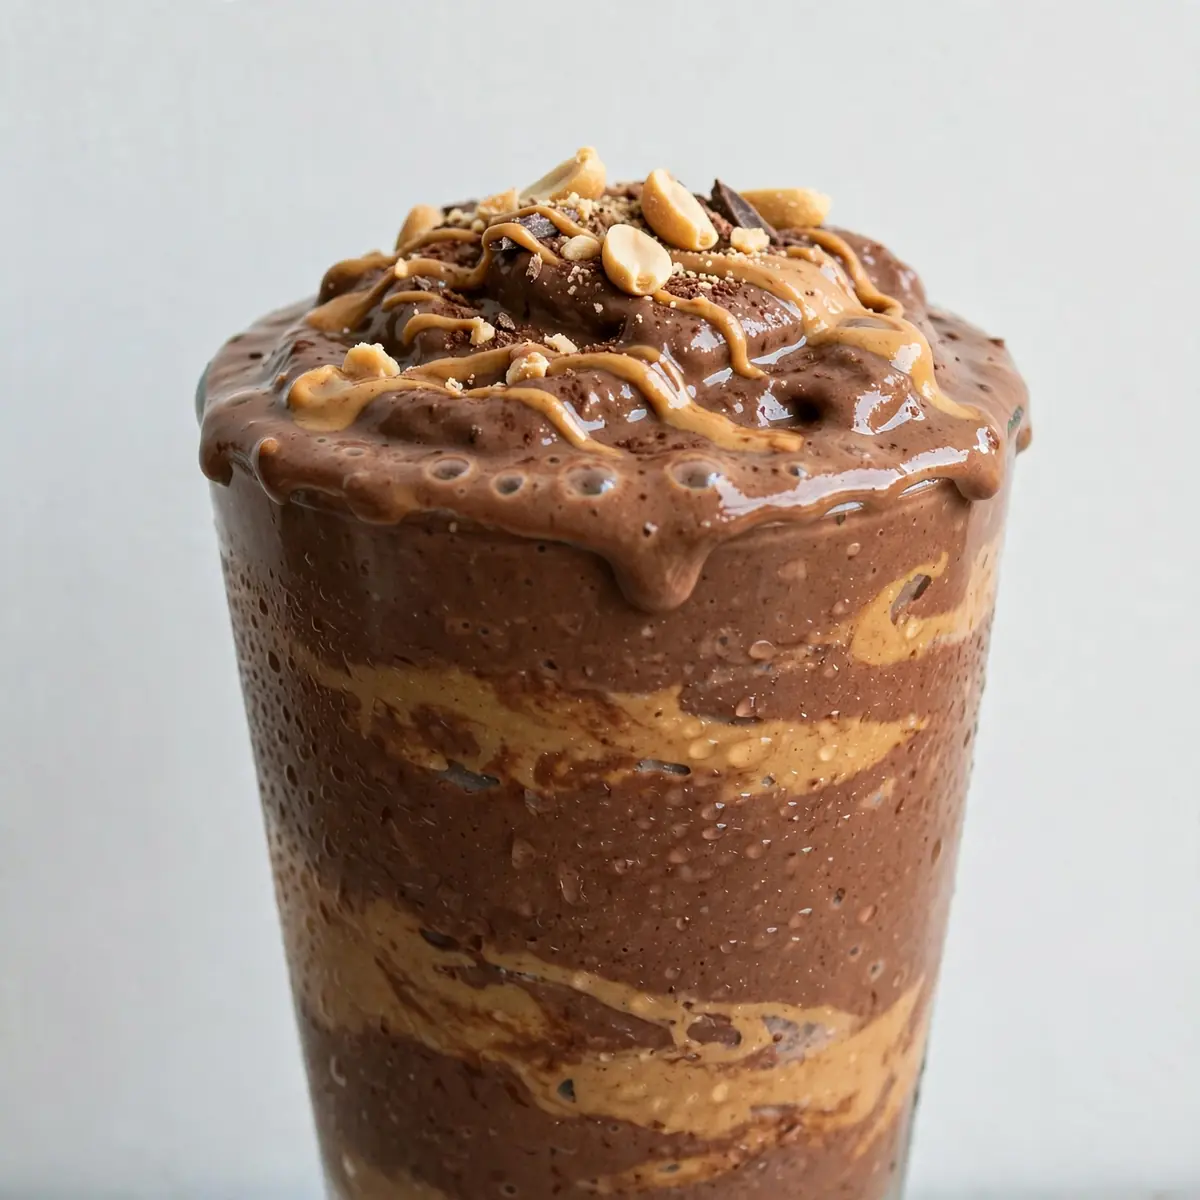
- Prepare your glasses for presentation: Take two chilled glasses (this is my favourite trick for a professional look). Drizzle a teaspoon of extra peanut butter around the inside rim of each glass, letting it run down in streaks. This creates a beautiful visual when you pour the smoothie in.
- Pour and layer: Carefully pour the smoothie into the prepared glasses, dividing it evenly. Tap the glass gently on the counter to release any large air bubbles. The smoothie should sit thickly, with the peanut butter streaks visible through the glass.
- Garnish like a barista: Sprinkle a pinch of flaky sea salt over the top—this elevates the chocolate flavour instantly. Then scatter the cacao nibs over the surface. For a final flourish, drizzle a tiny bit more peanut butter in a zigzag pattern across the top. Serve immediately with a long spoon and a straw.
Notes
Freezing the banana for 10 minutes is crucial for a thick, milkshake-like consistency without over-diluting with ice. Chilling the serving glass and drizzling with peanut butter beforehand adds a professional touch to the presentation. A pinch of flaky sea salt on top enhances the chocolate flavor.