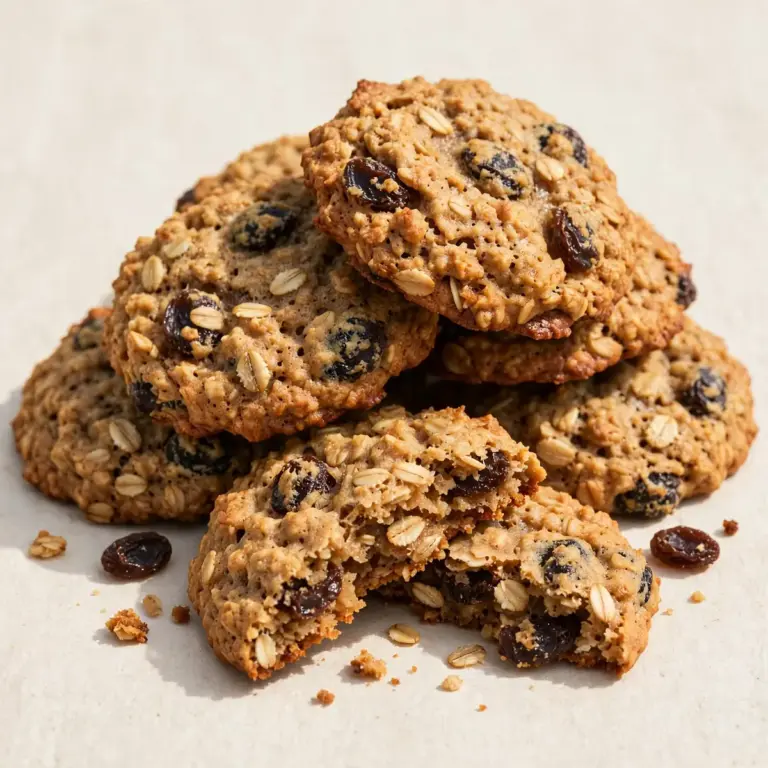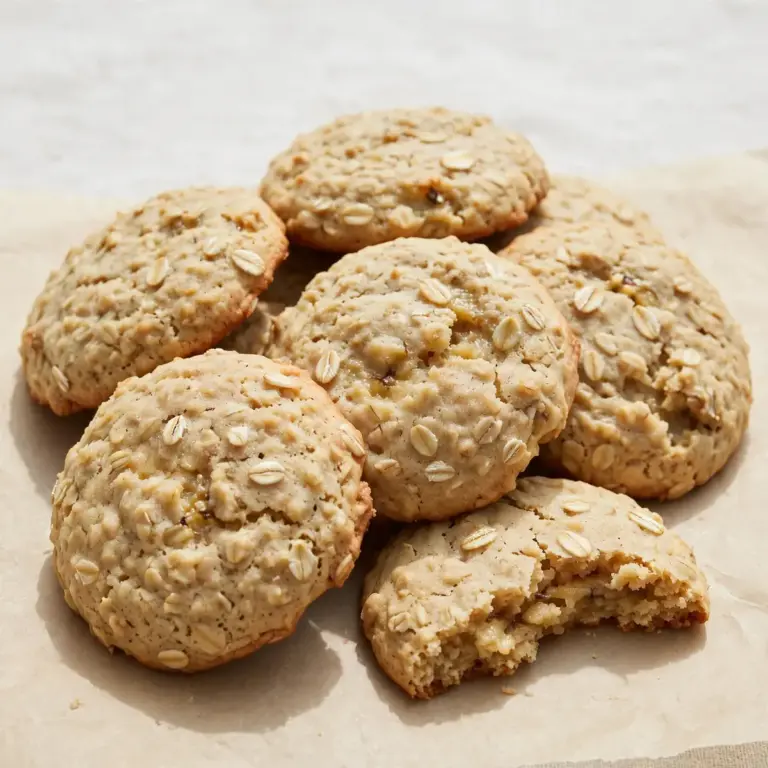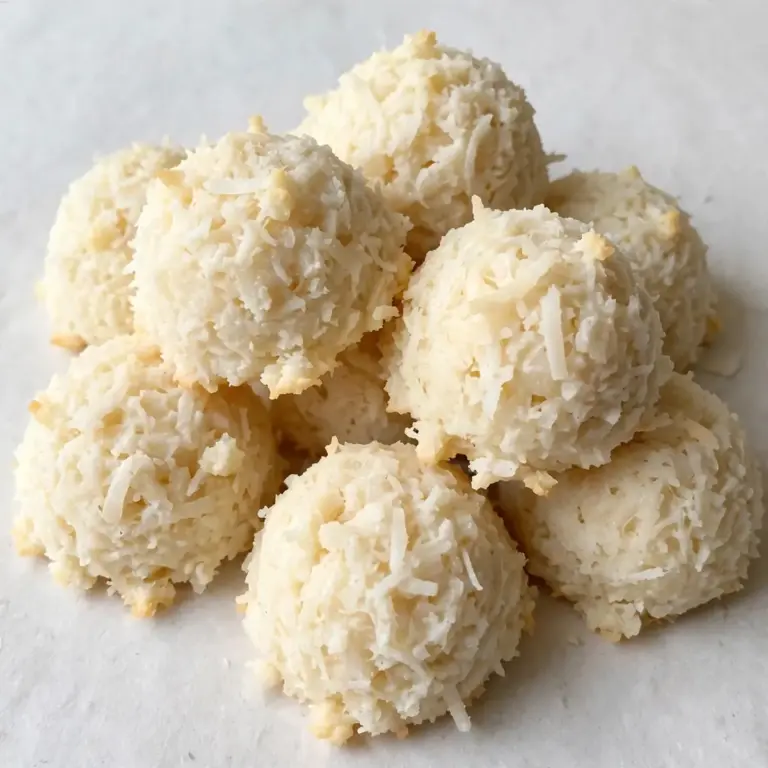
Soft Lemon Crinkle Cookies
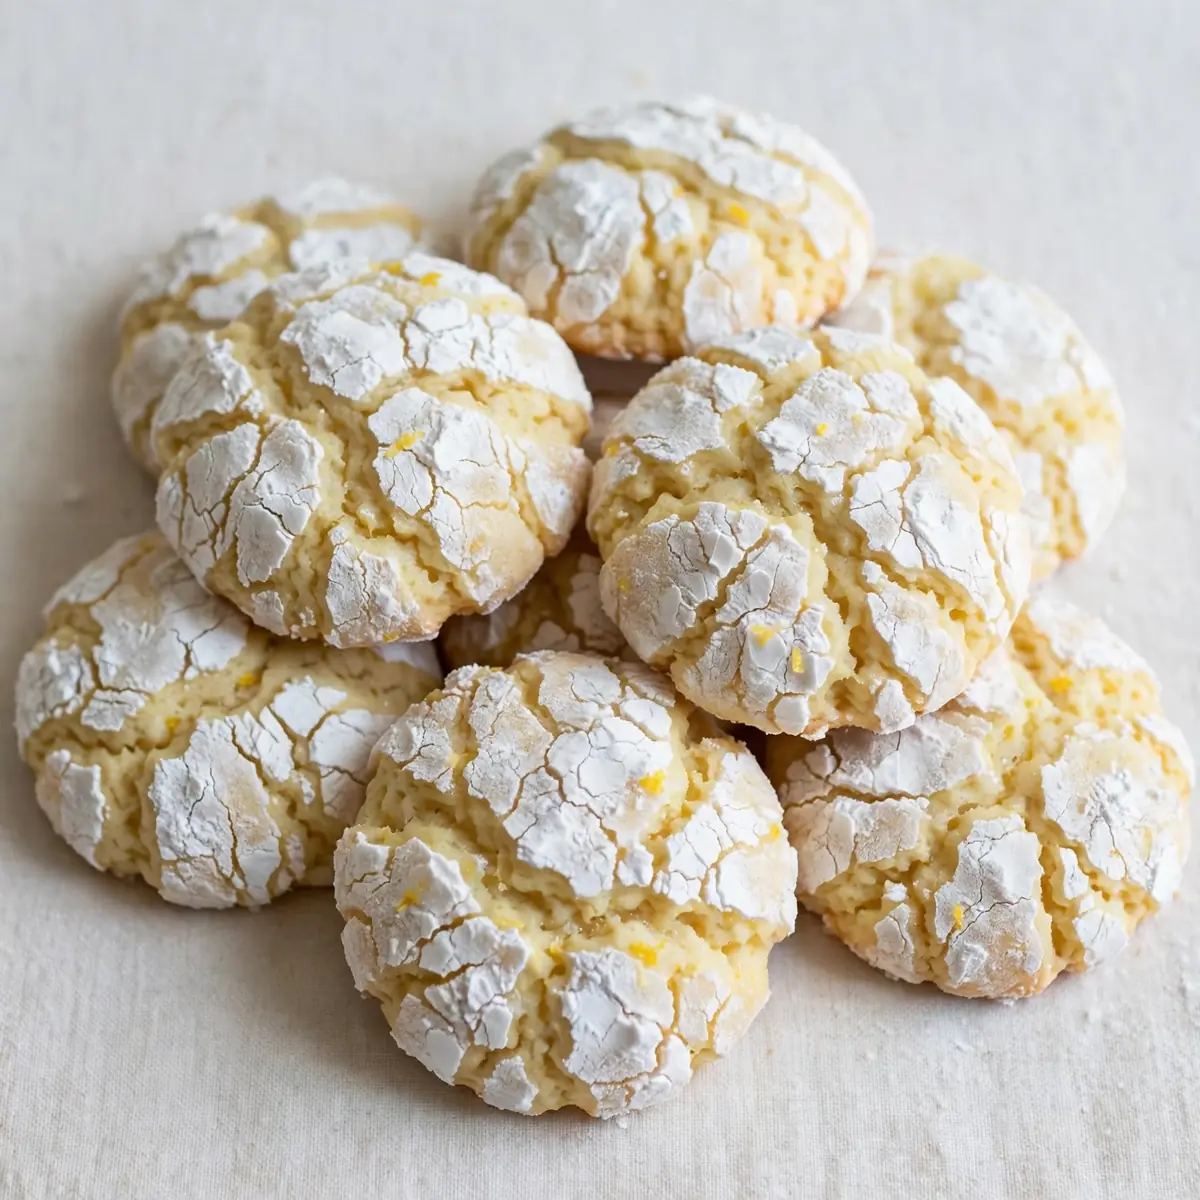
When I serve these Soft Lemon Crinkle Cookies at the end of a dinner, the conversation always pauses for a moment. Friends ask me for this recipe after trying it at dinner parties, and I love watching their surprise when they realise such a polished, restaurant-quality dessert comes from a simple home kitchen.
Recipe Overview
- Prep time: 20 minutes
- Chill time: 1 hour
- Cook time: 10-12 minutes
- Total time: 1 hour 35 minutes
- Servings: 24 cookies
- Difficulty: Medium
Why You’ll Love This Soft Lemon Crinkle Cookies
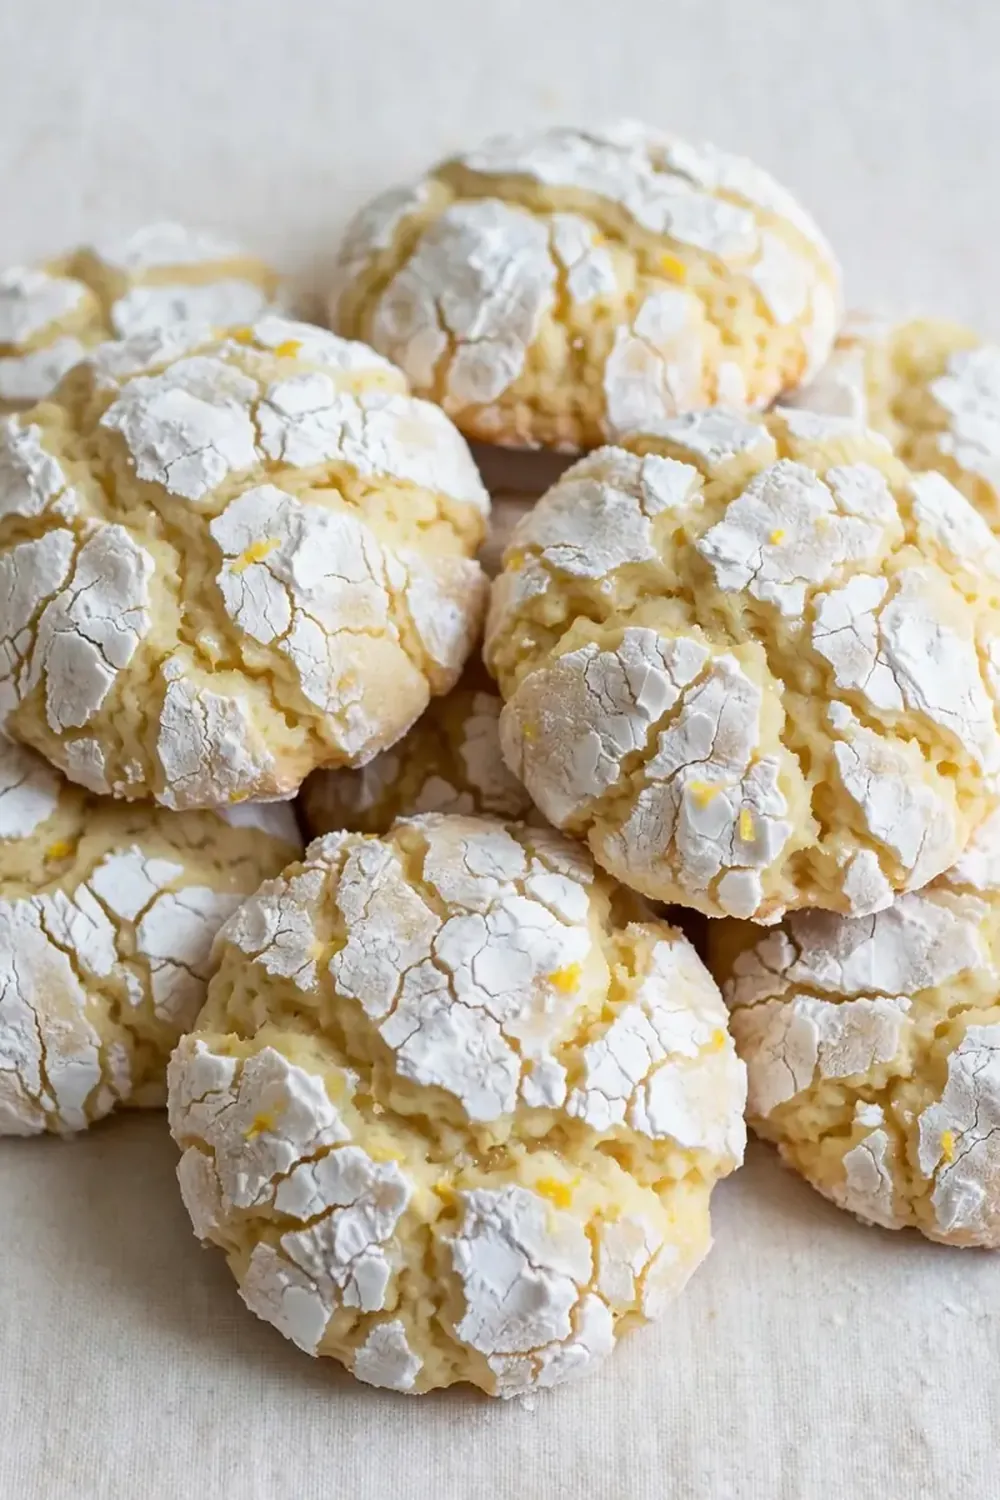
- Stunning presentation: The crackled, snowy top against the golden-lemon base makes these cookies look like they belong in a patisserie window.
- Bright, zesty flavour: Fresh lemon zest and juice deliver a clean, vibrant citrus punch that cuts through the sweetness beautifully.
- Perfectly soft texture: The centres stay tender and almost fudgy, while the edges hold a slight chew — a contrast that feels luxurious.
- Make-ahead friendly: The dough chills beautifully overnight, so you can prepare everything the day before your dinner party and bake fresh just before serving.
- Versatile serving options: Dress them up with a dusting of icing sugar, a dollop of clotted cream, or a side of fresh berries for an elevated finish.
Ingredients You’ll Need
- 225g unsalted butter, softened to room temperature
- 200g caster sugar
- Finely grated zest of 3 large unwaxed lemons
- 2 large free-range eggs, at room temperature
- 60ml fresh lemon juice (from about 2 lemons)
- 1 teaspoon vanilla extract
- 375g plain flour
- 1 teaspoon bicarbonate of soda
- ½ teaspoon fine sea salt
- 120g icing sugar, for rolling
- Optional: 1 tablespoon lemon curd for a hidden centre (see tips)
Tip: For the most intense lemon flavour, use unwaxed lemons and grate the zest just before you start. Pre-grated zest loses its essential oils and will taste flat.
How to Make Soft Lemon Crinkle Cookies
- Cream the butter and sugar: In a large mixing bowl, beat the softened butter, caster sugar, and lemon zest together on medium speed for 3-4 minutes. The mixture should turn pale yellow, look light and fluffy, and smell intensely of lemon. Scrape down the sides halfway through.
- Add the wet ingredients: Beat in the eggs one at a time, mixing well after each addition until the batter looks smooth and glossy. Pour in the lemon juice and vanilla extract, then mix on low speed. The batter will look slightly curdled at this stage — that is perfectly normal and will resolve once you add the flour.
- Combine the dry ingredients: In a separate bowl, whisk together the plain flour, bicarbonate of soda, and salt. Add the dry mixture to the wet batter in three additions, mixing on low speed until just combined. Stop as soon as you no longer see streaks of flour — overmixing will make the cookies tough. The dough should be soft, slightly sticky, and smell wonderfully of fresh lemon.
- Chill the dough: Cover the bowl with cling film and refrigerate for at least 1 hour, or up to 24 hours. The dough needs this rest to firm up so you can roll it into balls without it sticking to your hands. After chilling, the dough should feel firm but still pliable, not rock hard.
- Preheat and prepare: Preheat your oven to 180°C (fan-assisted) or 200°C (conventional). Line two large baking trays with parchment paper. Pour the icing sugar into a shallow bowl.
- Shape and coat: Scoop rounded tablespoons of chilled dough (about 30g each) and roll them into smooth balls between your palms. Drop each ball into the icing sugar, rolling it around to coat thoroughly. The sugar coating is what creates the signature crinkle effect, so be generous — the dough should look completely white. Place the coated balls 5cm apart on the prepared trays. For a restaurant touch, press a tiny indent into the centre of each ball and add a dab of lemon curd before sealing with another small piece of dough.
- Bake: Bake one tray at a time for 10-12 minutes. The cookies will spread, crack, and puff up slightly. You will know they are done when the edges are just set and lightly golden, the tops are covered in fine cracks, and the centres still look slightly soft and puffy. The kitchen will smell intensely of toasty lemon and butter.
- Cool and finish: Let the cookies rest on the baking tray for 5 minutes — they will continue to set as they cool. Then transfer them to a wire cooling rack using a thin spatula. Once fully cool, dust with a final light snowfall of icing sugar through a fine sieve for that picture-perfect finish.
Tips From My Kitchen
- Chill the dough thoroughly: This is the most critical step. If the dough is too warm, the cookies will spread into flat, thin discs without any crinkle. The cold butter in the dough needs time to solidify again, which forces the cookies to spread slowly and crack beautifully on top. I always chill mine for at least 90 minutes to be safe.
- Roll twice in icing sugar: For the deepest, most dramatic crinkle effect, roll the dough ball in icing sugar once, let it sit for 30 seconds so the sugar absorbs a little moisture, then roll it again. This double coating creates a thick, snowy crust that cracks open spectacularly in the oven.
- Use fresh lemon juice, not bottled: Bottled lemon juice lacks the bright, aromatic oils that make these cookies sing. Freshly squeezed juice from unwaxed lemons gives a clean, sharp flavour that feels elegant and refined — exactly what you want when impressing guests.
- Add a hidden lemon curd centre: For an extra moment of surprise, press a small ball of lemon curd into the centre of each dough ball before rolling in sugar. When baked, the curd stays soft and gooey, creating a luxurious, molten centre that your guests will talk about long after the meal ends.
- Bake one tray at a time: Placing two trays in the oven at once can cause uneven baking because the heat circulates differently. Baking one tray at a time ensures every cookie gets the same golden edges and soft centres. If you must bake two, swap the trays halfway through and rotate them front to back.
- Watch the edges, not the tops: The tops of crinkle cookies will look soft and slightly underdone when they come out of the oven — that is exactly what you want. Judge doneness by the edges: they should be a pale golden colour and look set, while the centres remain puffy and soft. Overbaking will dry them out and ruin the tender texture.
Equipment You’ll Need
- Stand mixer or hand mixer
- Baking tray
- Parchment paper
- Wire cooling rack
- Fine-mesh sieve for dusting icing sugar
- Microplane or fine grater for lemon zest
- Citrus juicer or reamer
Common Mistakes to Avoid
- Overcrowding the pan: These cookies spread significantly during baking. If you place them too close together, they will merge into one large, flat mass and lose their individual crinkle pattern. Leave at least 5cm between each dough ball, and use two trays if needed, baking one at a time.
- Wrong temperature: Baking at too low a temperature will cause the cookies to spread before the structure sets, resulting in flat discs with no crinkle. Baking too high will brown the edges before the centres have a chance to puff up. Stick to 180°C fan-assisted for the best balance of spread, crinkle, and softness.
- Skipping the rest time: The chilling step is not optional. If you skip it, the dough will be too soft to roll, the sugar coating will melt into the dough, and the cookies will spread into thin, greasy rounds. The rest time allows the flour to hydrate fully and the butter to firm up, creating the perfect texture and that signature crackled top.
What to Serve With Soft Lemon Crinkle Cookies
- A glass of chilled Sparkling Raspberry Lemonade — the bubbles and berries complement the lemon beautifully.
- A dollop of clotted cream or crème fraîche on the side to balance the sweetness.
- A small bowl of fresh raspberries or sliced strawberries for a pop of colour and tartness.
- A pot of Earl Grey tea or jasmine green tea for a sophisticated afternoon pairing.
- For a full dessert spread, serve alongside a slice of Classic Key Lime Pie for a citrus-themed finale.
Still hungry for ideas? You might also love Lemon Chia Seed Protein Cookies, Bake This Bright Lemon Raspberry Cookies Recipe from our sister kitchens.
Frequently Asked Questions
Soft Lemon Crinkle Cookies
Ingredients
Method
- Cream the butter and sugar: In a large mixing bowl, beat the softened butter, caster sugar, and lemon zest together on medium speed for 3-4 minutes. The mixture should turn pale yellow, look light and fluffy, and smell intensely of lemon. Scrape down the sides halfway through.
- Add the wet ingredients: Beat in the eggs one at a time, mixing well after each addition until the batter looks smooth and glossy. Pour in the lemon juice and vanilla extract, then mix on low speed. The batter will look slightly curdled at this stage — that is perfectly normal and will resolve once you add the flour.
- Combine the dry ingredients: In a separate bowl, whisk together the plain flour, bicarbonate of soda, and salt. Add the dry mixture to the wet batter in three additions, mixing on low speed until just combined. Stop as soon as you no longer see streaks of flour — overmixing will make the cookies tough. The dough should be soft, slightly sticky, and smell wonderfully of fresh lemon.
- Chill the dough: Cover the bowl with cling film and refrigerate for at least 1 hour, or up to 24 hours. The dough needs this rest to firm up so you can roll it into balls without it sticking to your hands. After chilling, the dough should feel firm but still pliable, not rock hard.
- Preheat and prepare: Preheat your oven to 180°C (fan-assisted) or 200°C (conventional). Line two large baking trays with parchment paper. Pour the icing sugar into a shallow bowl.
- Shape and coat: Scoop rounded tablespoons of chilled dough (about 30g each) and roll them into smooth balls between your palms. Drop each ball into the icing sugar, rolling it around to coat thoroughly. The sugar coating is what creates the signature crinkle effect, so be generous — the dough should look completely white. Place the coated balls 5cm apart on the prepared trays. For a restaurant touch, press a tiny indent into the centre of each ball and add a dab of lemon curd before sealing with another small piece of dough.
- Bake: Bake one tray at a time for 10-12 minutes. The cookies will spread, crack, and puff up slightly. You will know they are done when the edges are just set and lightly golden, the tops are covered in fine cracks, and the centres still look slightly soft and puffy. The kitchen will smell intensely of toasty lemon and butter.
- Cool and finish: Let the cookies rest on the baking tray for 5 minutes — they will continue to set as they cool. Then transfer them to a wire cooling rack using a thin spatula. Once fully cool, dust with a final light snowfall of icing sugar through a fine sieve for that picture-perfect finish.
Notes
My kids absolutely devour this every time I make it, and I have yet to meet a guest who can resist reaching for a second cookie. If you try these Soft Lemon Crinkle Cookies for your next dinner party, I would love to hear how they turned out — drop a comment below and let me know what your guests said when you set that plate down on the table.