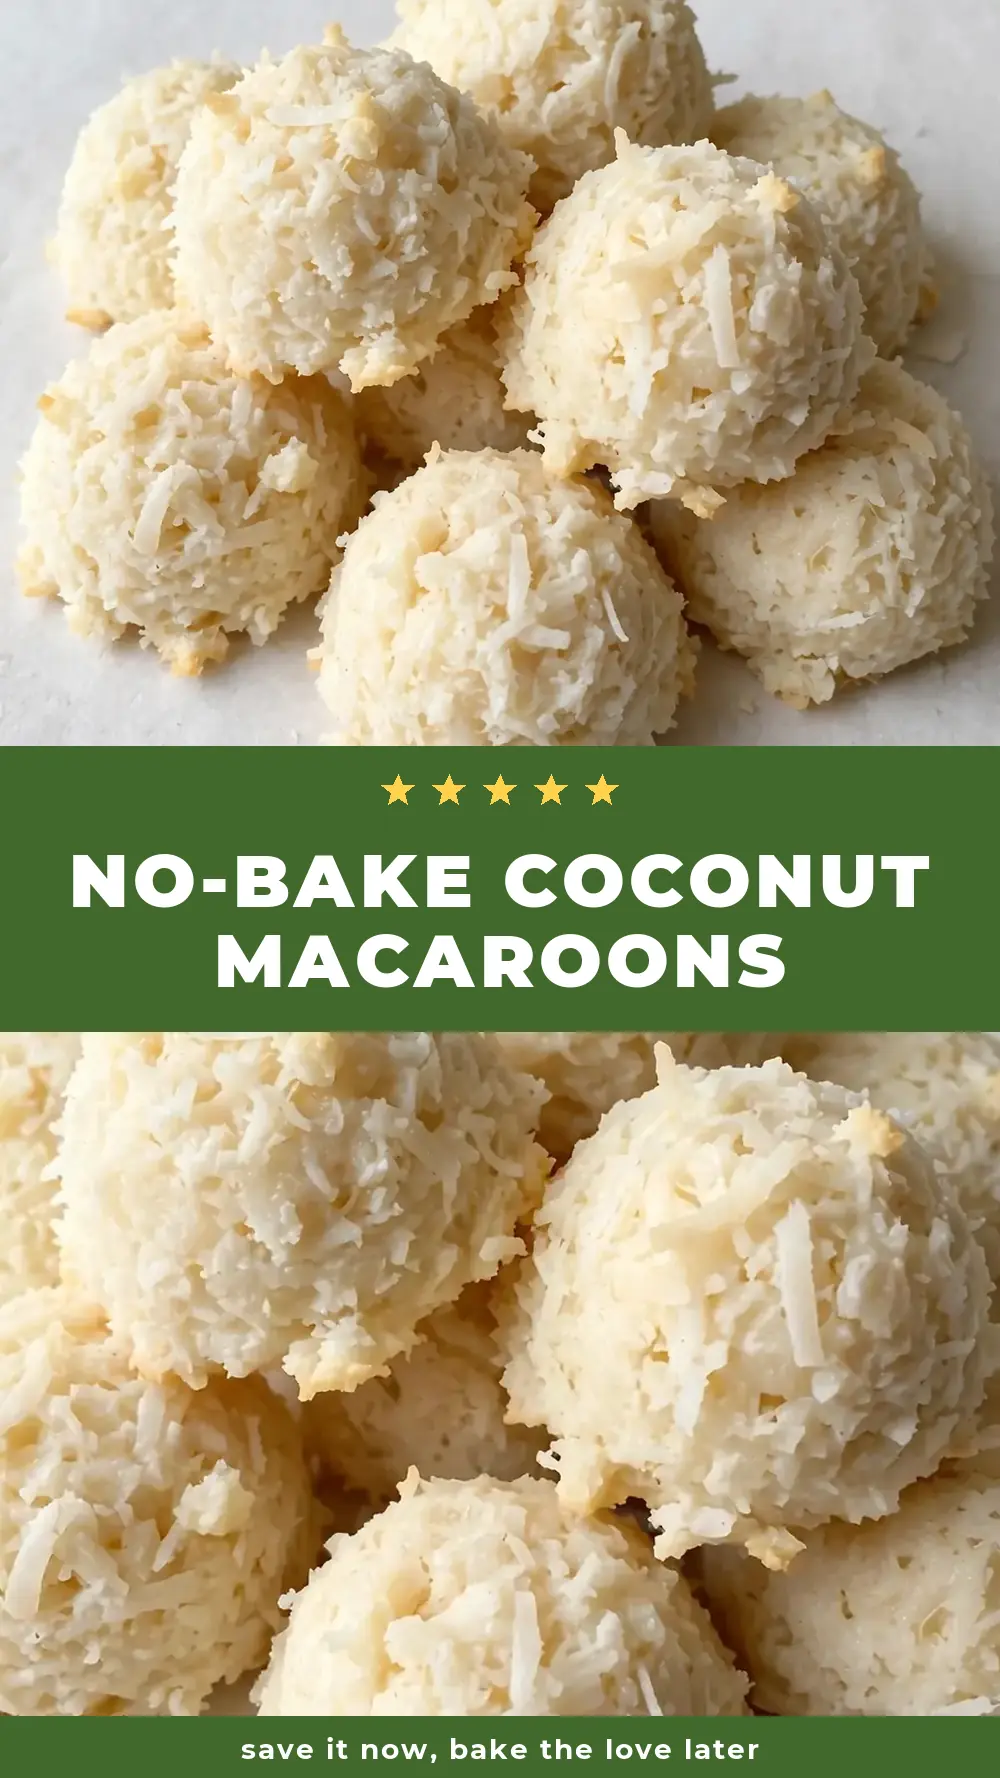
No-Bake Coconut Macaroons
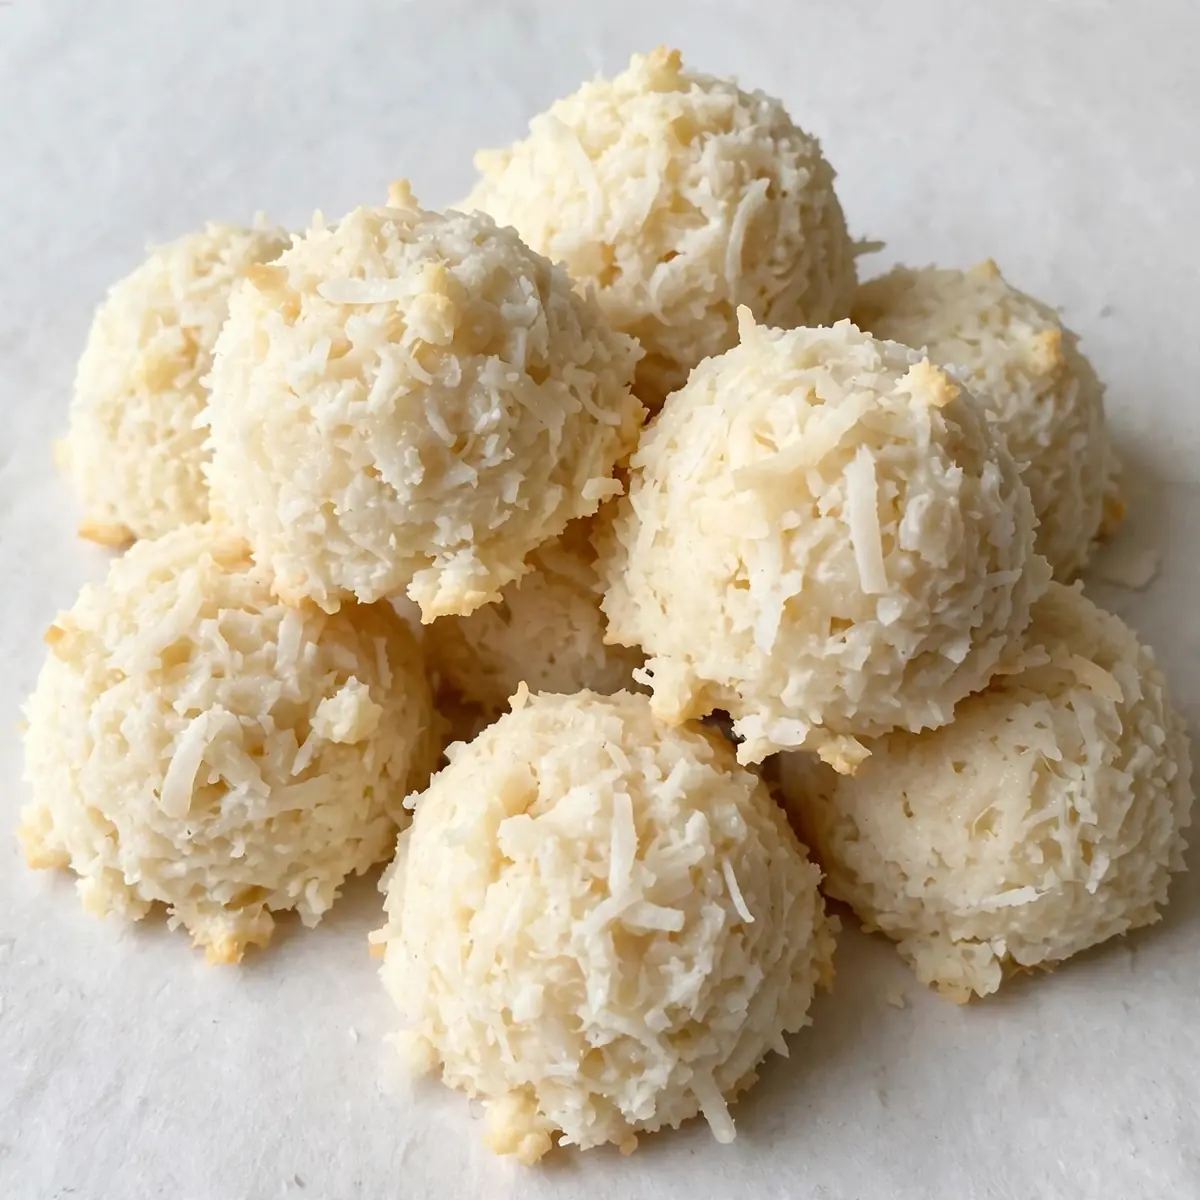
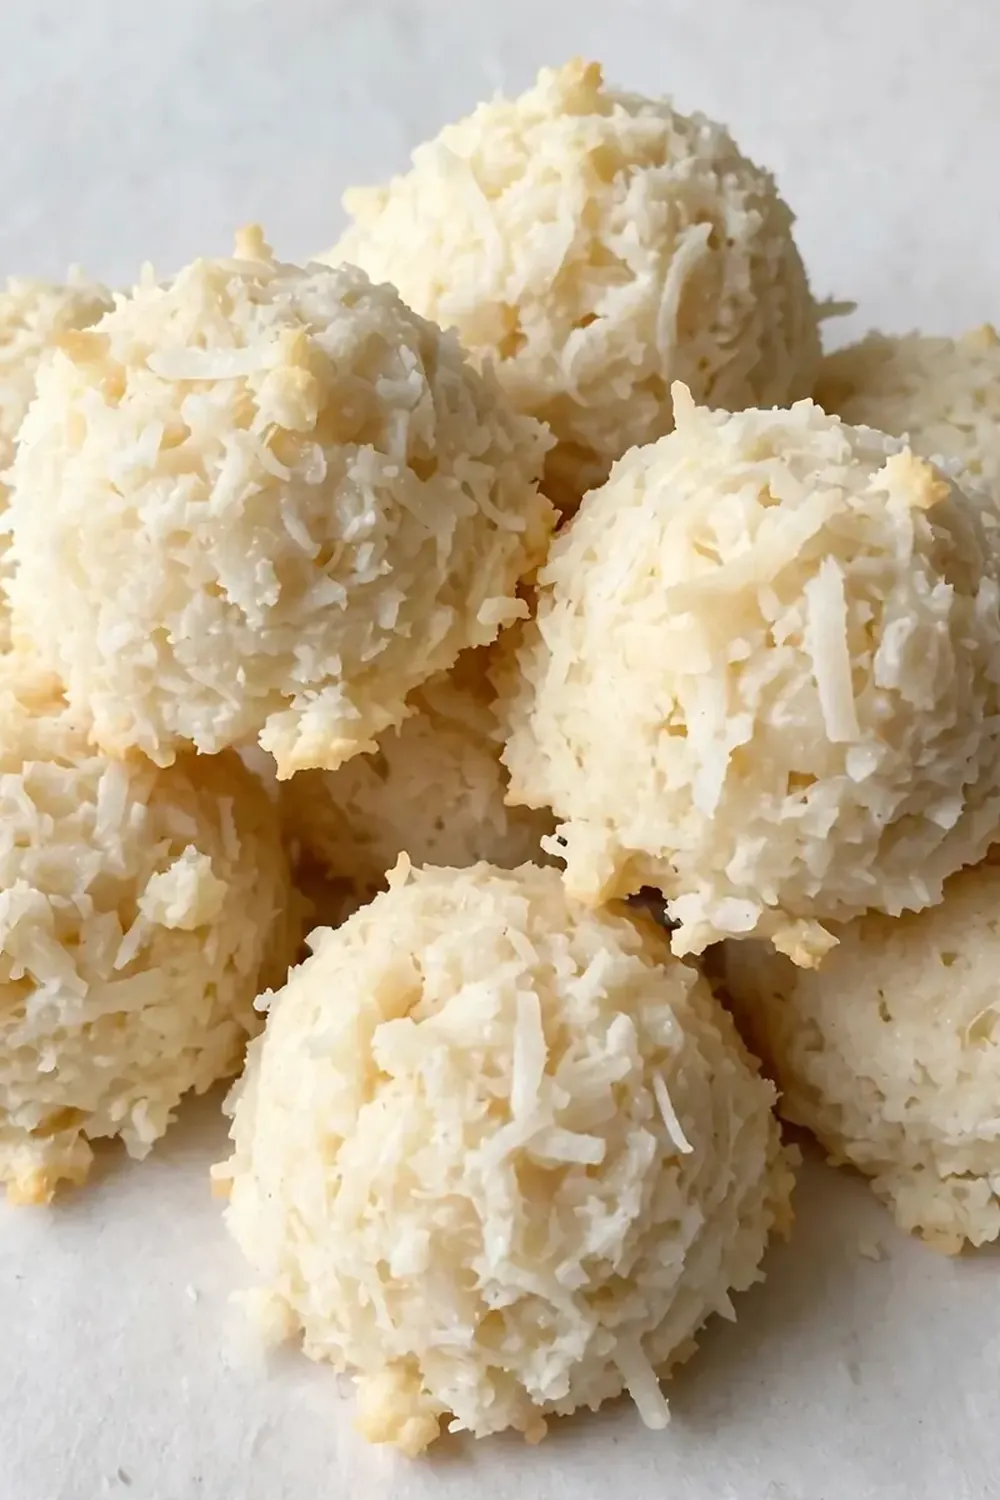
When I first started making these No-Bake Coconut Macaroons, I was simply looking for a way to impress my dinner party guests without turning on the oven. What I discovered was a stunning, restaurant-quality dessert that looks like it came from a patisserie counter yet requires no heat, no complicated techniques, and only a handful of ingredients. The secret lies not just in the recipe, but in how you present it — and today, I’m sharing every detail to help you create a showstopper that will have your guests asking for the recipe before they’ve finished the first bite.
Recipe Overview
- Prep time: 15 minutes
- Chill time: 2 hours
- Total time: 2 hours 15 minutes
- Servings: 24 macaroons
- Difficulty: Easy
Why You’ll Love This No-Bake Coconut Macaroons
- No oven required: Perfect for hot summer days or when you’re short on time — the fridge does all the work.
- Restaurant-quality presentation: With a few simple plating tricks, these macaroons look like they were plated by a pastry chef.
- Naturally gluten-free: Made with desiccated coconut and sweetened condensed milk, they’re a safe bet for guests with dietary concerns.
- Customisable for any occasion: Dip in dark chocolate, add a sprinkle of sea salt, or drizzle with white chocolate for an elegant finish.
- Make-ahead friendly: These keep beautifully in the fridge for up to a week, meaning less stress on the day of your gathering.
Ingredients You’ll Need
- 400g sweetened condensed milk (1 standard tin)
- 300g desiccated coconut
- 1 teaspoon vanilla extract
- ¼ teaspoon fine sea salt
- 150g dark chocolate (70% cocoa), roughly chopped
- 1 tablespoon coconut oil (for the chocolate dip)
- Flaky sea salt, for garnish
- Edible gold leaf or edible glitter (optional, for that wow factor)
- Fresh mint leaves, for plating
- Raspberries or strawberries, for plating
Tip: Use the best-quality desiccated coconut you can find — it makes a noticeable difference in texture. Avoid the sweetened shredded kind, as it’s too moist and won’t hold its shape as well.
How to Make No-Bake Coconut Macaroons
- Prepare your baking sheet. Line a large baking sheet with parchment paper. You’ll want a flat, stable surface that fits in your fridge. As you work, the paper should feel smooth and unwrinkled — any creases will show on the bottom of your macaroons.
- Mix the base. In a large mixing bowl, combine the sweetened condensed milk, desiccated coconut, vanilla extract, and fine sea salt. Stir with a wooden spoon until the mixture feels thick, sticky, and uniformly coated. You should see the coconut strands clumping together, and the mixture should hold together when pressed between your fingers — if it feels too wet, add an extra tablespoon of coconut.
- Shape the macaroons. Using a small cookie scoop or two teaspoons, portion the mixture into compact balls about the size of a walnut. Roll each one firmly between your palms until it feels smooth and round. The surface should look slightly glossy from the condensed milk, and the ball should hold its shape without cracking. Place each ball onto the prepared baking sheet, leaving about 2cm between them.
- Chill to set. Transfer the baking sheet to the fridge and chill for at least 2 hours, or until the macaroons feel firm to the touch. When you press one gently, it should resist and feel solid, not squishy. The smell at this stage is sweet and intensely coconutty — a promise of what’s to come.
- Melt the chocolate. About 15 minutes before serving, place the chopped dark chocolate and coconut oil in a heatproof bowl set over a pan of barely simmering water. Stir gently until the chocolate is completely melted and smooth. The mixture should look glossy and runny, with a deep, rich aroma. Remove from the heat and let it cool for 2 minutes — it should feel warm to the touch but not hot.
- Dip and decorate. Holding a chilled macaroon by the top, dip the bottom third into the melted chocolate. Let the excess drip off for a few seconds — you’ll see the chocolate form a smooth, even coating. Place the dipped macaroon back on the parchment paper. While the chocolate is still wet, sprinkle a few flakes of sea salt on top. For an extra restaurant touch, add a tiny piece of edible gold leaf or a pinch of edible glitter. Repeat with the remaining macaroons.
- Set the chocolate. Return the macaroons to the fridge for 10–15 minutes, or until the chocolate is firm and snaps when you bite into it. The finished macaroons should have a crisp chocolate shell that gives way to a soft, chewy coconut centre.
Tips From My Kitchen
- Chill your hands before shaping. Warm hands will melt the condensed milk, making the mixture sticky and hard to handle. Run your hands under cold water for 20 seconds, dry them thoroughly, and you’ll find the mixture rolls into perfect balls without sticking.
- Use a cookie scoop for uniformity. For a restaurant-quality presentation, every macaroon should be the same size. A #60 cookie scoop (about 1½ tablespoons) gives you perfectly portioned rounds that cook evenly and look stunning on the plate.
- Toast the coconut for deeper flavour. If you have 5 minutes, spread the desiccated coconut on a baking sheet and toast it in a dry frying pan over medium heat for 2–3 minutes, stirring constantly, until it smells nutty and turns a pale golden colour. Let it cool completely before using. This adds a layer of complexity that elevates the macaroons from simple to sophisticated.
- Don’t skip the salt. A pinch of fine sea salt in the mixture balances the sweetness, while flaky sea salt on top adds a textural contrast that makes each bite more interesting. My husband, who’s usually picky, asked for seconds! He said the salt made all the difference.
- Work in batches when dipping. If you dip all the macaroons at once, the chocolate will start to set before you finish. Dip 6–8 at a time, decorate immediately, and return them to the fridge before moving on to the next batch. This ensures every macaroon has a glossy, flawless coating.
Equipment You’ll Need
- Large baking sheet
- Parchment paper
- Large mixing bowl
- Wooden spoon or silicone spatula
- Small cookie scoop (optional but recommended)
- Heatproof bowl
- Small saucepan for a bain-marie
- Sharp knife (for chopping chocolate)
- Fine-mesh sieve (if using edible glitter)
Common Mistakes to Avoid
- Using the wrong coconut: Sweetened shredded coconut contains too much moisture and sugar, causing the macaroons to spread and become sticky. Always use desiccated coconut — it’s drier and gives a better texture. If you only have shredded, pulse it in a food processor a few times to break it down.
- Skipping the chill time: These macaroons need a full 2 hours in the fridge to set properly. If you rush, they’ll be too soft to dip in chocolate and won’t hold their shape on the plate. Patience is key here — the wait is absolutely worth it.
- Overheating the chocolate: Chocolate is delicate. If you overheat it, it will seize into a grainy, clumpy mess. Keep the heat low, stir constantly, and remove the bowl from the pan as soon as the chocolate is mostly melted — the residual heat will finish the job.
- Not drying the macaroons after dipping: After you dip the macaroons in chocolate, let them sit on the parchment paper for a minute before moving them. If you move them too soon, the chocolate will smudge. You want a clean, sharp line where the chocolate meets the coconut.
- Skipping the garnish: A plain macaroon is lovely, but a sprinkle of flaky sea salt, a dusting of cocoa powder, or a tiny edible flower transforms it into a showstopper. My kids absolutely devour this every time I make it, and they love helping with the garnishes — it’s the most fun part for them.
Delicious Variations to Try
- Spicy Chocolate Version: Add ½ teaspoon of cayenne pepper or chipotle powder to the melted chocolate before dipping. The heat plays beautifully against the sweet coconut, and a tiny pinch of smoked paprika on top adds a gorgeous colour and smoky depth.
- Vegan Option: Substitute the sweetened condensed milk with a vegan condensed milk (coconut-based works wonderfully) and use dairy-free dark chocolate. The texture will be slightly less firm, so chill for an extra 30 minutes. They’re just as delicious and perfect for plant-based guests.
- Different Chocolate Coatings: Swap the dark chocolate for white chocolate or milk chocolate. For a truly decadent touch, use ruby chocolate — its natural pink colour makes for a stunning presentation. You can also drizzle two different chocolates over the top for a marbled effect.
- Citrus Zest Addition: Stir the finely grated zest of one orange or lemon into the coconut mixture before shaping. The bright, citrusy notes cut through the sweetness and add a fresh, sophisticated flavour that pairs beautifully with dark chocolate.
- Nutty Crunch: Fold 50g of finely chopped pistachios or toasted almonds into the coconut mixture. The nuts add a lovely crunch and a savoury counterpoint that makes each bite more complex.
What to Serve With No-Bake Coconut Macaroons
- A small bowl of fresh raspberries or strawberries — their tartness balances the sweetness.
- A dusting of cocoa powder or icing sugar on the plate for a professional finish.
- A drizzle of raspberry coulis or passion fruit sauce — the bright colour and tangy flavour are stunning against the chocolate.
- Fresh mint leaves placed artfully around the macaroons on the serving plate.
- A side of lightly whipped cream or coconut cream for dipping.
Still hungry for ideas? You might also love No Bake Blueberry Cheesecake Bars, No Bake Key Lime Cheesecake Bars from our sister kitchens.
Frequently Asked Questions
No-Bake Coconut Macaroons
Ingredients
Method
-
Prepare your baking sheet. Line a large baking sheet with parchment paper. You’ll want a flat, stable surface that fits in your fridge. As you work, the paper should feel smooth and unwrinkled — any creases will show on the bottom of your macaroons.
-
Mix the base. In a large mixing bowl, combine the sweetened condensed milk, desiccated coconut, vanilla extract, and fine sea salt. Stir with a wooden spoon until the mixture feels thick, sticky, and uniformly coated. You should see the coconut strands clumping together, and the mixture should hold together when pressed between your fingers — if it feels too wet, add an extra tablespoon of coconut.
-
Shape the macaroons. Using a small cookie scoop or two teaspoons, portion the mixture into compact balls about the size of a walnut. Roll each one firmly between your palms until it feels smooth and round. The surface should look slightly glossy from the condensed milk, and the ball should hold its shape without cracking. Place each ball onto the prepared baking sheet, leaving about 2cm between them.
-
Chill to set. Transfer the baking sheet to the fridge and chill for at least 2 hours, or until the macaroons feel firm to the touch. When you press one gently, it should resist and feel solid, not squishy. The smell at this stage is sweet and intensely coconutty — a promise of what’s to come.
-
Melt the chocolate. About 15 minutes before serving, place the chopped dark chocolate and coconut oil in a heatproof bowl set over a pan of barely simmering water. Stir gently until the chocolate is completely melted and smooth. The mixture should look glossy and runny, with a deep, rich aroma. Remove from the heat and let it cool for 2 minutes — it should feel warm to the touch but not hot.
-
Dip and decorate. Holding a chilled macaroon by the top, dip the bottom third into the melted chocolate. Let the excess drip off for a few seconds — you’ll see the chocolate form a smooth, even coating. Place the dipped macaroon back on the parchment paper. While the chocolate is still wet, sprinkle a few flakes of sea salt on top. For an extra restaurant touch, add a tiny piece of edible gold leaf or a pinch of edible glitter. Repeat with the remaining macaroons.
-
Set the chocolate. Return the macaroons to the fridge for 10–15 minutes, or until the chocolate is firm and snaps when you bite into it. The finished macaroons should have a crisp chocolate shell that gives way to a soft, chewy coconut centre.
Notes
I’d love to hear how your No-Bake Coconut Macaroons turn out. Drop a comment below and let me know which garnish you chose, or if you tried one of the variations — I’m always excited to see how you make this recipe your own. For more elegant desserts that are easier than they look, explore our World Desserts collection, or try the Classic Tres Leches Cake for another showstopping option. Happy cooking!