Classic Key Lime Pie
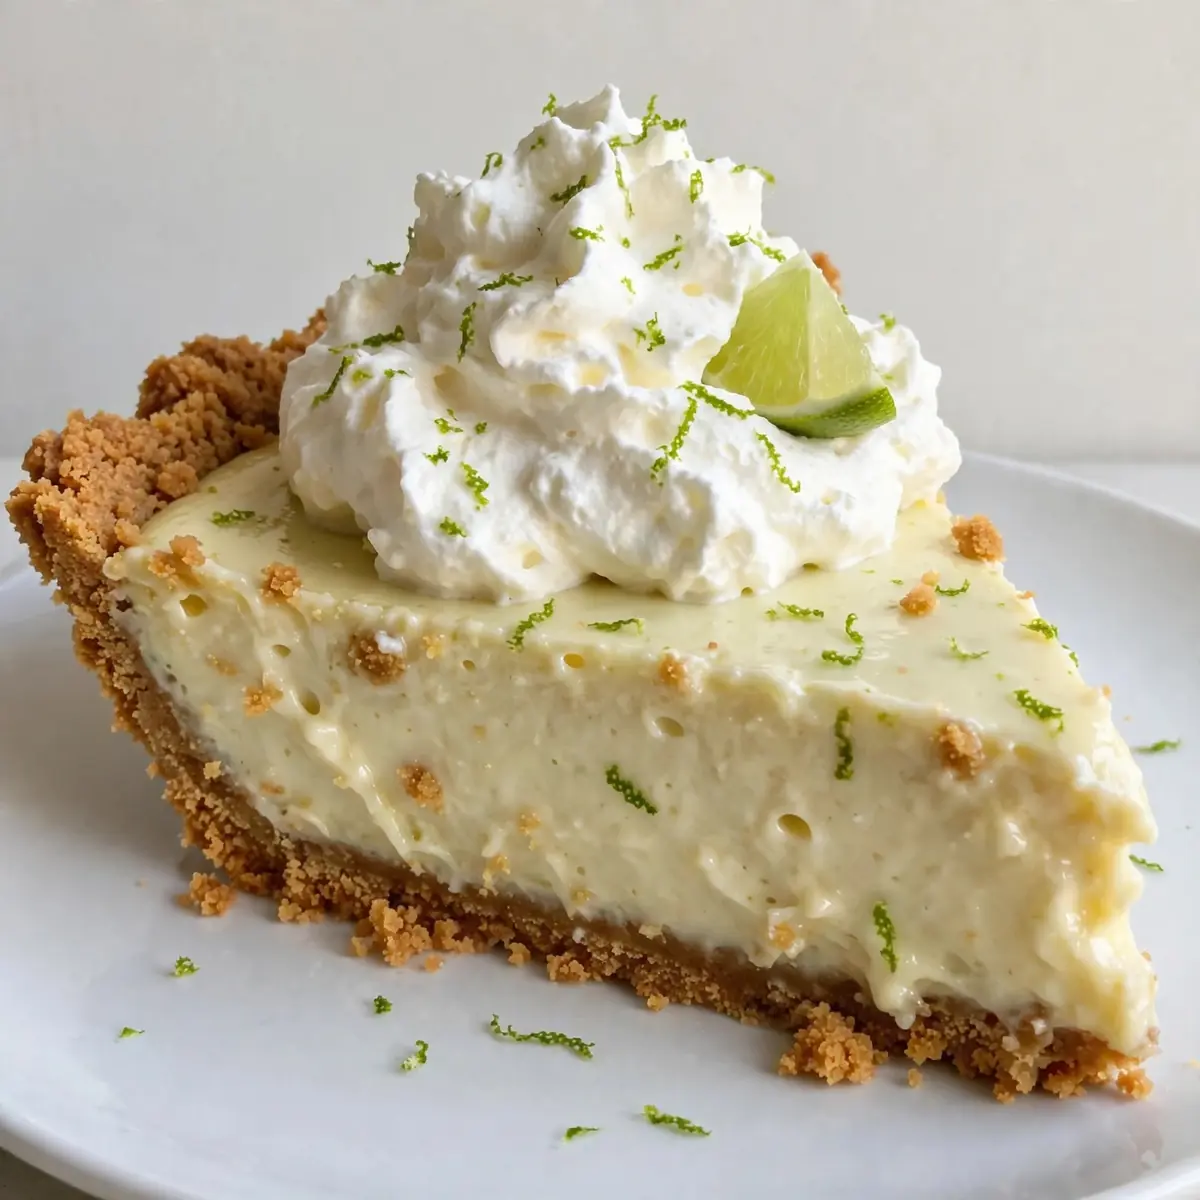
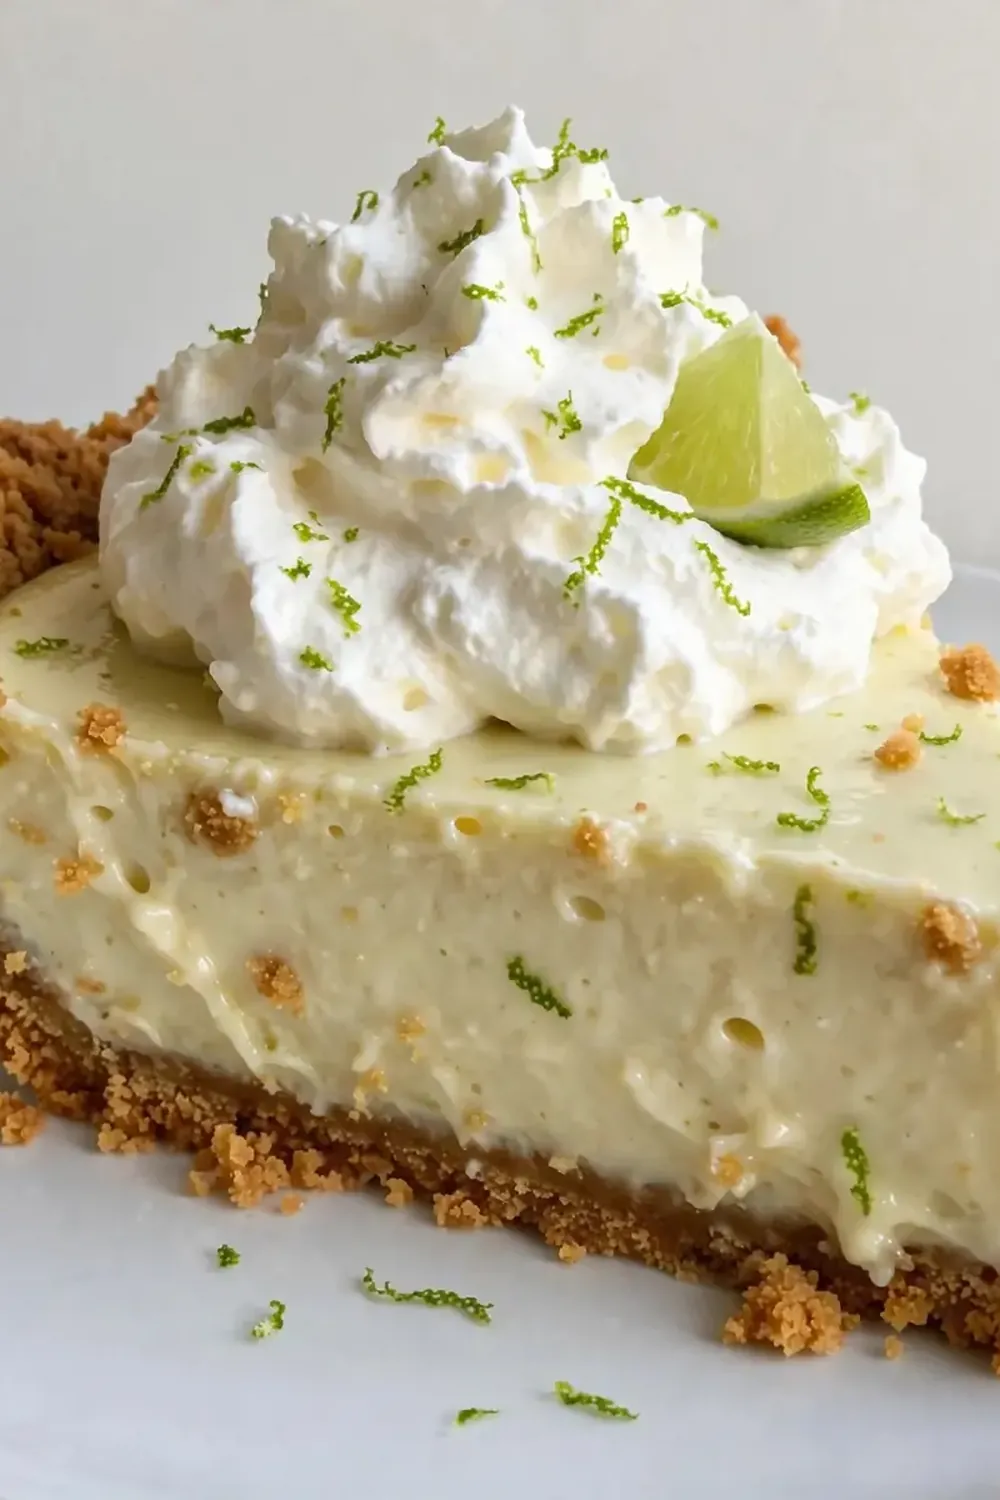
There’s a particular magic to a dessert that looks like it belongs in a glass case at a fine-dining restaurant, yet comes together in your own kitchen without a culinary degree. I’ve always believed that the mark of a truly great host is the ability to serve something that makes guests pause, fork halfway to mouth, and murmur, “Did you really make this?” That’s exactly the effect my Classic Key Lime Pie has, and I’m about to share every single trick that turns a humble pie into a show-stopping centrepiece.
Recipe Overview
- Prep Time: 25 minutes
- Chill Time: 4 hours (minimum)
- Total Time: 4 hours 25 minutes
- Servings: 8 generous slices
- Difficulty: Medium
Why You’ll Love This Classic Key Lime Pie
- Restaurant-Quality Presentation: From a perfectly toasted, buttery biscuit crust to a cloud-like meringue with toasted peaks, every detail is engineered to impress your dinner guests.
- Balanced Tartness: The filling hits that ideal note between sharp and sweet, thanks to fresh lime juice and a careful hand with the condensed milk.
- No-Bake Filling: The filling sets in the fridge, which means no worrying about a cracked custard or an overbaked centre.
- Make-Ahead Friendly: You can prepare this pie a full day in advance, allowing the flavours to deepen while you focus on your main course.
- Customisable Garnishes: A sprinkle of flaky sea salt, a dollop of double cream, or thin lime slices fanning out like a flower — the finishing touches are entirely yours.
Ingredients You’ll Need
- 200g digestive biscuits (or graham crackers)
- 85g unsalted butter, melted
- 30g caster sugar
- 4 large egg yolks
- 400g can of sweetened condensed milk
- 120ml fresh Key lime juice (about 12–15 Key limes, or use regular limes plus a splash of lemon)
- 1 tablespoon finely grated lime zest
- Pinch of salt
- 3 large egg whites (for the meringue topping)
- 75g caster sugar (for the meringue)
- ¼ teaspoon cream of tartar
- Flaky sea salt, for garnish
- Thin lime slices and fresh mint sprigs, for decoration
Tip: For the most vibrant filling, roll your limes firmly on the countertop before juicing — this releases more juice and makes squeezing far easier.
How to Make Classic Key Lime Pie
- Prepare the biscuit crust. Blitz the digestive biscuits in a food processor until they resemble fine, sandy crumbs — you should see no large chunks. Stir in the melted butter and caster sugar until the mixture feels like wet sand and clumps together when pressed between your fingers. Tip into a 23cm loose-bottomed tart tin and press firmly into the base and up the sides using the flat bottom of a glass. Bake at 160°C (fan) for 10 minutes, until the crust smells toasty and the edges look a shade darker. Set aside to cool completely; you’ll hear a faint crackle as it settles.
- Make the lime filling. In a large bowl, whisk the egg yolks and lime zest together for about 1 minute, until the mixture turns a pale, creamy yellow and looks thick enough to ribbon off the whisk. Pour in the condensed milk and whisk until fully incorporated — the mixture should be smooth, glossy, and slightly thicker than single cream. Slowly add the lime juice while whisking constantly. You’ll notice the filling immediately thicken and become velvety; this is the acid reacting with the condensed milk to create a silky custard.
- Fill the crust. Pour the lime filling into the cooled biscuit crust. Use a small offset spatula to spread it evenly, ensuring it reaches every edge. The filling should sit just below the rim of the crust. Tap the tin gently on the countertop to release any air bubbles — you’ll see tiny bursts rise to the surface and disappear.
- Bake the filling. Place the pie in the oven at 160°C (fan) and bake for 15 minutes. The edges of the filling will appear set and slightly puffed, while the centre will still wobble like jelly when you gently shake the tin. The surface should be matte, not shiny. Remove from the oven and let it cool on a wire rack for 20 minutes, then refrigerate uncovered for at least 3 hours, or until the filling is completely firm to the touch.
- Whip the meringue. Just before you’re ready to serve, place the egg whites and cream of tartar in a very clean, grease-free bowl. Whisk on medium speed until soft peaks form — when you lift the whisk, the peaks should droop gently. Increase speed to high and add the caster sugar, a tablespoon at a time, whisking for about 30 seconds between each addition. Continue until the meringue is stiff, glossy, and holds a firm peak that stands upright without slumping. The mixture should feel silky, not grainy, when rubbed between your fingers.
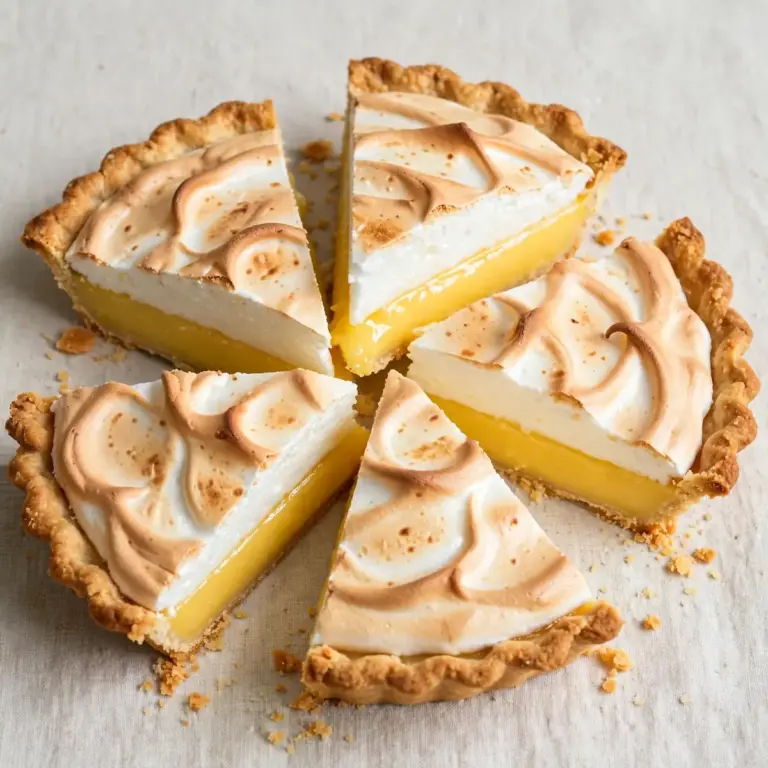
- Toast the meringue. Spoon the meringue onto the chilled pie, starting at the edges and working inward to create swoops and peaks with the back of a spoon. Use a kitchen blowtorch to toast the meringue in gentle, sweeping motions — watch as the tips turn golden brown and develop a faint caramelised aroma. Alternatively, place the pie under a hot grill for 60–90 seconds, rotating once, but keep a close eye; you want bronzed peaks, not burnt ones.
- Finish and serve. Immediately scatter a pinch of flaky sea salt over the meringue. Arrange thin lime slices and a few mint sprigs around the edge for a restaurant-style finish. Let the pie rest at room temperature for 5 minutes before slicing — this prevents the meringue from cracking when you cut. Use a sharp, wet knife for clean slices, wiping the blade between cuts.
Tips From My Kitchen
- Chill the bowl and whisk for the meringue. Egg whites whip best when everything is cold. Pop your metal bowl and whisk attachment in the fridge for 10 minutes before starting. This small step gives you a sturdier, more voluminous meringue that holds its shape beautifully under the blowtorch.
- Use a digital scale for the biscuit crust. I cannot stress this enough — the ratio of butter to crumbs is everything. Too much butter and your crust will be greasy and slide apart; too little and it will crumble when you slice. Weighing your ingredients ensures a crisp, stable base every single time.
- Don’t over-bake the filling. The filling continues to set as it chills, so you want to pull it out of the oven while the centre still wobbles. Over-baking causes the filling to curdle or develop a rubbery texture. Trust the wobble — it’s your best indicator.
- Toast the meringue just before serving. If you toast it too early, the meringue can weep or deflate. I like to whip and toast the meringue while my guests are finishing their main course. The dramatic moment of blowtorching at the table never fails to draw oohs and ahhs.
- Make the lime juice fresh. Bottled lime juice lacks the bright, zesty punch that makes this pie sing. Freshly squeezed Key limes are ideal, but regular limes work well too — just add a teaspoon of lemon juice to mimic the Key lime’s unique tartness. My husband, who’s usually picky, asked for seconds the first time I used fresh juice, and he never lets me forget it.
Equipment You’ll Need
- 23cm loose-bottomed tart tin
- Stand mixer or hand mixer
- Food processor (or a rolling pin and a sturdy bag for crushing biscuits)
- Baking tray
- Parchment paper
- Wire cooling rack
- Fine-mesh sieve (for removing lime pith from juice)
- Offset spatula
- Kitchen blowtorch (optional, but highly recommended)
Delicious Variations to Try
- Spicy Version: Add ½ teaspoon of finely grated fresh ginger to the biscuit crust and a pinch of cayenne pepper to the filling. The warmth of the spices cuts through the tart lime and creates an unexpected, sophisticated finish that pairs wonderfully with a dollop of crème fraîche.
- Vegan Option: Use a plant-based biscuit (check for no honey or milk solids) and replace the butter with melted coconut oil. For the filling, substitute the condensed milk with a 400g can of coconut condensed milk (available in most health-food shops) and use 3 tablespoons of cornflour mixed with 60ml of water to help set the filling. The meringue can be made with aquafaba — the liquid from a can of chickpeas — whisked with cream of tartar and sugar until stiff peaks form.
- Different Protein: For a savoury twist, serve the pie alongside a small dish of toasted coconut flakes and a side of grilled pineapple slices. The combination of smoky, sweet, and tart is a conversation starter at any dinner party.
What to Serve With Classic Key Lime Pie
- A generous dollop of lightly whipped double cream, sweetened with a dusting of icing sugar
- A small glass of chilled coconut water or a sparkling lime and mint mocktail
- Fresh berries — raspberries or sliced strawberries add a pop of colour and a hint of sweetness
- A cup of strong black coffee to balance the tartness
Still hungry for ideas? You might also love No Bake Key Lime Pie Desserts, Cream Cheese No Bake Key Lime Pie from our sister kitchens.
Frequently Asked Questions
Classic Key Lime Pie
Ingredients
Method
-
Prepare the biscuit crust. Blitz the digestive biscuits in a food processor until they resemble fine, sandy crumbs — you should see no large chunks. Stir in the melted butter and caster sugar until the mixture feels like wet sand and clumps together when pressed between your fingers. Tip into a 23cm loose-bottomed tart tin and press firmly into the base and up the sides using the flat bottom of a glass. Bake at 160°C (fan) for 10 minutes, until the crust smells toasty and the edges look a shade darker. Set aside to cool completely; you’ll hear a faint crackle as it settles.
-
Make the lime filling. In a large bowl, whisk the egg yolks and lime zest together for about 1 minute, until the mixture turns a pale, creamy yellow and looks thick enough to ribbon off the whisk. Pour in the condensed milk and whisk until fully incorporated — the mixture should be smooth, glossy, and slightly thicker than single cream. Slowly add the lime juice while whisking constantly. You’ll notice the filling immediately thicken and become velvety; this is the acid reacting with the condensed milk to create a silky custard.
-
Fill the crust. Pour the lime filling into the cooled biscuit crust. Use a small offset spatula to spread it evenly, ensuring it reaches every edge. The filling should sit just below the rim of the crust. Tap the tin gently on the countertop to release any air bubbles — you’ll see tiny bursts rise to the surface and disappear.
-
Bake the filling. Place the pie in the oven at 160°C (fan) and bake for 15 minutes. The edges of the filling will appear set and slightly puffed, while the centre will still wobble like jelly when you gently shake the tin. The surface should be matte, not shiny. Remove from the oven and let it cool on a wire rack for 20 minutes, then refrigerate uncovered for at least 3 hours, or until the filling is completely firm to the touch.
-
Whip the meringue. Just before you’re ready to serve, place the egg whites and cream of tartar in a very clean, grease-free bowl. Whisk on medium speed until soft peaks form — when you lift the whisk, the peaks should droop gently. Increase speed to high and add the caster sugar, a tablespoon at a time, whisking for about 30 seconds between each addition. Continue until the meringue is stiff, glossy, and holds a firm peak that stands upright without slumping. The mixture should feel silky, not grainy, when rubbed between your fingers.
-
Toast the meringue. Spoon the meringue onto the chilled pie, starting at the edges and working inward to create swoops and peaks with the back of a spoon. Use a kitchen blowtorch to toast the meringue in gentle, sweeping motions — watch as the tips turn golden brown and develop a faint caramelised aroma. Alternatively, place the pie under a hot grill for 60–90 seconds, rotating once, but keep a close eye; you want bronzed peaks, not burnt ones.
-
Finish and serve. Immediately scatter a pinch of flaky sea salt over the meringue. Arrange thin lime slices and a few mint sprigs around the edge for a restaurant-style finish. Let the pie rest at room temperature for 5 minutes before slicing — this prevents the meringue from cracking when you cut. Use a sharp, wet knife for clean slices, wiping the blade between cuts.
Notes
I still remember the first time I served this pie at a dinner party — the room went quiet for a moment after the first bite, and then everyone started talking at once. That’s the kind of reaction you want, and it’s entirely achievable with a bit of attention to detail. Whether you’re hosting a summer gathering or just want to treat yourself to something extraordinary, this Classic Key Lime Pie delivers every time. My kids absolutely devour this every time I make it, and I suspect your family will too. Have you tried it? I’d love to hear how your presentation turned out — drop a comment below and let me know which garnish stole the show.