Peanut Butter Chocolate Protein Smoothie
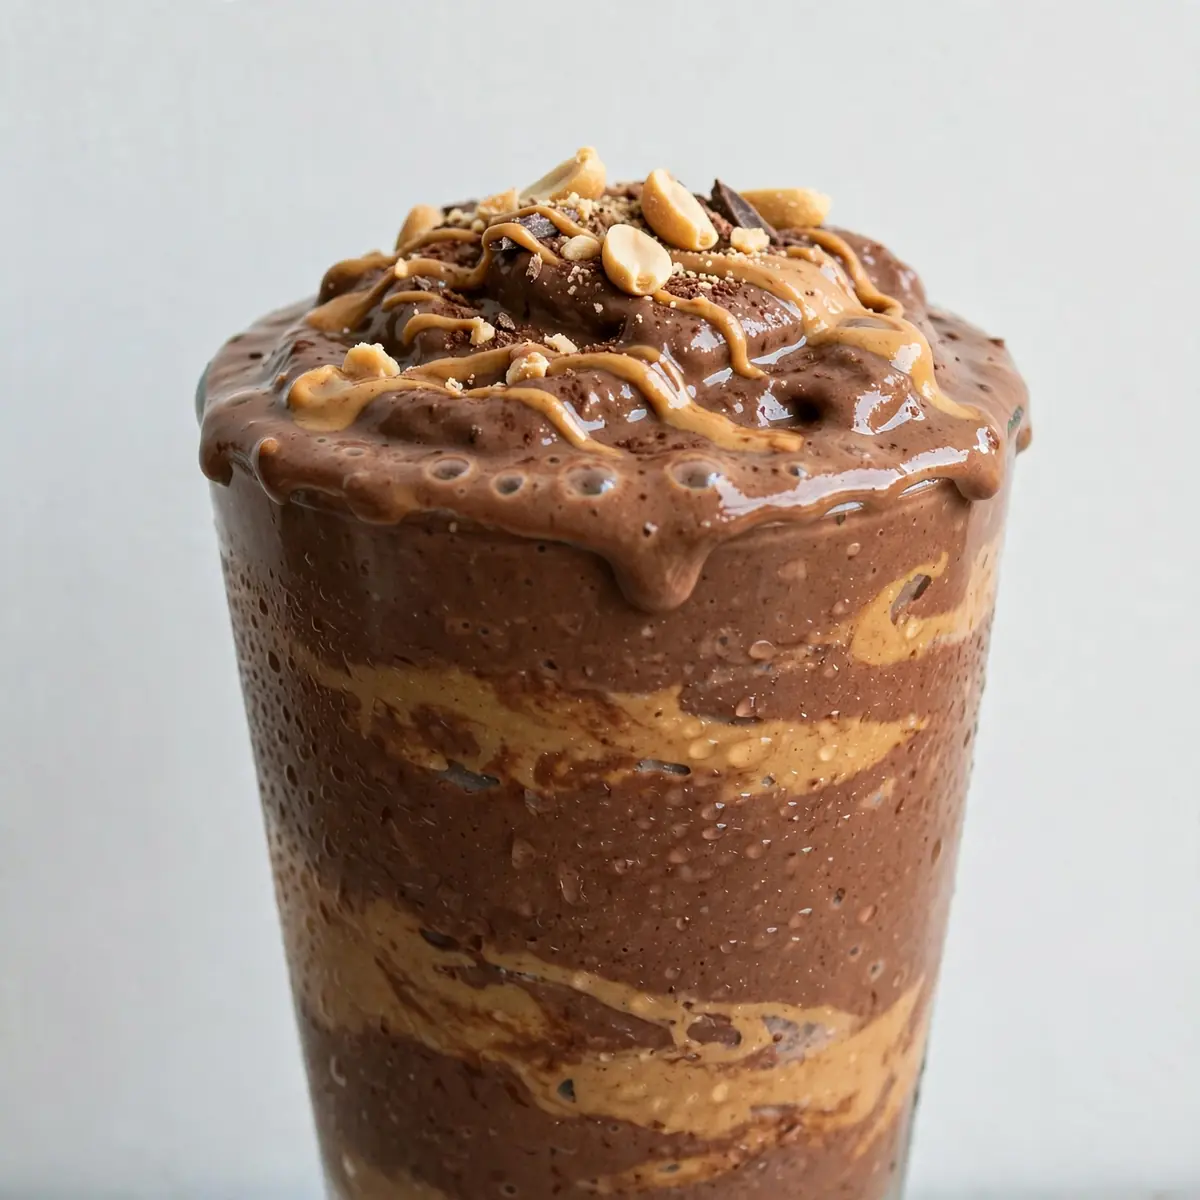
I’ll never forget the look on my friend’s face when I set this down at a brunch gathering. She took one sip, raised an eyebrow, and asked if I’d secretly hired a chef. That’s the kind of reaction you get when you treat a smoothie not as a quick blender blitz, but as a composed, layered dish worthy of a fancy glass. This Peanut Butter Chocolate Protein Smoothie is my secret weapon for impressing guests without spending hours in the kitchen.
Recipe Overview
- Prep Time: 5 minutes
- Cook Time: 0 minutes
- Total Time: 5 minutes
- Servings: 2 generous glasses
- Difficulty: Easy
Why You’ll Love This Peanut Butter Chocolate Protein Smoothie
- Restaurant-quality presentation: We focus on the small details—layering, garnishing, and glassware—that make this feel like a £15 dessert at a chic café.
- Seriously satisfying protein punch: With a double hit from peanut butter and a quality protein powder, this keeps you full for hours, not just thirty minutes.
- No refined sugar needed: The sweetness comes naturally from ripe banana and a touch of honey or maple syrup, so it feels indulgent but isn’t.
- Customisable for dietary needs: Swapping in oat milk or a plant-based protein makes this vegan in a flash, without losing any of that creamy texture.
- Made in one blender: Fewer dishes mean more time to chat with your guests, which is the whole point of hosting.
Ingredients You’ll Need
- 1 large ripe banana (roughly 120g)
- 250ml whole milk (or oat milk for a dairy-free version)
- 2 heaped tablespoons (40g) smooth peanut butter
- 1 scoop (30g) chocolate protein powder (whey or plant-based)
- 1 tablespoon (15g) cocoa powder, unsweetened
- 1 teaspoon honey or maple syrup (optional, depending on sweetness preference)
- 1/2 teaspoon vanilla extract
- 4-5 ice cubes (about 60g)
- For garnish: 1 tablespoon cacao nibs, a drizzle of extra peanut butter, and a pinch of flaky sea salt
Tip: For the most impressive result, use a banana that is heavily speckled with brown spots. It’s sweeter and creates a much smoother, almost pudding-like texture that helps the smoothie hold its shape when poured.
How to Make Peanut Butter Chocolate Protein Smoothie
- Prepare your banana: Peel the banana and break it into 4-5 chunks. Spread them on a plate and pop them in the freezer for 10 minutes. This step is the key to a thick, milkshake-like consistency without watering the drink down with too much ice. The banana should feel firm to the touch but not rock-solid.
- Layer the ingredients in the blender: Pour the milk into the blender first. This helps the blades spin freely. Add the frozen banana chunks, then the peanut butter, chocolate protein powder, cocoa powder, honey (if using), vanilla extract, and finally the ice cubes. I like to add the powder last so it doesn’t stick to the bottom of the jug.
- Blend until silky smooth: Start your blender on a low speed to break up the ice, then gradually increase to high. Blend for 45-60 seconds. You’ll know it’s ready when you hear the sound change from a loud, rattling chop to a low, smooth hum. The mixture should look thick, glossy, and dark brown, with no visible flecks of protein powder.
- Check the consistency: Stop the blender and scrape down the sides with a spatula. The smoothie should be thick enough to coat the back of a spoon. If it’s too thick, add a splash more milk (1 tablespoon at a time) and pulse briefly. If it’s too thin, add 2-3 more ice cubes and blend again. The final texture should be like a soft-serve ice cream that just begins to flow.
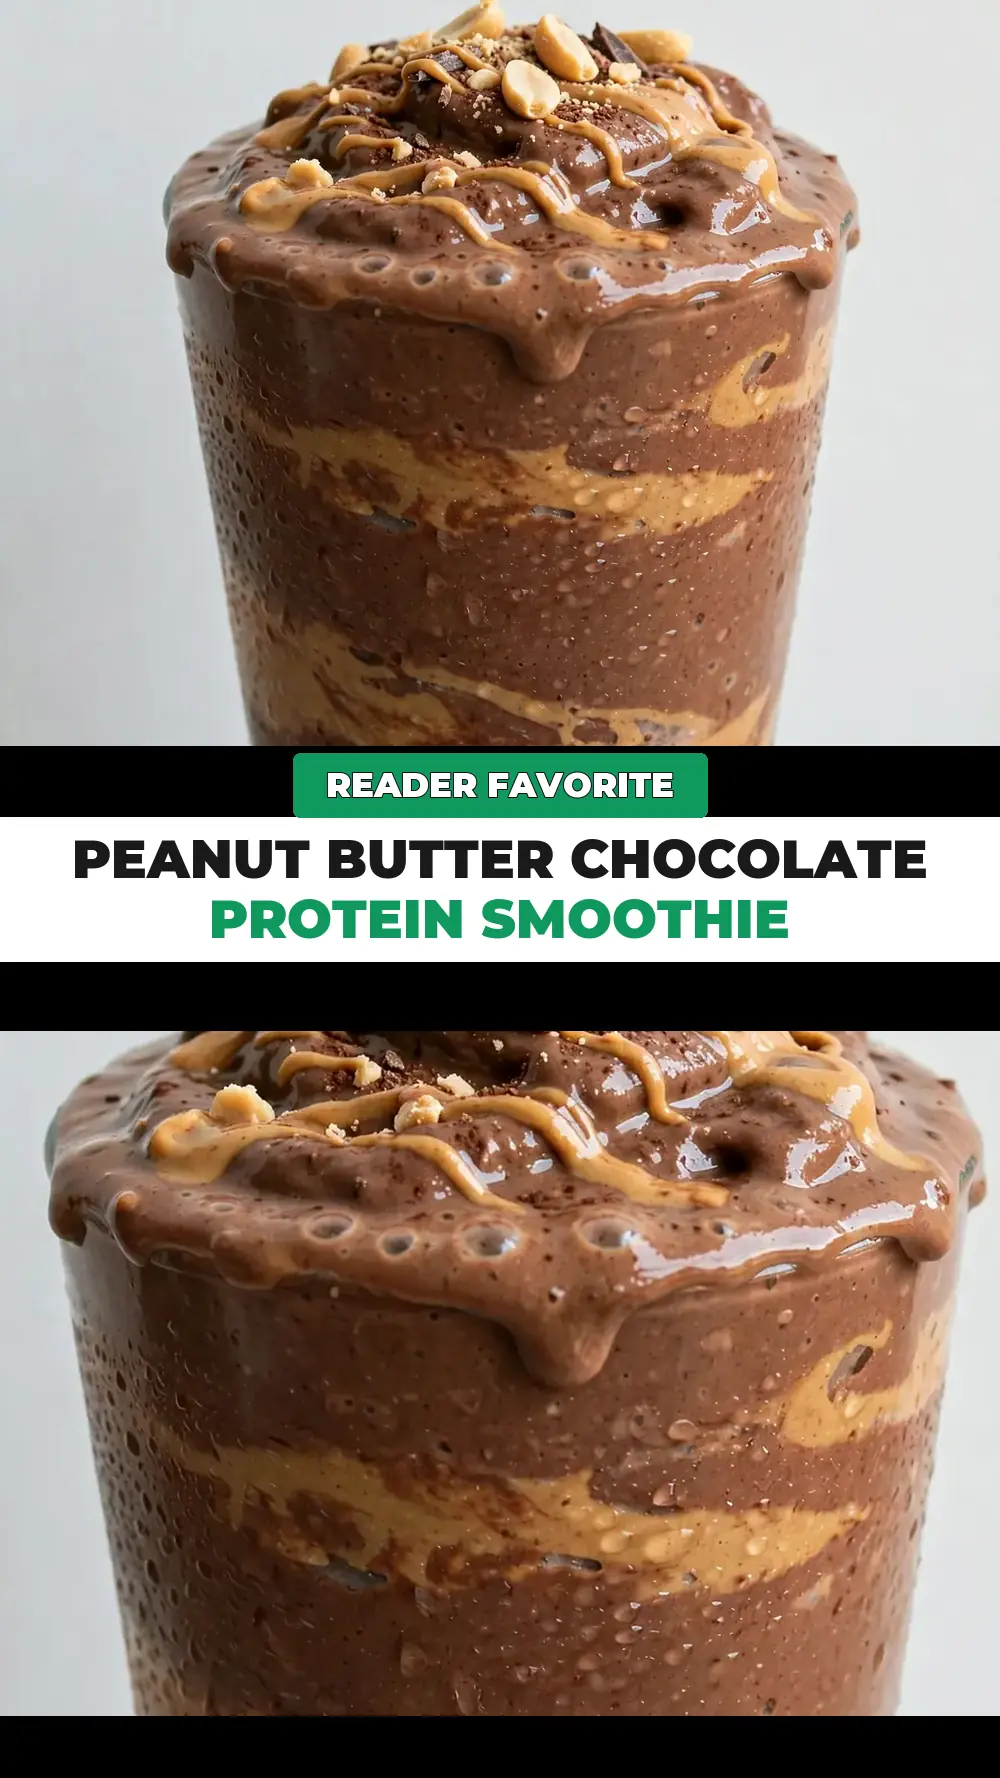
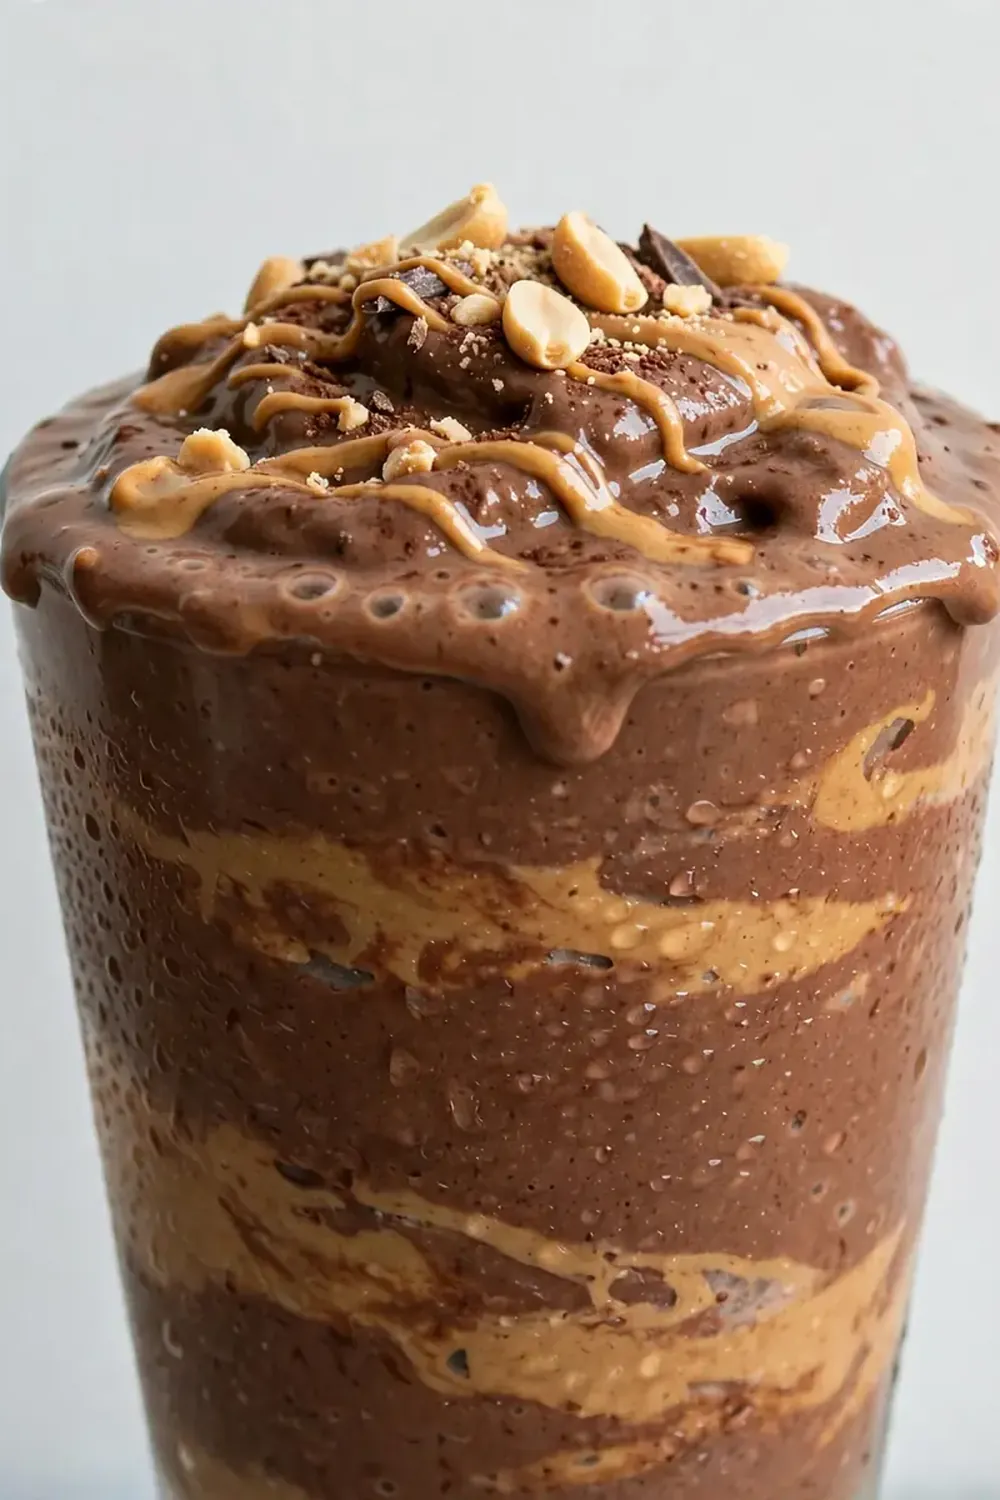
- Prepare your glasses for presentation: Take two chilled glasses (this is my favourite trick for a professional look). Drizzle a teaspoon of extra peanut butter around the inside rim of each glass, letting it run down in streaks. This creates a beautiful visual when you pour the smoothie in.
- Pour and layer: Carefully pour the smoothie into the prepared glasses, dividing it evenly. Tap the glass gently on the counter to release any large air bubbles. The smoothie should sit thickly, with the peanut butter streaks visible through the glass.
- Garnish like a barista: Sprinkle a pinch of flaky sea salt over the top—this elevates the chocolate flavour instantly. Then scatter the cacao nibs over the surface. For a final flourish, drizzle a tiny bit more peanut butter in a zigzag pattern across the top. Serve immediately with a long spoon and a straw.
Tips From My Kitchen
- Use frozen banana, not just ice: Ice dilutes the flavour as it melts. Frozen banana creates a creamy, thick texture without sacrificing taste. I always keep a bag of peeled, chopped bananas in my freezer specifically for this smoothie. The colder the banana, the thicker the final result.
- Choose your protein powder wisely: A low-quality protein powder can make your smoothie taste chalky or gritty. I use a chocolate whey isolate that dissolves completely. If you’re using a plant-based powder, look for one that is ‘micro-filtered’ or ‘fine-milled’ to avoid a sandy texture. Taste the powder on its own first; if it’s not pleasant, the smoothie won’t be either.
- Don’t skip the salt: That pinch of flaky sea salt at the end is not just for looks. It counteracts bitterness from the cocoa and protein powder, and it makes the peanut butter taste more nutty and intense. Maldon salt is my go-to for the best crunch and flavour burst.
- Chill your glasses: A warm glass will make your smoothie melt too quickly, especially if you’re taking photos or chatting before serving. Pop your serving glasses in the freezer for 15 minutes before you start blending. The frost on the glass also adds a lovely visual detail.
- Blend in stages for the best texture: If you dump everything in at once, you might get pockets of dry powder. I always blend the milk and banana first for 10 seconds to create a base, then add the powders and ice. This prevents the cocoa from flying up and coating the lid.
- Adjust sweetness to the banana: The sweetness of bananas varies wildly. A very ripe, spotty banana might make the smoothie sweet enough on its own. Taste the smoothie after blending but before adding the honey or maple syrup. You can always add more sweetness, but you can’t take it away.
Equipment You’ll Need
- A high-speed blender (a standard countertop blender works, but a powerful one gives a silkier texture)
- A small plate or tray for freezing the banana
- A rubber spatula for scraping down the sides
- Two tall, clear glasses (to show off the layers)
- A measuring spoon set
Delicious Variations to Try
- Spicy Mexican Chocolate Version: Add a pinch of cayenne pepper (about 1/8 teaspoon) and a pinch of ground cinnamon to the blender with the other dry ingredients. The heat wakes up the chocolate and pairs beautifully with the creamy peanut butter. It’s a sophisticated twist that surprises guests.
- Vegan Option: Substitute the whole milk with a barista-style oat milk (which is creamier than standard oat milk) and use a vegan chocolate protein powder made from pea or brown rice protein. The frozen banana provides enough creaminess that you won’t miss the dairy at all.
- Different Protein Profile: If you want a lighter, less sweet version, swap the chocolate protein powder for an unflavoured or vanilla collagen peptide powder. The cocoa powder will still give you the chocolate flavour, and the collagen blends invisibly, leaving a cleaner taste.
What to Serve With Peanut Butter Chocolate Protein Smoothie
- A small dish of fresh strawberries or raspberries on the side — the tartness cuts through the richness.
- Thin, crisp oat biscuits (such as Hobnobs or a homemade shortbread) for dipping.
- A shot of strong espresso on the side for those who love a coffee-chocolate pairing.
- Nothing at all — this smoothie is substantial enough to be a meal on its own, especially for a light breakfast or afternoon pick-me-up.
Still hungry for ideas? You might also love Peanut Butter Protein Overnight Oats, 8 High Protein Functional Smoothie Recipes from our sister kitchens.
Frequently Asked Questions
Peanut Butter Chocolate Protein Smoothie
Ingredients
Method
-
Prepare your banana: Peel the banana and break it into 4-5 chunks. Spread them on a plate and pop them in the freezer for 10 minutes. This step is the key to a thick, milkshake-like consistency without watering the drink down with too much ice. The banana should feel firm to the touch but not rock-solid.
-
Layer the ingredients in the blender: Pour the milk into the blender first. This helps the blades spin freely. Add the frozen banana chunks, then the peanut butter, chocolate protein powder, cocoa powder, honey (if using), vanilla extract, and finally the ice cubes. I like to add the powder last so it doesn’t stick to the bottom of the jug.
-
Blend until silky smooth: Start your blender on a low speed to break up the ice, then gradually increase to high. Blend for 45-60 seconds. You’ll know it’s ready when you hear the sound change from a loud, rattling chop to a low, smooth hum. The mixture should look thick, glossy, and dark brown, with no visible flecks of protein powder.
-
Check the consistency: Stop the blender and scrape down the sides with a spatula. The smoothie should be thick enough to coat the back of a spoon. If it’s too thick, add a splash more milk (1 tablespoon at a time) and pulse briefly. If it’s too thin, add 2-3 more ice cubes and blend again. The final texture should be like a soft-serve ice cream that just begins to flow.
-
Prepare your glasses for presentation: Take two chilled glasses (this is my favourite trick for a professional look). Drizzle a teaspoon of extra peanut butter around the inside rim of each glass, letting it run down in streaks. This creates a beautiful visual when you pour the smoothie in.
-
Pour and layer: Carefully pour the smoothie into the prepared glasses, dividing it evenly. Tap the glass gently on the counter to release any large air bubbles. The smoothie should sit thickly, with the peanut butter streaks visible through the glass.
-
Garnish like a barista: Sprinkle a pinch of flaky sea salt over the top—this elevates the chocolate flavour instantly. Then scatter the cacao nibs over the surface. For a final flourish, drizzle a tiny bit more peanut butter in a zigzag pattern across the top. Serve immediately with a long spoon and a straw.
Notes
So next time you have friends over for brunch or just want to treat yourself to something that looks as good as it tastes, give this Peanut Butter Chocolate Protein Smoothie a go. The secret is in the details—the frozen banana, the chilled glass, the pinch of salt. I’d love to hear how yours turns out, so please do drop a comment below and share your own garnish ideas. For more recipes that impress without the stress, browse through All Recipes on Sweettable.Online.