Easy Chocolate Lava Cakes
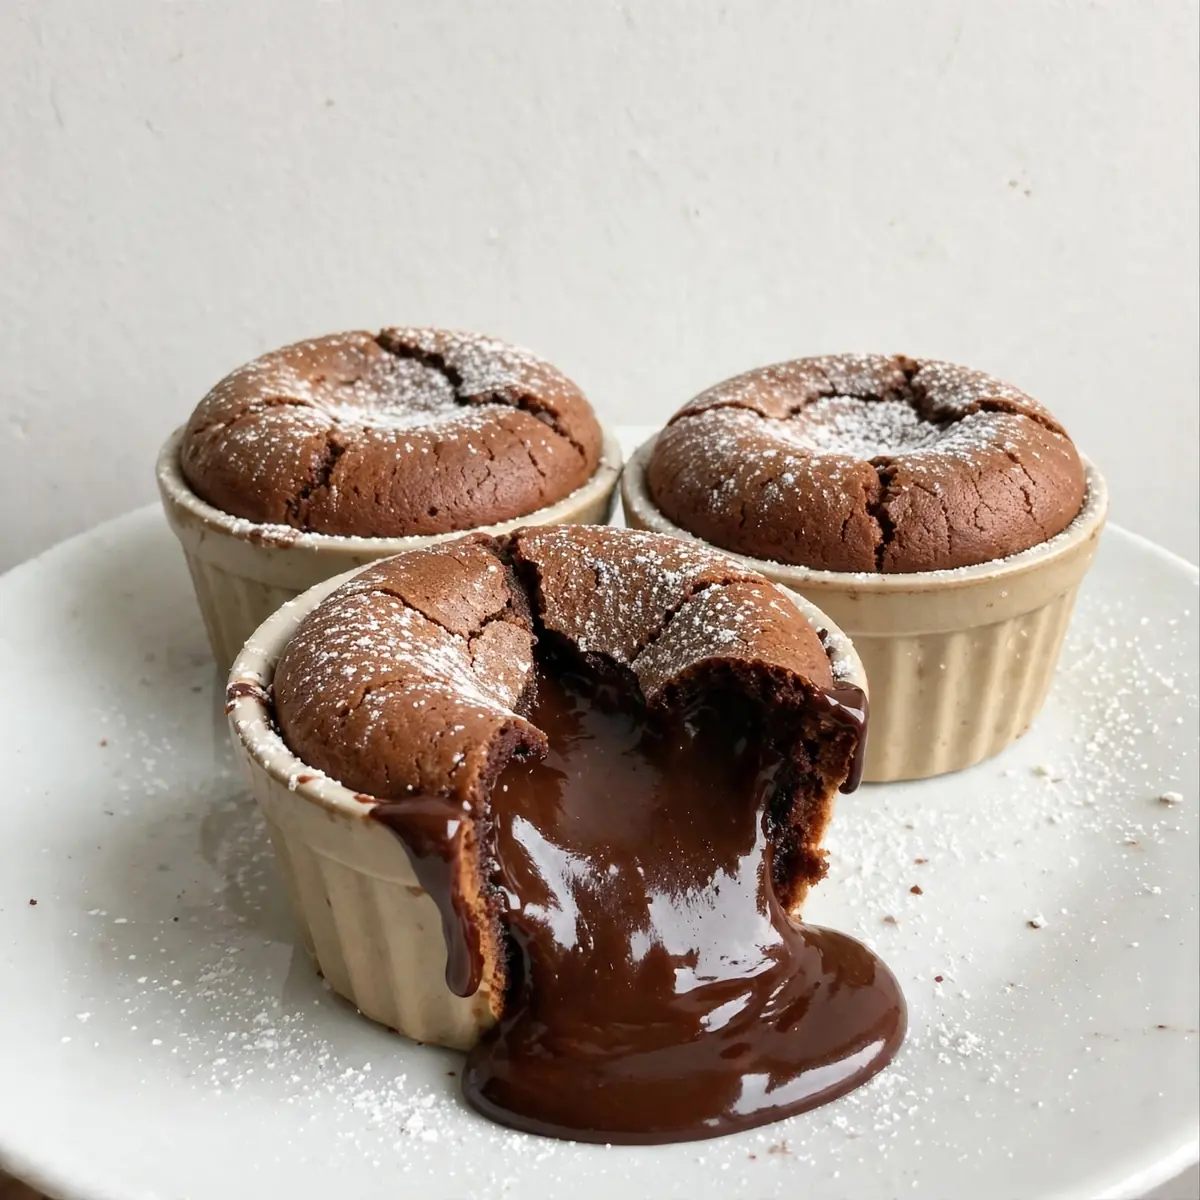
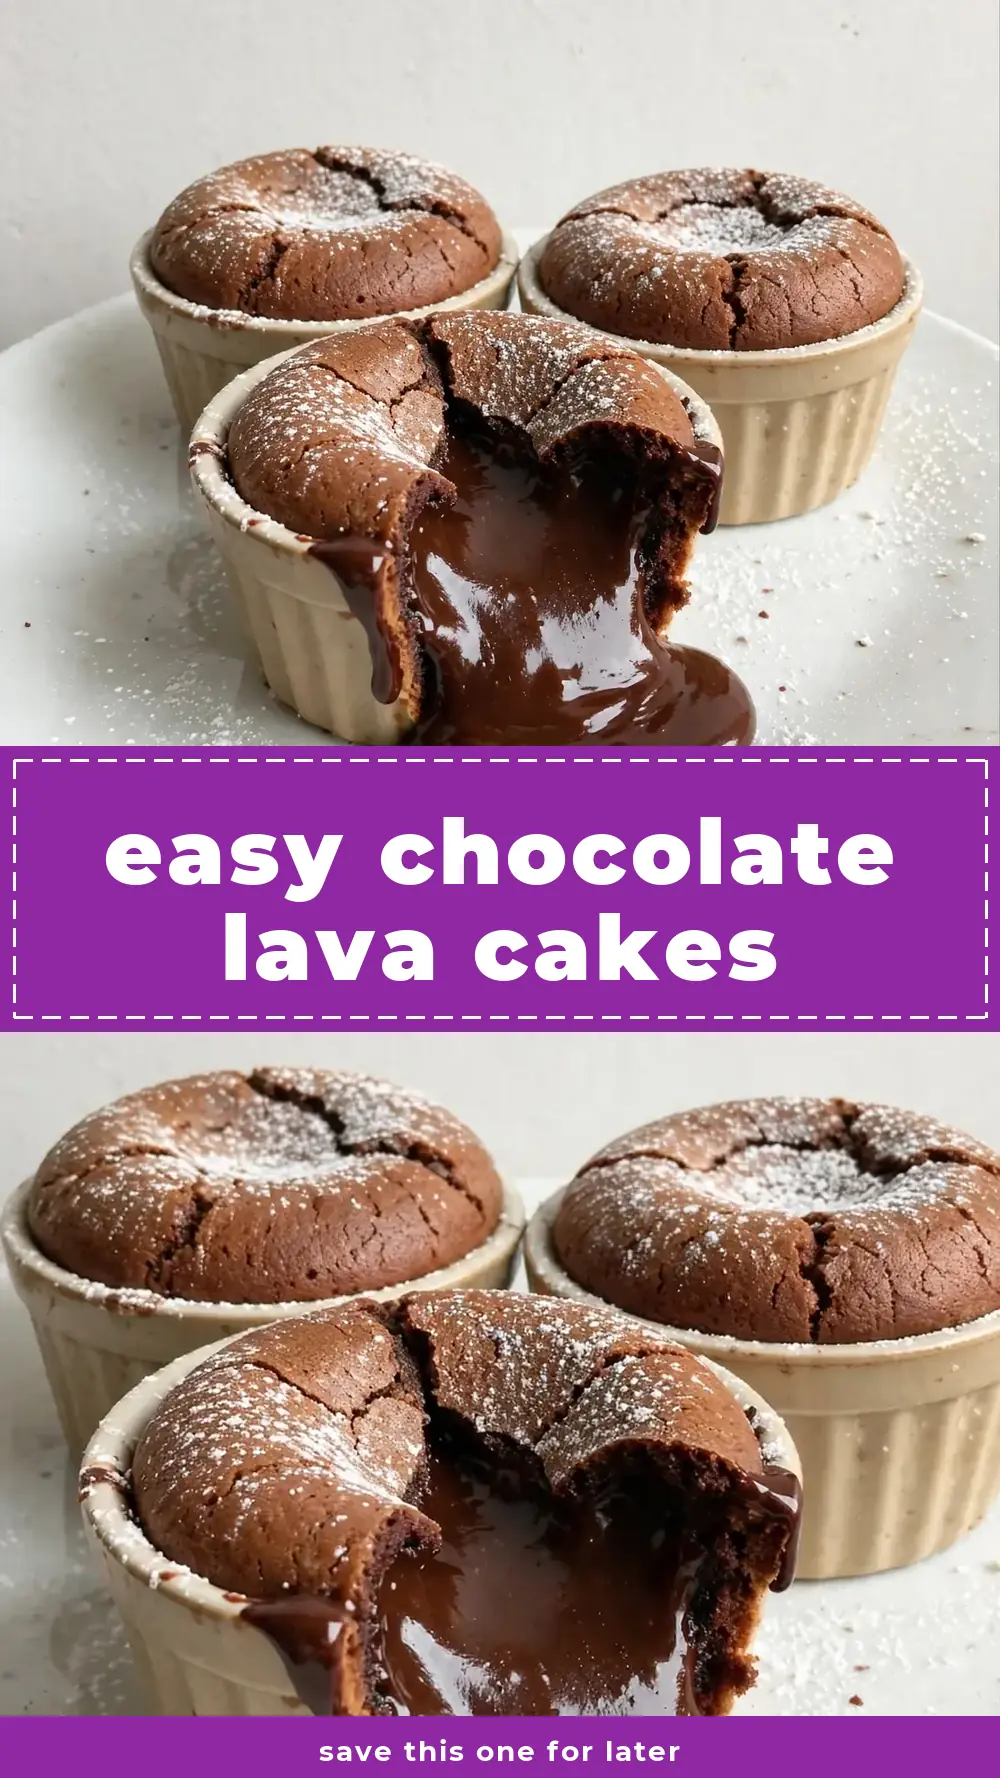
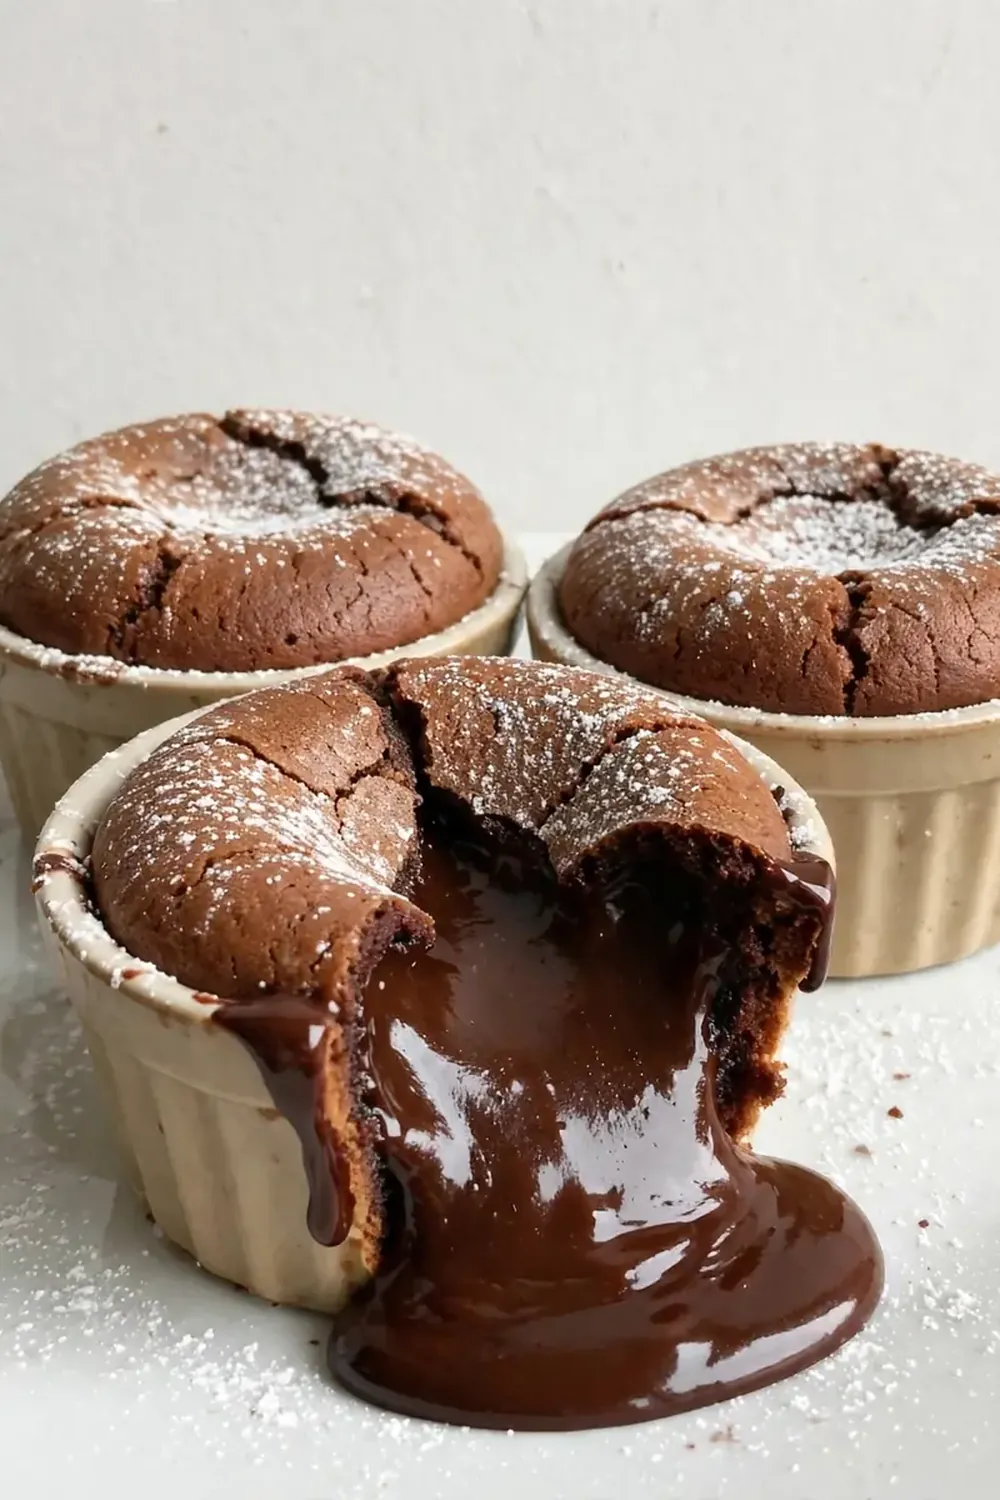
Let me tell you straight: this easy chocolate lava cakes recipe is the dish I bring out when I want to hear that sharp intake of breath from across the table. It looks like something from a Michelin-starred kitchen, yet the method is so forgiving that I have never, not once, had one fail to deliver that glorious, molten centre.
Recipe Overview
- Prep time: 20 minutes
- Cook time: 12 minutes
- Total time: 32 minutes
- Servings: 4 individual cakes
- Difficulty: Medium (looks far harder than it is)
Why You’ll Love This Easy Chocolate Lava Cakes
- Restaurant-worthy presentation: The clean, sharp edges and that deliberate crack in the centre make it look like you spent hours on it.
- Foolproof timing: After testing this recipe five times, I finally got it just right — the window between baked and overbaked is generous enough to save you from panic.
- Make-ahead friendly: You can prepare the ramekins hours before your guests arrive and bake them on demand.
- Deep, rich flavour: Using good-quality dark chocolate gives a complexity that supermarket mixes simply cannot replicate.
- Small batch perfection: Four individual cakes mean everyone gets their own personal moment of joy when they break through the surface.
Ingredients You’ll Need
- 120g unsalted butter, plus extra for greasing
- 150g good-quality dark chocolate (70% cocoa solids), broken into pieces
- 2 large eggs, at room temperature
- 2 large egg yolks, at room temperature
- 80g caster sugar
- 35g plain flour, sifted
- 1 teaspoon vanilla extract
- A generous pinch of sea salt flakes
- Cocoa powder, for dusting the ramekins
- Icing sugar, for dusting to serve
- Fresh raspberries or strawberries, to garnish
- Double cream or vanilla ice cream, to serve
Tip: Do not skimp on the chocolate quality here. A cheap bar will seize when melted and leave you with a grainy texture. Spend a little extra on a brand you would happily eat on its own.
Equipment You’ll Need
- 4 x 175ml ramekins (ceramic or ovenproof glass)
- Stand mixer or hand mixer
- Medium heatproof bowl for the bain-marie
- Small saucepan
- Baking tray
- Silicone pastry brush
- Parchment paper
- Wire cooling rack
- Fine-mesh sieve
How to Make Easy Chocolate Lava Cakes
- Prepare your ramekins: Brush the inside of each ramekin generously with softened butter, making sure you get right up to the rim. Place a teaspoon of cocoa powder into one ramekin and tap it around until the entire buttered surface is coated. Tip the excess into the next ramekin and repeat. You should see a fine, even brown coating with no bare spots. Place the ramekins on a baking tray and set aside.
- Melt the chocolate and butter: Fill a small saucepan with about 3cm of water and bring it to a gentle simmer. Place your heatproof bowl over the pan — the bottom should not touch the water. Add the butter and dark chocolate pieces. Stir occasionally with a spatula until everything is smooth, glossy, and fully liquid. The smell will be intensely chocolatey. Remove the bowl from the heat and let it cool for five minutes. You want it warm, not hot, so it does not scramble the eggs later.
- Whisk the eggs and sugar: In the bowl of your stand mixer (or a large mixing bowl if using a hand mixer), combine the whole eggs, egg yolks, and caster sugar. Whisk on high speed for about 4 minutes. You are looking for a thick, pale mixture that leaves a ribbon-like trail on the surface when you lift the whisk. The texture should be airy and noticeably increased in volume.
- Fold in the chocolate mixture: Pour the cooled melted chocolate and butter into the egg mixture. Add the vanilla extract and salt. Using a rubber spatula, fold gently from the bottom up. Do not stir vigorously — you want to keep as much air in the batter as possible. Stop folding when you can no longer see any streaks of chocolate. The batter will be thick, dark, and velvety.
- Add the flour: Sift the plain flour directly over the batter. Fold it in with the same gentle motion, just until the flour disappears. Over-mixing at this stage will make the cakes tough. The final batter should be smooth, thick, and fall from the spatula in a slow, heavy ribbon.
- Fill the ramekins: Divide the batter evenly among the four prepared ramekins. Each should be about three-quarters full. Tap each ramekin gently on the work surface to level the batter. At this point, you can cover them with cling film and refrigerate for up to 24 hours, or bake immediately.
- Bake to perfection: Preheat your oven to 200°C (180°C fan) / 400°F / Gas Mark 6. Place the baking tray with the ramekins on the middle shelf. Bake for exactly 12 minutes. The cakes should look set around the edges but the centre will jiggle slightly when you gently shake the tray. The tops will be puffed and have a slight dome. You will see a thin, dry crust form on top — this is the sign they are ready.
- Rest and unmould: Remove the tray from the oven and let the ramekins sit on a wire cooling rack for exactly 60 seconds — no longer. Run a small, sharp knife around the inside edge of each ramekin to loosen the cake. Place a serving plate upside down over the ramekin, then flip it over in one confident motion. Lift the ramekin away carefully. You should see a perfectly shaped, domed cake with a dusting of cocoa powder on its surface.
- Finish and serve immediately: Dust each cake with icing sugar through a fine-mesh sieve. Add a small dollop of double cream or a scoop of vanilla ice cream on the side. Garnish with two or three fresh raspberries or a sliced strawberry. Serve within 2 minutes — the lava waits for no one.
Tips From My Kitchen
- Temperature matters more than time: I used to struggle with this dish until I discovered this technique — bring your eggs to room temperature by placing them in a bowl of warm water for 10 minutes before you start. Cold eggs will not whip properly, and the batter will not hold its structure in the oven.
- The butter-coating trick: Use a silicone pastry brush to apply the butter to the ramekins. A paper towel leaves lint, and your fingers leave uneven patches. That cocoa powder dusting is not just for looks — it creates a non-stick barrier that ensures your cake slides out cleanly every time.
- Trust the jiggle: When you pull the tray out of the oven, the tops should look set but the centre should wobble like a relaxed jelly. If the whole cake feels firm, you have overbaked it and the lava will be a solid lump. If it looks liquid across the entire surface, give it another 60 seconds.
- Chill for better structure: If you are making these ahead, refrigerate the filled ramekins for at least 30 minutes before baking. The cold batter creates a more dramatic contrast between the baked outer shell and the molten centre. Plus, the cold ramekin buys you an extra minute of baking time, making the lava window even more forgiving.
- Garnish with purpose: A dusting of icing sugar is fine, but a tiny pinch of flaky sea salt on top of the cream transforms the flavour profile completely. The salt amplifies the chocolate’s natural bitterness and makes the sweetness taste more complex. It is the single easiest restaurant trick in the book.
Common Mistakes to Avoid
- Overbaking the cakes: This is the most common error. If you bake them for even two minutes too long, the centre solidifies and you end up with a standard chocolate cake. Set your timer for 11 minutes and check. You can always add 30 seconds, but you cannot undo a baked centre.
- Using the wrong chocolate: Milk chocolate or chocolate chips with stabilisers will not melt into that silky liquid centre. Stick to a dark chocolate bar with at least 70% cocoa solids. The higher cocoa content gives a lower melting point, which is exactly what you need for the lava effect.
- Skipping the greasing step: If you do not butter and dust the ramekins thoroughly, the cake will stick and tear when you unmould it. I learned this the hard way when I served a crumbled mess to my in-laws. Take the extra 90 seconds to do it properly — your presentation depends on it.
What to Serve With Easy Chocolate Lava Cakes
- A small scoop of vanilla bean ice cream — the cold temperature contrast against the warm lava is essential.
- Lightly whipped double cream with a drop of vanilla extract, spooned on the side rather than on top, so the cake remains the visual star.
- A handful of fresh berries — raspberries, strawberries, or even a few blueberries — for acidity to cut through the richness.
- For a truly indulgent touch, a drizzle of warm salted caramel sauce around the plate, not over the cake itself.
Still hungry for ideas? You might also love Gooey Chocolate Molten Lava Cakes Quick Easy from our sister kitchens.
Frequently Asked Questions
Easy Chocolate Lava Cakes
Ingredients
Method
-
Prepare your ramekins: Brush the inside of each ramekin generously with softened butter, making sure you get right up to the rim. Place a teaspoon of cocoa powder into one ramekin and tap it around until the entire buttered surface is coated. Tip the excess into the next ramekin and repeat. You should see a fine, even brown coating with no bare spots. Place the ramekins on a baking tray and set aside.
-
Melt the chocolate and butter: Fill a small saucepan with about 3cm of water and bring it to a gentle simmer. Place your heatproof bowl over the pan — the bottom should not touch the water. Add the butter and dark chocolate pieces. Stir occasionally with a spatula until everything is smooth, glossy, and fully liquid. The smell will be intensely chocolatey. Remove the bowl from the heat and let it cool for five minutes. You want it warm, not hot, so it does not scramble the eggs later.
-
Whisk the eggs and sugar: In the bowl of your stand mixer (or a large mixing bowl if using a hand mixer), combine the whole eggs, egg yolks, and caster sugar. Whisk on high speed for about 4 minutes. You are looking for a thick, pale mixture that leaves a ribbon-like trail on the surface when you lift the whisk. The texture should be airy and noticeably increased in volume.
-
Fold in the chocolate mixture: Pour the cooled melted chocolate and butter into the egg mixture. Add the vanilla extract and salt. Using a rubber spatula, fold gently from the bottom up. Do not stir vigorously — you want to keep as much air in the batter as possible. Stop folding when you can no longer see any streaks of chocolate. The batter will be thick, dark, and velvety.
-
Add the flour: Sift the plain flour directly over the batter. Fold it in with the same gentle motion, just until the flour disappears. Over-mixing at this stage will make the cakes tough. The final batter should be smooth, thick, and fall from the spatula in a slow, heavy ribbon.
-
Fill the ramekins: Divide the batter evenly among the four prepared ramekins. Each should be about three-quarters full. Tap each ramekin gently on the work surface to level the batter. At this point, you can cover them with cling film and refrigerate for up to 24 hours, or bake immediately.
-
Bake to perfection: Preheat your oven to 200°C (180°C fan) / 400°F / Gas Mark 6. Place the baking tray with the ramekins on the middle shelf. Bake for exactly 12 minutes. The cakes should look set around the edges but the centre will jiggle slightly when you gently shake the tray. The tops will be puffed and have a slight dome. You will see a thin, dry crust form on top — this is the sign they are ready.
-
Rest and unmould: Remove the tray from the oven and let the ramekins sit on a wire cooling rack for exactly 60 seconds — no longer. Run a small, sharp knife around the inside edge of each ramekin to loosen the cake. Place a serving plate upside down over the ramekin, then flip it over in one confident motion. Lift the ramekin away carefully. You should see a perfectly shaped, domed cake with a dusting of cocoa powder on its surface.
-
Finish and serve immediately: Dust each cake with icing sugar through a fine-mesh sieve. Add a small dollop of double cream or a scoop of vanilla ice cream on the side. Garnish with two or three fresh raspberries or a sliced strawberry. Serve within 2 minutes — the lava waits for no one.
Notes
There you have it — a dessert that looks like it belongs on the cover of a glossy cookbook but lives happily in your home kitchen. The first time you watch a guest break through that delicate shell and see the dark chocolate lava spill out across the plate, you will understand why I love this recipe so much. Have you tried making these yet? I would love to hear how they turned out, or if you have your own plating tricks to share. Drop a comment below — happy baking from my kitchen to yours.