Brown Sugar Oat Milk Iced Latte
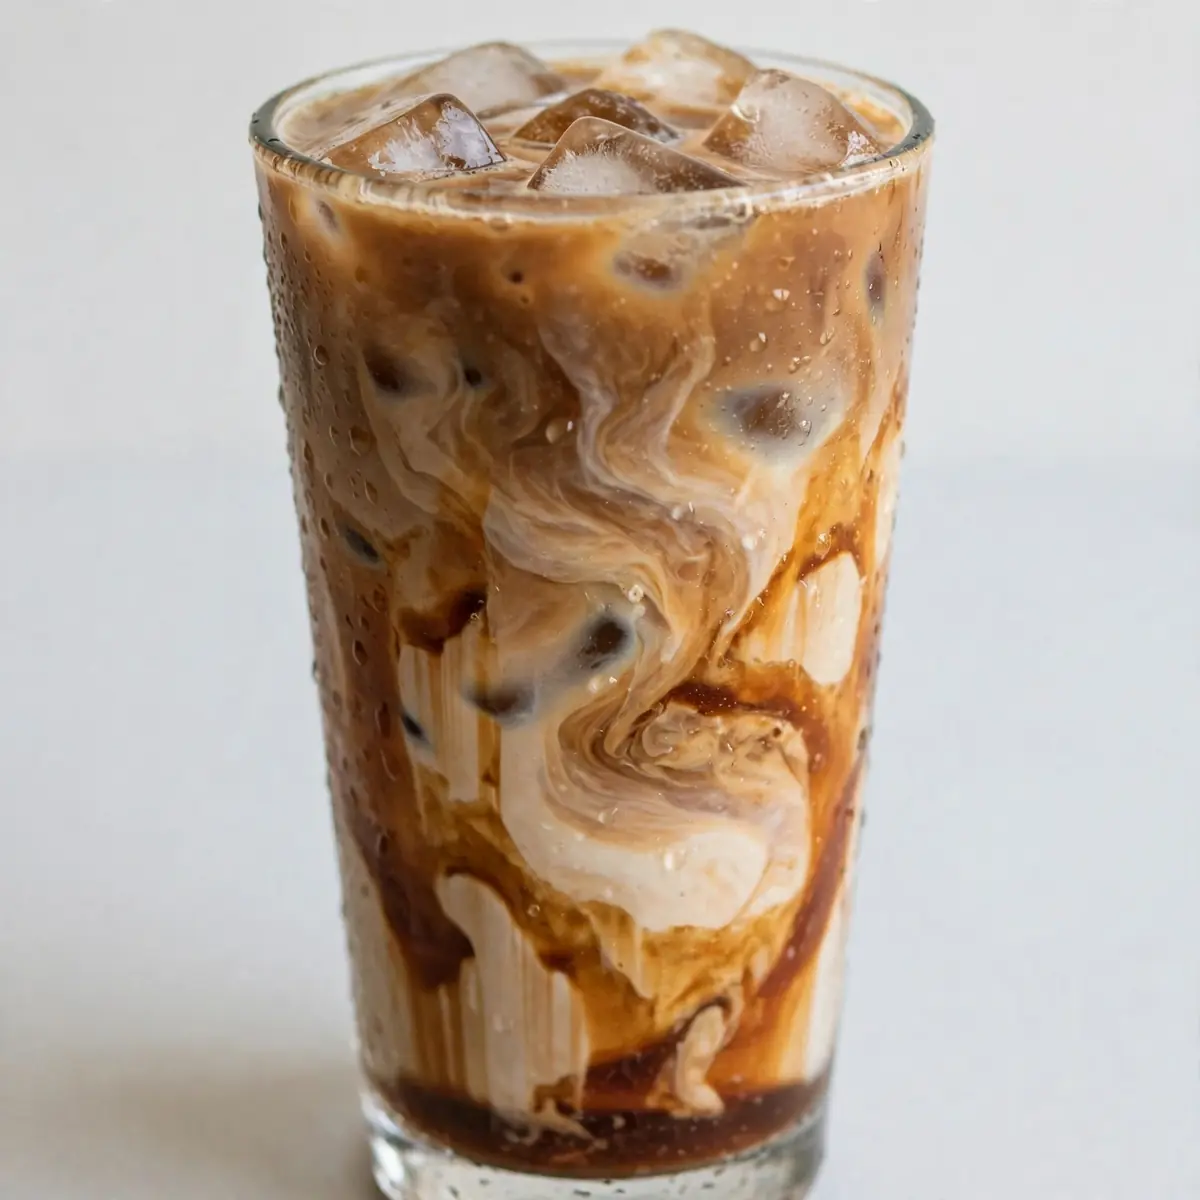
There’s a quiet art to serving a coffee that looks as though it has been plated by a barista in a sleek city café, and this Brown Sugar Oat Milk Iced Latte is my secret weapon for achieving exactly that. With a few deliberate touches—a deeply caramelised syrup, a flawless pour over ice, and a dusting that catches the light—this drink transforms a simple afternoon coffee into a restaurant-quality presentation that will have your guests leaning in for a photograph before they take a sip.
Recipe Overview
- Prep Time: 5 minutes
- Cook Time: 5 minutes (for the syrup)
- Total Time: 10 minutes
- Servings: 1
- Difficulty: Easy
Why You’ll Love This Brown Sugar Oat Milk Iced Latte
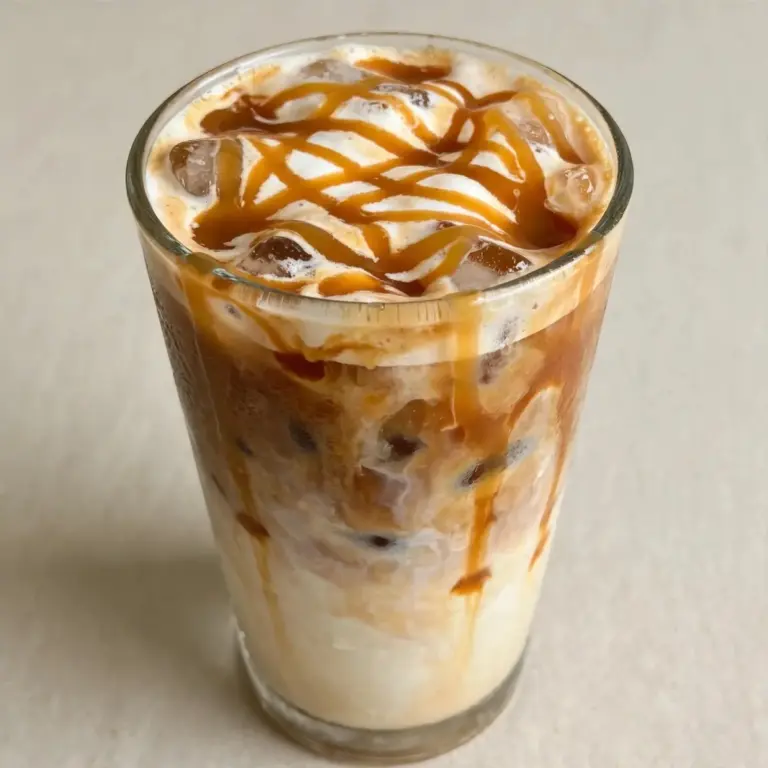
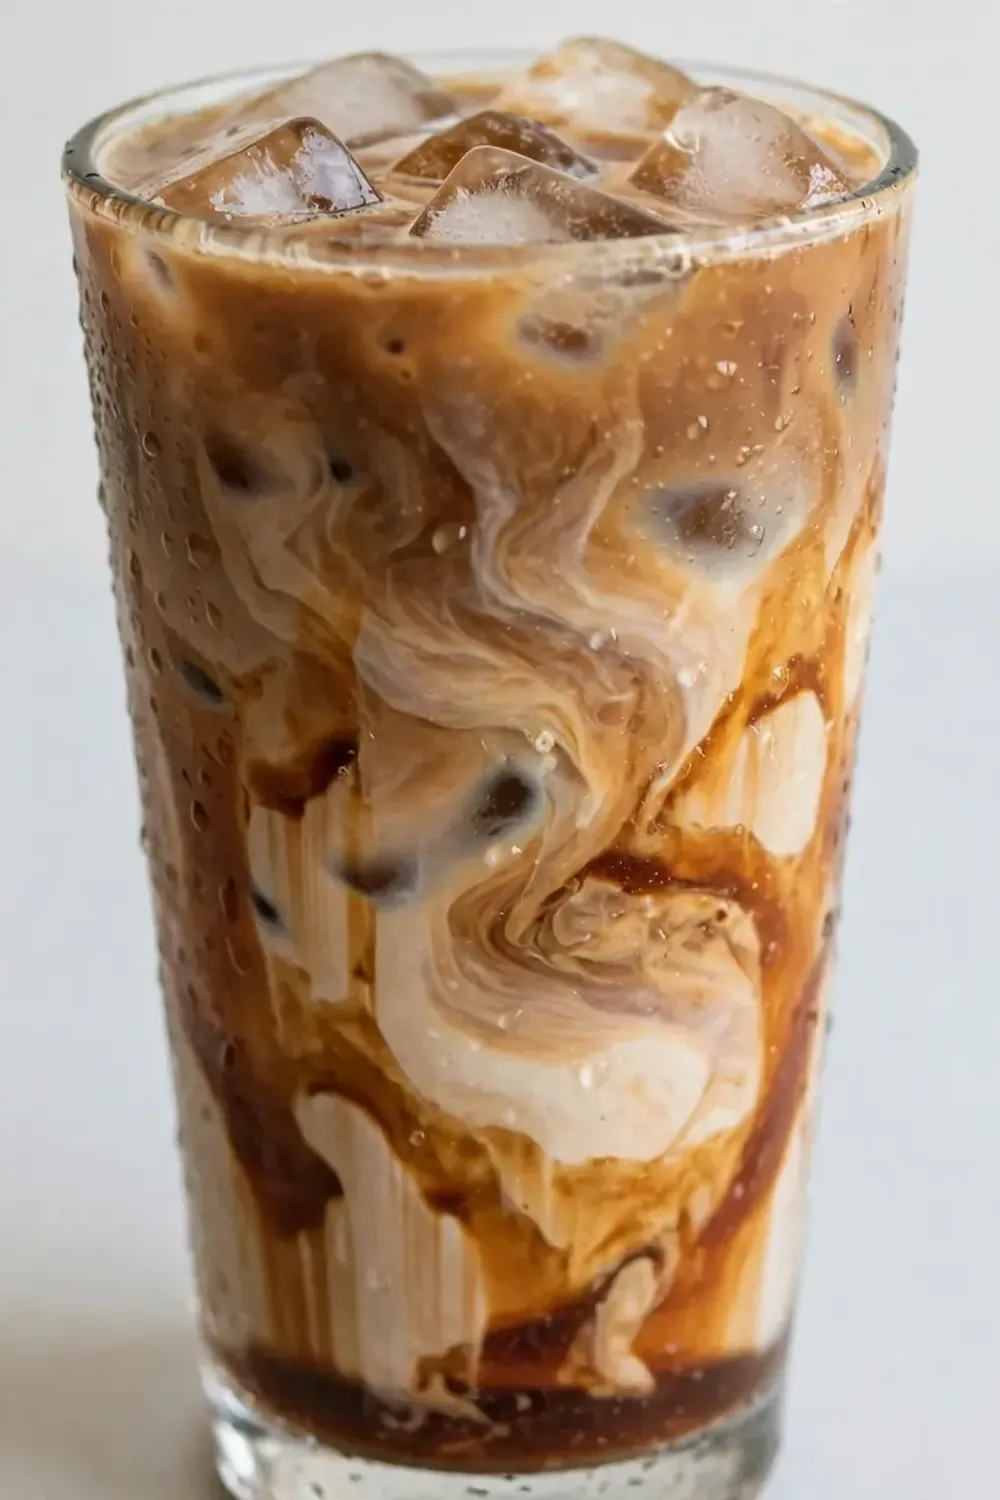
- It looks like it belongs on a menu. The layered effect of dark espresso against creamy oat milk, with the syrup settling at the bottom, creates a visual that feels intentional and elevated.
- The homemade syrup is a game-changer. Simmering brown sugar with a hint of vanilla and salt yields a rich, complex sweetness that no bottled syrup can replicate.
- Oat milk adds a velvety texture. It steams and pours beautifully, holding its body against the ice without separating or turning watery.
- It’s endlessly customisable. You can adjust the sweetness, the milk temperature, or the strength of the coffee to suit your personal taste or that of your guests.
- It impresses without stress. I stumbled upon this combination by accident, and it’s been a hit ever since. The entire process takes under ten minutes, yet the result feels like you’ve put in real effort.
Ingredients You’ll Need
- 60 ml (2 fl oz) freshly brewed espresso or strong coffee
- 2 tablespoons (30 g) dark brown sugar
- 2 tablespoons (30 ml) water
- ½ teaspoon vanilla extract
- Pinch of flaky sea salt
- 200 ml (7 fl oz) barista-style oat milk, chilled
- Handful of large ice cubes
- Optional: cinnamon stick, star anise, or a strip of orange zest for garnish
Tip: For the most impressive presentation, use a clear glass so the layers of syrup, milk, and coffee are visible. A tall tumbler or a stemless wine glass works beautifully.
How to Make Brown Sugar Oat Milk Iced Latte
- Make the brown sugar syrup. In a small saucepan over medium heat, combine the dark brown sugar and water. Stir gently until the sugar dissolves completely—you’ll see the liquid turn a deep amber colour and smell a rich, toasty sweetness. Bring it to a gentle simmer and let it bubble for 2 minutes. The syrup should thicken slightly and coat the back of a spoon. Remove from the heat and stir in the vanilla extract and a pinch of flaky sea salt. Set aside to cool for a minute.
- Prepare your glass. Pour the warm brown sugar syrup into the bottom of your serving glass. Tilt the glass slightly as you pour so the syrup coats the bottom evenly. You want a solid, glossy layer about half a centimetre deep.
- Fill with ice. Add a handful of large ice cubes directly on top of the syrup. The cold ice will help set the syrup in place, preventing it from mixing too quickly. You’ll hear a satisfying crackle as the ice meets the warm syrup—that’s a good sign.
- Pour the oat milk. Slowly pour the chilled oat milk over the ice. Pour it down the side of the glass to preserve the layers. The milk will sit above the syrup, creating a soft, creamy white band. You should see a clear separation between the dark syrup at the bottom and the milk above.
- Add the espresso. Brew your espresso or strong coffee and let it cool for about 30 seconds. Then, pour it slowly over the back of a spoon held just above the surface of the milk. This technique—called layering—keeps the coffee on top. You’ll see a dark, rich brown crown form above the white milk, with the syrup glowing amber at the base.
- Garnish and serve. For a restaurant-quality finish, place a cinnamon stick or a star anise on the rim of the glass, or drape a thin strip of orange zest over the edge. Serve immediately, and encourage your guests to stir the drink just before drinking to blend the layers.
Tips From My Kitchen
- Use barista-style oat milk. Regular oat milk can separate or become watery when mixed with hot coffee and ice. Barista blends contain a touch of oil and stabilisers, which give the milk a silky mouthfeel and help it hold its texture. After testing this recipe five times, I finally got it just right by switching to a barista-grade brand.
- Don’t skip the salt in the syrup. A tiny pinch of flaky sea salt doesn’t make the drink salty—it amplifies the sweetness of the brown sugar and rounds out the bitterness of the coffee. It’s the same principle that makes salted caramel so addictive.
- Cool the espresso slightly before layering. If you pour piping-hot espresso directly onto cold milk and ice, the temperature shock can cause the milk to curdle slightly or melt the ice too fast. Let the espresso rest for about 30 seconds after brewing; it should still be hot but not steaming aggressively.
- Use large ice cubes. Small ice cubes melt quickly, diluting the drink and muddying the layers. Large cubes—or even a single oversized ice ball—melt slowly, keeping the drink cold and the visual separation intact for longer.
- Make the syrup in advance. The brown sugar syrup keeps well in a sealed jar in the fridge for up to two weeks. Having it ready means you can assemble this latte in about two minutes flat, which is perfect when you’re hosting and don’t want to be stuck in the kitchen.
Equipment You’ll Need
- Small saucepan
- Measuring spoons
- Tall clear glass or tumbler
- Spoon for layering
- Espresso machine or stovetop moka pot (or a French press for strong coffee)
Common Mistakes to Avoid
- Overcrowding the glass with ice: If you pack too many ice cubes into the glass, there won’t be enough room for the milk and coffee to layer properly. Use just enough ice to fill the glass about halfway—this leaves space for the liquid components to settle into distinct bands.
- Wrong temperature for the syrup: If the syrup is too hot when you pour it into the glass, it will melt the ice immediately and ruin the layered effect. Let the syrup cool for at least a minute after simmering. It should be warm but not bubbling.
- Skipping the rest time for the espresso: Freshly brewed espresso is volatile—it’s full of crema and heat that can disrupt the milk layer. Let it sit for 30 seconds to stabilise before pouring. You’ll notice the crema settles into a smoother surface, making it easier to control the pour.
Delicious Variations to Try
- Spiced Brown Sugar Latte: Add a cinnamon stick and two whole cloves to the syrup while it simmers. Remove them before pouring. The warm spice notes pair beautifully with the oat milk and create an autumnal flavour profile that feels luxurious.
- Vegan-Friendly Version: This recipe is already vegan as written, but you can swap the oat milk for almond, cashew, or coconut milk if you prefer. Just be aware that thinner milks won’t layer as dramatically. Coconut milk adds a subtle tropical note that works surprisingly well with brown sugar.
- Iced Dalgona-Style Latte: Instead of layering espresso, whip 2 tablespoons of instant coffee, 2 tablespoons of brown sugar syrup, and 2 tablespoons of hot water until thick and frothy. Spoon the foam on top of the oat milk and ice for a completely different texture and a visually stunning, fluffy crown.
What to Serve With Brown Sugar Oat Milk Iced Latte
- Sweet pastries: A flaky croissant or a slice of Classic Red Velvet Cheesecake complements the caramel notes of the latte.
- Light cookies: Try Soft Strawberry Shortcake Cookies for a fruity contrast that balances the rich coffee.
- Chilled desserts: A scoop of No Bake Mango Cheesecake or a bowl of Classic Banana Pudding With Vanilla Wafers turns this coffee into a full afternoon tea experience.
Still hungry for ideas? You might also love Iced Rose Milk Recipe, Iced Coffee With Milk Cold Brew from our sister kitchens.
Frequently Asked Questions
Brown Sugar Oat Milk Iced Latte
Ingredients
Method
- Make the brown sugar syrup. In a small saucepan over medium heat, combine the dark brown sugar and water. Stir gently until the sugar dissolves completely—you’ll see the liquid turn a deep amber colour and smell a rich, toasty sweetness. Bring it to a gentle simmer and let it bubble for 2 minutes. The syrup should thicken slightly and coat the back of a spoon. Remove from the heat and stir in the vanilla extract and a pinch of flaky sea salt. Set aside to cool for a minute.
- Prepare your glass. Pour the warm brown sugar syrup into the bottom of your serving glass. Tilt the glass slightly as you pour so the syrup coats the bottom evenly. You want a solid, glossy layer about half a centimetre deep.
- Fill with ice. Add a handful of large ice cubes directly on top of the syrup. The cold ice will help set the syrup in place, preventing it from mixing too quickly. You’ll hear a satisfying crackle as the ice meets the warm syrup—that’s a good sign.
- Pour the oat milk. Slowly pour the chilled oat milk over the ice. Pour it down the side of the glass to preserve the layers. The milk will sit above the syrup, creating a soft, creamy white band. You should see a clear separation between the dark syrup at the bottom and the milk above.
- Add the espresso. Brew your espresso or strong coffee and let it cool for about 30 seconds. Then, pour it slowly over the back of a spoon held just above the surface of the milk. This technique—called layering—keeps the coffee on top. You’ll see a dark, rich brown crown form above the white milk, with the syrup glowing amber at the base.
- Garnish and serve. For a restaurant-quality finish, place a cinnamon stick or a star anise on the rim of the glass, or drape a thin strip of orange zest over the edge. Serve immediately, and encourage your guests to stir the drink just before drinking to blend the layers.
Notes
I’d love to hear how your Brown Sugar Oat Milk Iced Latte turns out when you serve it to your guests. Drop a comment below and let me know which garnish you chose—or if you invented your own twist on the layers. Happy brewing!