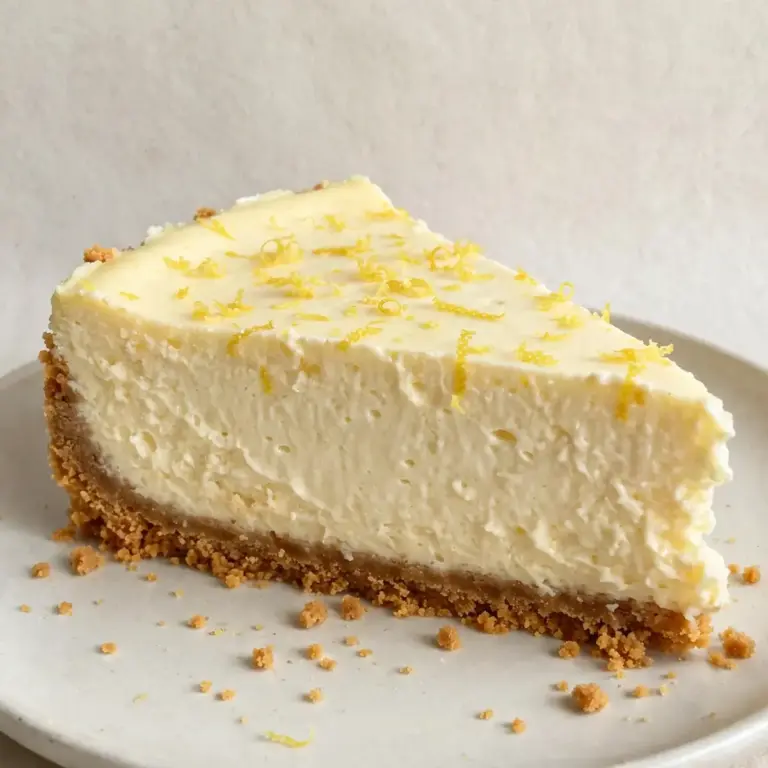
Lemon Cheesecake With Blueberry Topping
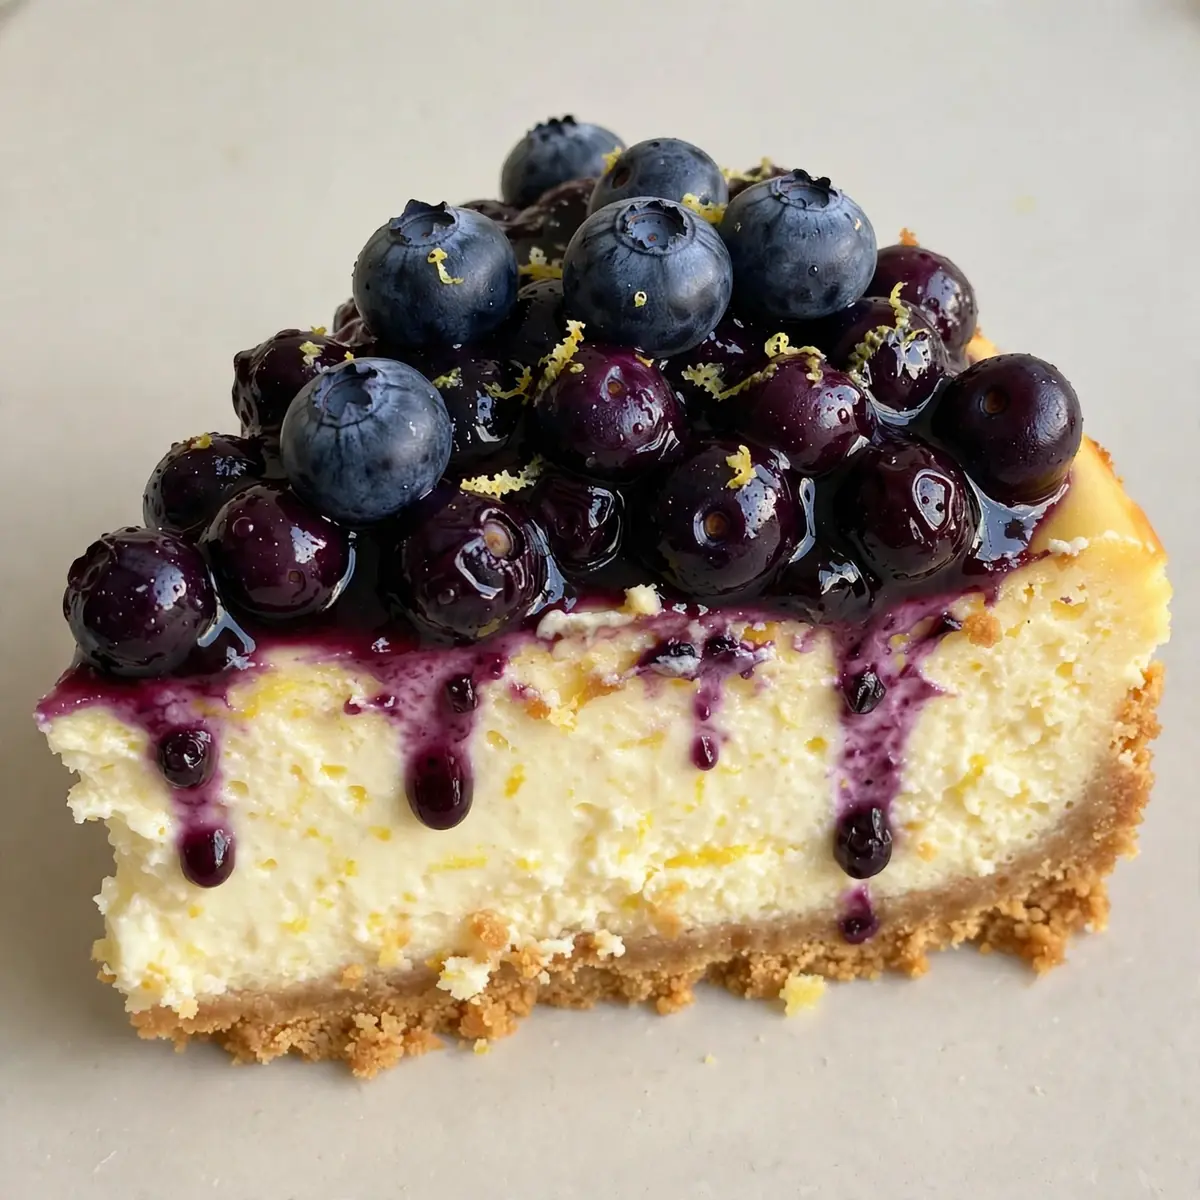
Impressing guests doesn’t require a complicated, multi-hour project. I’ve found that a single, stunning centrepiece does all the heavy lifting, and this Lemon Cheesecake with Blueberry Topping is precisely that dish. It looks like it came from a high-end patisserie, yet the techniques are straightforward enough for a Tuesday night dinner party. Let me show you how to build this showstopper from the ground up.
Recipe Overview
- Prep Time: 40 minutes (plus 6 hours chilling)
- Cook Time: 55 minutes
- Total Time: 7 hours 35 minutes
- Servings: 12 generous slices
- Difficulty: Intermediate
Why You’ll Love This Lemon Cheesecake with Blueberry Topping
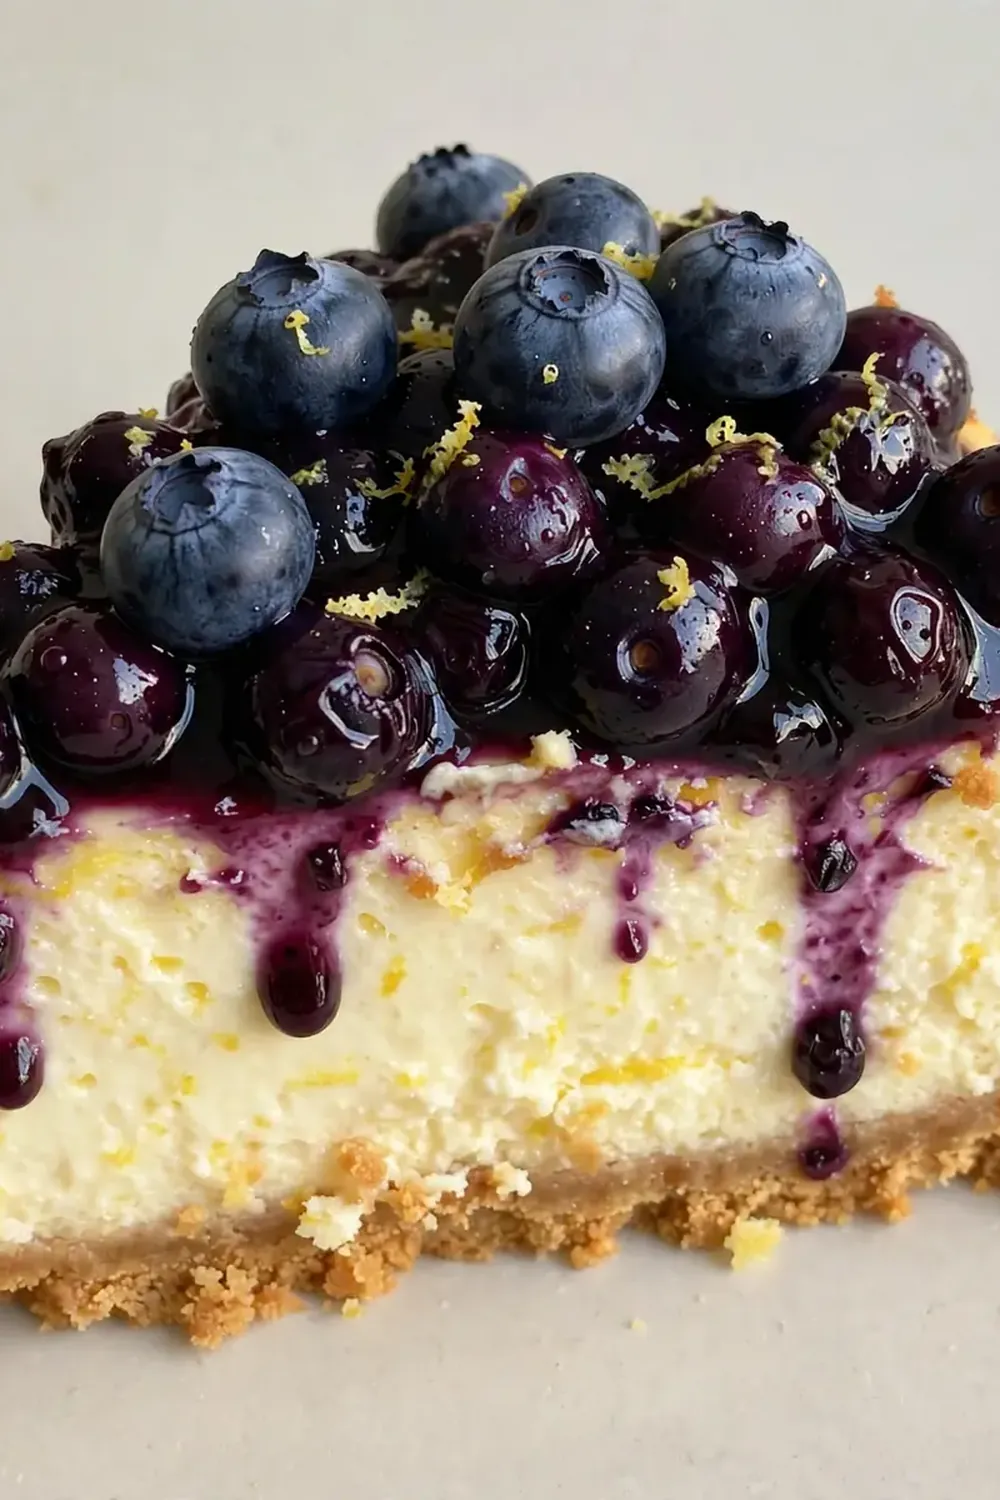
- Restaurant-Quality Plating: The vibrant, jewel-toned blueberry topping poured over a pristine, pale yellow cheesecake creates a visual contrast that looks plated by a professional.
- Balanced Tangy-Sweet Flavour: The sharp, citrusy lemon filling cuts through the richness of the cream cheese, while the sweet, slightly tart blueberry compote provides a sophisticated finish.
- Make-Ahead Magic: This cheesecake needs at least six hours to set, meaning you can prepare it the day before your gathering. Your future self will thank you when guests arrive.
- No Water Bath Fuss: I’ve developed a method that gives you a silky, crack-free surface without the anxiety of a bain-marie. Less mess, more confidence.
- Customisable Elegance: Whether you pipe rosettes of whipped cream or leave the topping to cascade naturally, this base recipe adapts to your personal presentation style.
Ingredients You’ll Need
- For the Biscuit Base:
- 200g digestive biscuits
- 80g unsalted butter, melted
- 1 tablespoon caster sugar
- For the Cheesecake Filling:
- 600g full-fat cream cheese, at room temperature
- 200g caster sugar
- 3 large free-range eggs, at room temperature
- 2 teaspoons vanilla bean paste
- Zest of 3 large, unwaxed lemons
- Juice of 2 lemons (about 60ml)
- 200ml double cream
- 2 tablespoons plain flour, sifted
- For the Blueberry Topping:
- 300g fresh or frozen blueberries
- 75g caster sugar
- Juice of 1 lemon
- 1 teaspoon cornflour mixed with 1 tablespoon cold water (slurry)
Tip: Ensure your cream cheese, eggs, and double cream are all at room temperature before you begin. This is the single most important step for a silky, lump-free filling. Cold ingredients will cause the mixture to split.
How to Make Lemon Cheesecake with Blueberry Topping
- Prepare the base: Preheat your oven to 160°C (140°C fan). Line the base of a 23cm springform tin with parchment paper. Crush the digestive biscuits into fine crumbs — you want a texture resembling wet sand, with no large chunks. Pour the melted butter and caster sugar over the crumbs and stir until every grain is coated. Press the mixture firmly into the base of the tin, using the bottom of a glass to create an even, compact layer. Bake for 10 minutes until the base is fragrant and lightly golden at the edges. Set aside to cool completely.
- Make the filling: In the bowl of a stand mixer fitted with the paddle attachment, beat the room-temperature cream cheese on low speed for one minute until smooth and fluffy, with no lumps. Add the caster sugar and beat for another minute — the mixture should look glossy and feel silky between your fingers. Scrape down the sides of the bowl thoroughly. Add the eggs one at a time, beating on low after each addition until just incorporated. The mixture should be uniformly pale yellow and smooth.
- Add the flavourings: Pour in the vanilla bean paste, lemon zest, and lemon juice. Mix on low until combined — the aroma at this stage is sharp and invigorating. Add the double cream and mix until the batter is homogenous, then fold in the sifted plain flour using a spatula. The final batter should be thick, creamy, and pourable, with a slight sheen.
- Bake the cheesecake: Pour the filling over the cooled biscuit base. Gently tap the tin on the worktop three times to release any air bubbles. Bake for 50-55 minutes. The cheesecake is ready when the edges are set and slightly puffed, but the centre still wobbles like a jelly when you gently shake the tin. You should see a faint jiggle in the middle 5cm area. Turn off the oven, crack the door open, and leave the cheesecake inside for one hour. This slow cooling prevents cracking.
- Chill thoroughly: Remove the cheesecake from the oven and run a thin knife around the edge of the tin to release any sticking. Allow it to cool completely on a wire rack at room temperature, then refrigerate for at least 6 hours, preferably overnight. The surface should feel firm to the touch, and the centre should be fully set when sliced.
- Make the blueberry topping: In a small saucepan, combine the blueberries, caster sugar, and lemon juice. Cook over medium heat, stirring occasionally. After about 5 minutes, you’ll hear the berries begin to pop and release their deep purple juice. The mixture will become syrupy and fragrant. Stir in the cornflour slurry and continue cooking for 2 minutes until the sauce thickens to a glossy, jammy consistency that coats the back of a spoon. Remove from heat and cool to room temperature.
- Assemble and serve: Once the cheesecake is fully chilled, release the springform tin and transfer the cheesecake to a serving plate. Spoon the blueberry topping over the centre of the cheesecake, allowing it to cascade naturally down the sides in uneven rivulets. For a polished, restaurant-style finish, use a palette knife to create a smooth, even layer across the top, leaving a 1cm border of plain cheesecake visible at the edge. Slice with a hot, dry knife for clean cuts.
Tips From My Kitchen
- Room Temperature is Non-Negotiable: I used to struggle with this dish until I discovered that cold cream cheese creates a lumpy, dense texture. Let all your dairy ingredients sit on the counter for at least 45 minutes before you start. The filling will mix together effortlessly, creating a velvety batter that bakes evenly.
- Don’t Overmix the Eggs: When you add the eggs, beat only until the yolk disappears into the batter. Over-whipping incorporates too much air, which expands during baking and then collapses, causing cracks. You want a dense, silky texture, not a soufflé.
- The Jiggle Test is Your Friend: Forget precise timers. Your oven might run hot or cool. Instead, watch for the wobble. When the edges are set and the centre still trembles like a firm panna cotta, the cheesecake is done. The residual heat will finish cooking the centre as it cools.
- Cool Slowly to Avoid Cracks: That one-hour rest in the turned-off oven with the door ajar is crucial. It prevents the sudden temperature shock that causes the surface to split. If you’re in a rush, you can skip this step, but you’ll risk a cracked top that won’t hold the blueberry topping as neatly.
- Slice with a Hot Knife: For picture-perfect slices, run a long, thin knife under hot water, dry it quickly, and make one clean cut. Wipe the blade clean and reheat between each slice. This gives you sharp, creamy edges rather than smeared, messy ones.
- Strain the Blueberry Topping (Optional): If you want a perfectly smooth, seed-free sauce for the most elegant presentation, press the cooked blueberry mixture through a fine-mesh sieve before cooling. This creates a glossy, restaurant-grade coulis that pours like liquid silk.
Equipment You’ll Need
- 23cm springform cake tin
- Stand mixer or hand mixer
- Baking tray
- Parchment paper
- Fine-mesh sieve (for the topping)
- Wire cooling rack
- Small saucepan
- Sharp, thin-bladed knife
Delicious Variations to Try
- Lemon-Raspberry Cheesecake: Swap the blueberries for an equal weight of fresh or frozen raspberries. The raspberry topping has a slightly sharper, more floral flavour that pairs beautifully with the lemon. Crush a few berries lightly before cooking for a more rustic texture.
- Gluten-Free Base: Replace the digestive biscuits with gluten-free oat biscuits or almond flour shortbread. The almond flour version adds a lovely nutty undertone that complements the lemon. Bake the base for an extra 2-3 minutes to ensure it holds together.
- No-Bake Version: For a lighter, mousse-like texture, omit the eggs and flour. Whip 400ml of double cream to soft peaks and fold it into the cream cheese mixture (using 500g cream cheese and 100g caster sugar). Pour over the base and chill for 8 hours. The texture will be airy and cloud-like, perfect for warmer months.
What to Serve With Lemon Cheesecake with Blueberry Topping
- A dollop of freshly whipped, lightly sweetened cream to balance the tartness
- For a special occasion, pair it with a slice of Fluffy Vanilla Birthday Cake for a dessert table that offers two distinct textures and flavours
>A dusting of icing sugar and a few fresh blueberries on the plate for colour
>A delicate, floral herbal tea or a sparkling lemonade to cleanse the palate
Still hungry for ideas? You might also love Ravenclaw Midnight Blueberry Cheesecake Recipe, Midnight Blueberry Cheesecake Recipe from our sister kitchens.
Frequently Asked Questions
Lemon Cheesecake with Blueberry Topping
Ingredients
Method
- Prepare the base: Preheat your oven to 160°C (140°C fan). Line the base of a 23cm springform tin with parchment paper. Crush the digestive biscuits into fine crumbs — you want a texture resembling wet sand, with no large chunks. Pour the melted butter and caster sugar over the crumbs and stir until every grain is coated. Press the mixture firmly into the base of the tin, using the bottom of a glass to create an even, compact layer. Bake for 10 minutes until the base is fragrant and lightly golden at the edges. Set aside to cool completely.
- Make the filling: In the bowl of a stand mixer fitted with the paddle attachment, beat the room-temperature cream cheese on low speed for one minute until smooth and fluffy, with no lumps. Add the caster sugar and beat for another minute — the mixture should look glossy and feel silky between your fingers. Scrape down the sides of the bowl thoroughly. Add the eggs one at a time, beating on low after each addition until just incorporated. The mixture should be uniformly pale yellow and smooth.
- Add the flavourings: Pour in the vanilla bean paste, lemon zest, and lemon juice. Mix on low until combined — the aroma at this stage is sharp and invigorating. Add the double cream and mix until the batter is homogenous, then fold in the sifted plain flour using a spatula. The final batter should be thick, creamy, and pourable, with a slight sheen.
- Bake the cheesecake: Pour the filling over the cooled biscuit base. Gently tap the tin on the worktop three times to release any air bubbles. Bake for 50-55 minutes. The cheesecake is ready when the edges are set and slightly puffed, but the centre still wobbles like a jelly when you gently shake the tin. You should see a faint jiggle in the middle 5cm area. Turn off the oven, crack the door open, and leave the cheesecake inside for one hour. This slow cooling prevents cracking.
- Chill thoroughly: Remove the cheesecake from the oven and run a thin knife around the edge of the tin to release any sticking. Allow it to cool completely on a wire rack at room temperature, then refrigerate for at least 6 hours, preferably overnight. The surface should feel firm to the touch, and the centre should be fully set when sliced.
- Make the blueberry topping: In a small saucepan, combine the blueberries, caster sugar, and lemon juice. Cook over medium heat, stirring occasionally. After about 5 minutes, you’ll hear the berries begin to pop and release their deep purple juice. The mixture will become syrupy and fragrant. Stir in the cornflour slurry and continue cooking for 2 minutes until the sauce thickens to a glossy, jammy consistency that coats the back of a spoon. Remove from heat and cool to room temperature.
- Assemble and serve: Once the cheesecake is fully chilled, release the springform tin and transfer the cheesecake to a serving plate. Spoon the blueberry topping over the centre of the cheesecake, allowing it to cascade naturally down the sides in uneven rivulets. For a polished, restaurant-style finish, use a palette knife to create a smooth, even layer across the top, leaving a 1cm border of plain cheesecake visible at the edge. Slice with a hot, dry knife for clean cuts.
Notes
This Lemon Cheesecake with Blueberry Topping has become my go-to recipe when I need something quick but impressive for a dinner party. The way the glossy blueberry sauce pools over the creamy, pale yellow filling never fails to draw a gasp from guests. I’d love to hear how you plate yours — do you go for the dramatic cascade or the neat, polished layer? Let me know in the comments below, and if you try it, tag your photos so I can see your beautiful creations. For more stunning desserts to complete your menu, browse the other recipes on Sweettable.Online — you might also enjoy our Classic Red Velvet Cheesecake for a different take on this beloved dessert.