Classic Homemade Vanilla Pudding
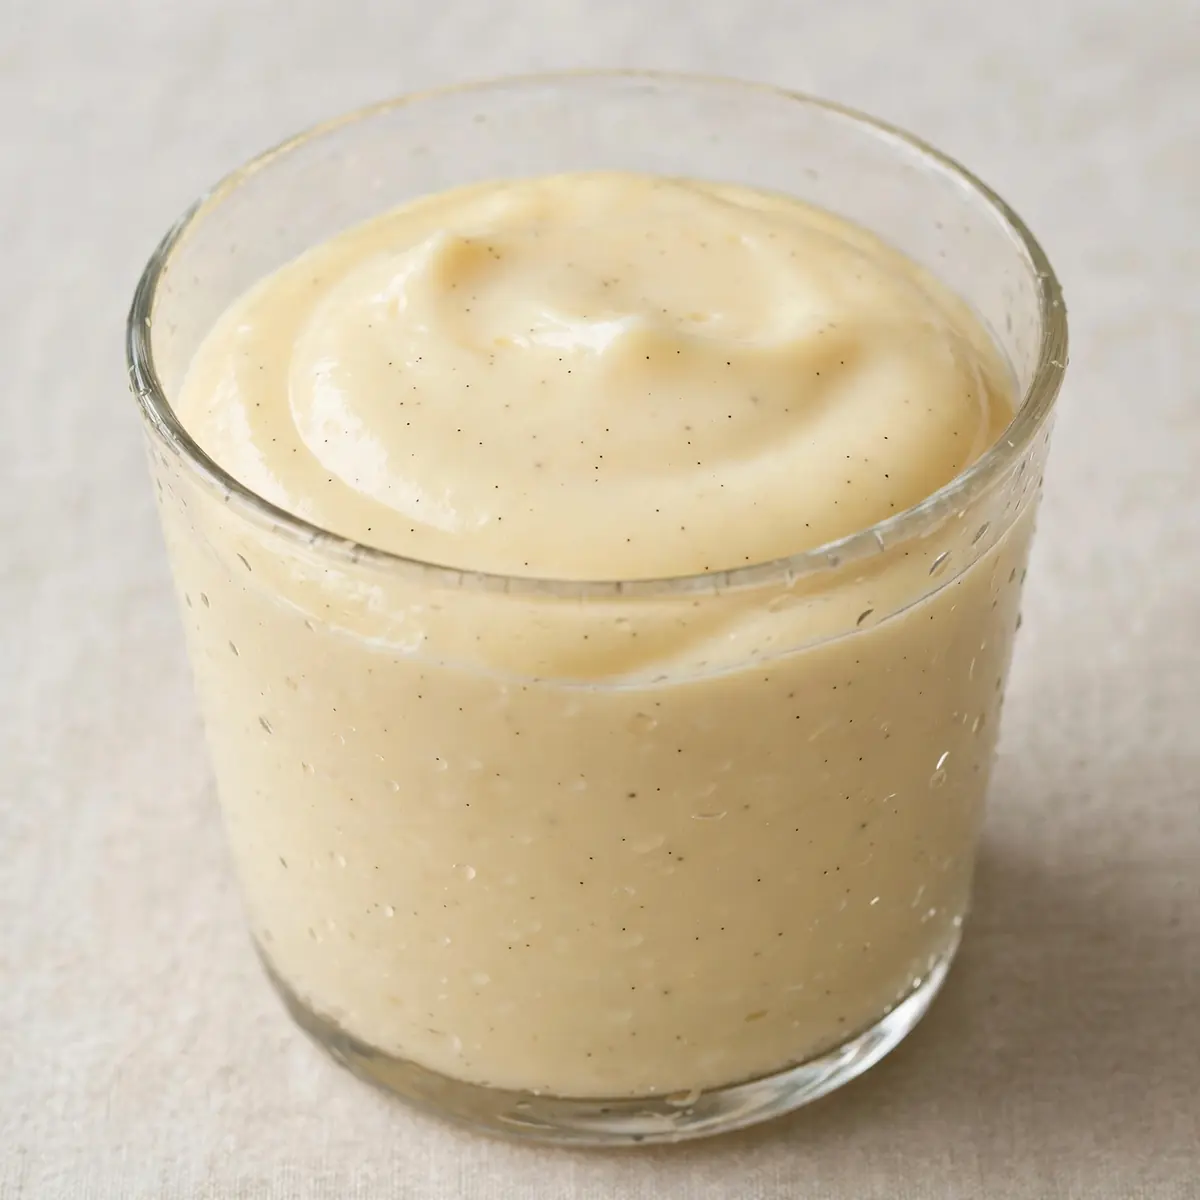
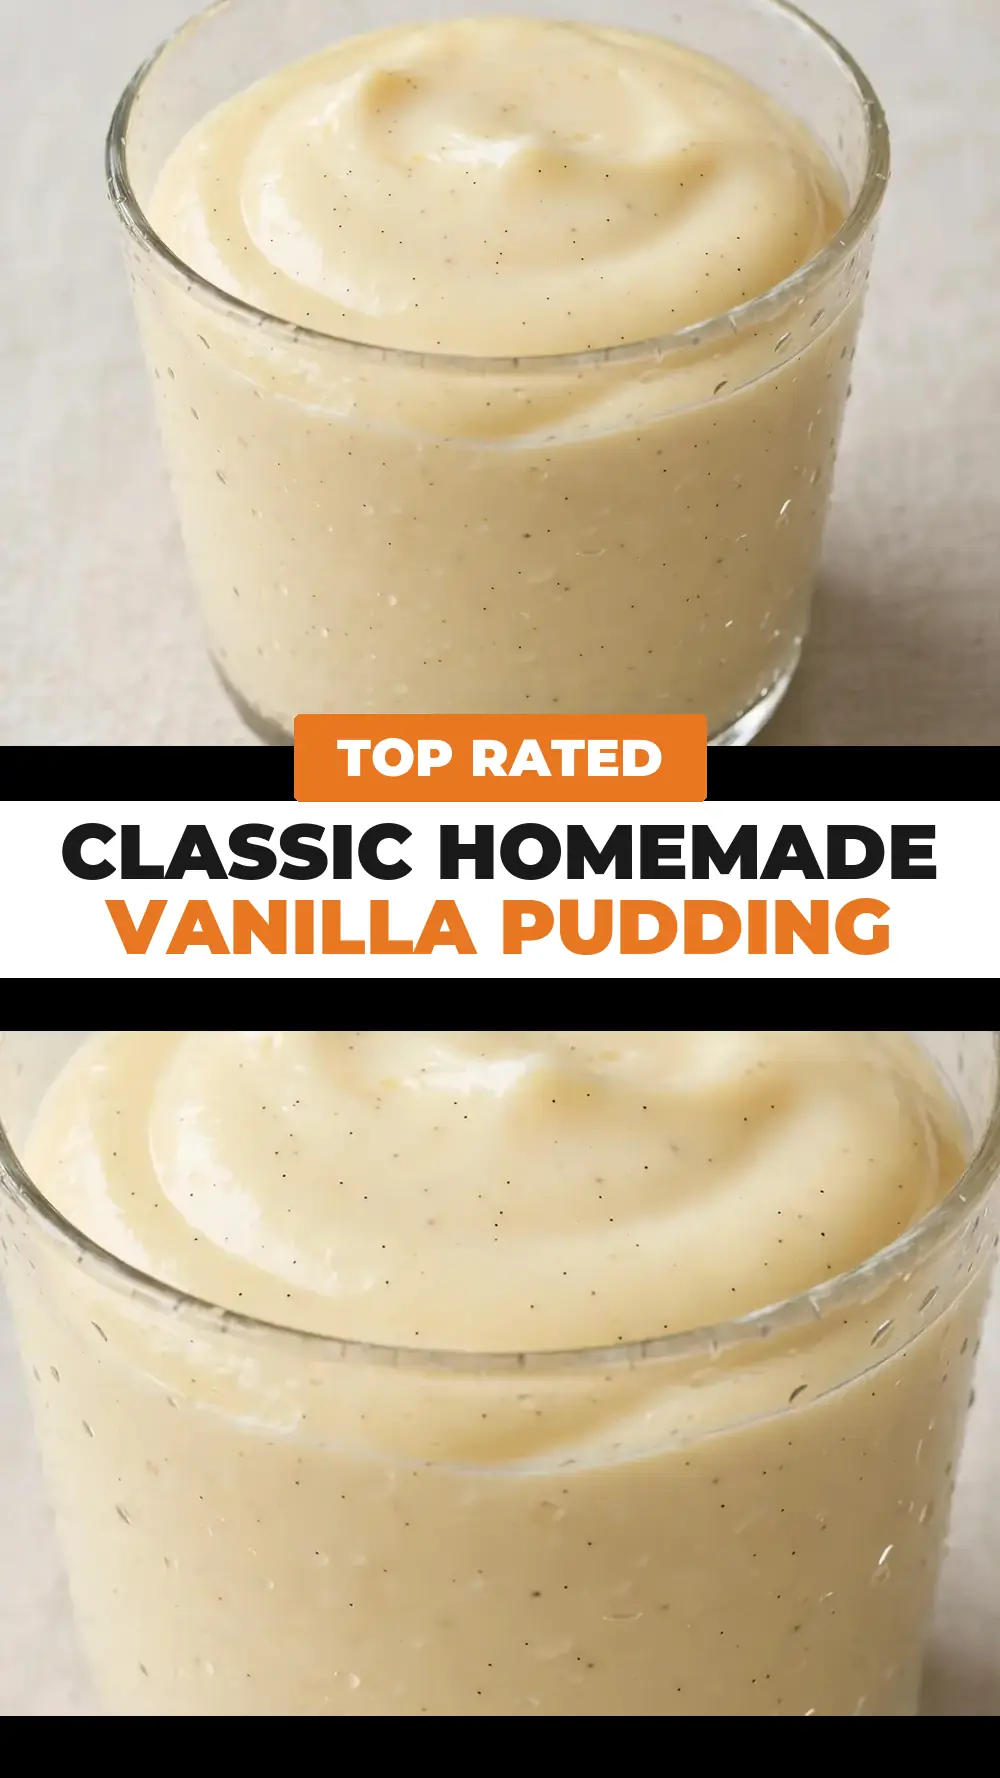
I still remember the first time I served this classic homemade vanilla pudding to guests. I’d spent hours fussing over a complicated main course, but it was the humble pudding, dolloped into elegant glass dishes and topped with a single fresh raspberry, that drew gasps of delight. That night taught me something important: true elegance rarely comes from complexity. It comes from nailing the basics and treating them with the respect they deserve. This recipe is my go-to when I need something quick but impressive, and I’ve been making it for over 6 years, always tweaking the presentation to make it feel like a restaurant finale.
Recipe Overview
- Prep Time: 10 minutes
- Cook Time: 15 minutes
- Total Time: 25 minutes (plus 2 hours chilling)
- Servings: 4 generous portions
- Difficulty: Easy
Why You’ll Love This Classic Homemade Vanilla Pudding
- Restaurant presentation at home: This pudding sets beautifully, allowing you to unmould it onto a plate or layer it in a glass for a stunning visual effect that mimics high-end desserts.
- Silky, not stodgy: The precise ratio of egg yolks to cornflour creates a texture that is luxuriously smooth and light, never gluey or heavy.
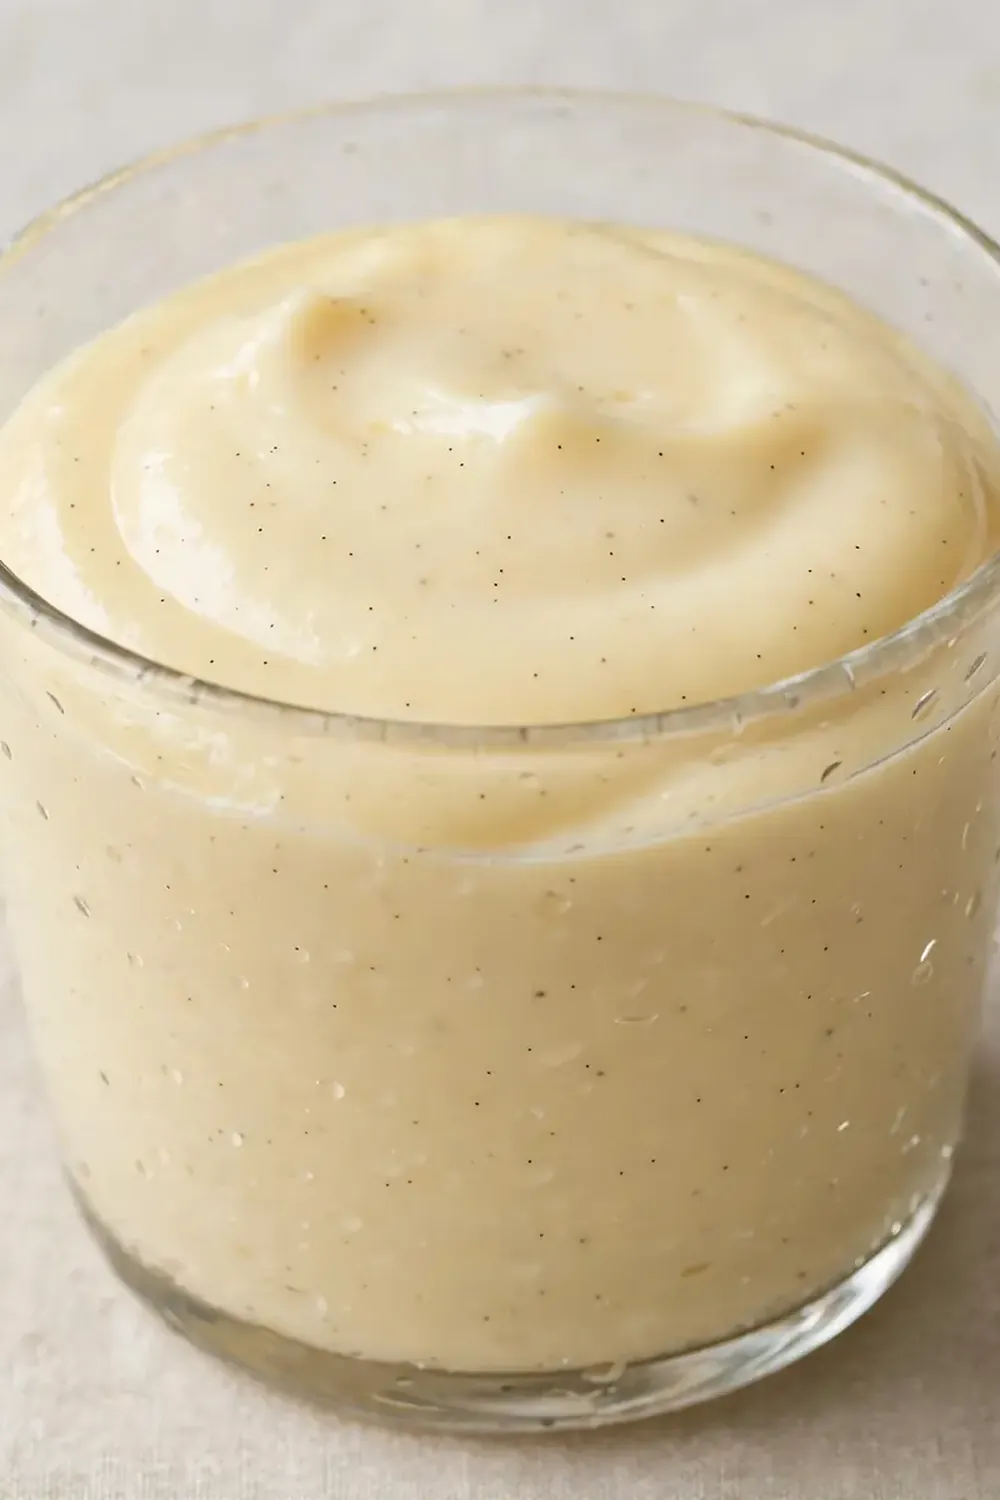
- Deep, natural vanilla flavour: We use whole vanilla bean paste or a split pod, which gives those tiny, aromatic black specks that signal real quality to your guests.
- Foolproof for entertaining: Unlike soufflés or delicate custards, this pudding can be made a day ahead and chilled, leaving you free to enjoy your party.
- Endlessly customisable for plating: The neutral, creamy base is the perfect canvas for a drizzle of salted caramel, a dusting of cinnamon, or a scattering of fresh berries, and it pairs wonderfully with a glass of Watermelon Mint Cooler.online/classic-chocolate-cream-pie/”>Classic Chocolate Cream Pie .online/moist-banana-cake-with-brown-butter-frosting/”>Moist Banana Cake With Brown Butter Frosting.online/watermelon-lemonade/”>Watermelon Lemonade.
Ingredients You’ll Need
- 600 ml whole milk
- 100 g caster sugar
- 3 large egg yolks
- 40 g cornflour
- 1 teaspoon vanilla bean paste (or seeds from 1 vanilla pod)
- 30 g unsalted butter, diced
- Pinch of fine sea salt
- Optional: 200 ml double cream, softly whipped, for serving
- Optional: Fresh raspberries, mint sprigs, and edible flowers for garnish
Tip: For the silkiest result, use full-fat milk. Semi-skimmed will work, but the pudding will lack that luscious mouthfeel that makes it feel special.
How to Make Classic Homemade Vanilla Pudding
- Prepare the custard base: In a medium bowl, whisk the egg yolks and sugar together vigorously until the mixture turns a pale, creamy yellow and falls from the whisk in a thick ribbon. This should take about 2 minutes. Sift the cornflour over the top and whisk again until no lumps remain. The paste will be thick and smell sweetly of raw sugar.
- Heat the milk: Pour the milk into a heavy-based saucepan and place over a medium heat. Warm it until you see tiny bubbles forming around the edge of the pan and a gentle steam rises. Do not let it boil. You should hear a soft hissing sound, not a rapid bubble.
- Temper the eggs: Ladle about 100 ml of the hot milk into the egg mixture, whisking constantly. This warms the yolks gently so they don’t scramble. The mixture will thin slightly and become glossy.
- Combine and cook: Pour the tempered egg mixture back into the saucepan with the remaining milk. Return the pan to a medium-low heat and stir continuously with a wooden spoon, scraping the bottom and corners. After 3–4 minutes, the mixture will begin to thicken. You will feel the spoon meet resistance, and the pudding will start to bubble sluggishly. Cook for 1 full minute after the first large, slow bubble breaks the surface. The pudding should be thick enough to coat the back of the spoon and leave a clean trail when you run your finger through it.
- Finish with butter and vanilla: Remove the pan from the heat immediately. Drop in the diced butter and the vanilla bean paste. Stir gently until the butter is completely melted and the vanilla is evenly distributed. The pudding will look glossy and smell intensely of warm vanilla.
- Strain for perfection: For a truly restaurant-quality finish, pass the hot pudding through a fine-mesh sieve into a clean bowl. This catches any tiny lumps of cooked egg. The result will be a smooth, velvety mixture.
- Chill and set: Divide the pudding among your serving dishes. Press a piece of cling film directly onto the surface of each pudding to prevent a skin from forming. Refrigerate for at least 2 hours, or until completely cold and firm to the touch.
Tips From My Kitchen
- Measure your cornflour precisely: A heaped spoonful of cornflour will make the pudding stiff and chalky. Use a proper measuring spoon and level it off with the back of a knife. The texture should be spoonable, not sliceable.
- Use a heavy-bottomed pan: A thin pan heats unevenly and can scorch the milk, giving the pudding a burnt, bitter taste. A thick, stainless steel or enamel pan distributes heat gently and evenly.
- Don’t walk away while stirring: Custard can go from perfectly thick to lumpy in seconds. Stay at the stove, keep the spoon moving, and listen for that change in sound from a light simmer to a thick, plopping bubble.
- Chill in individual dishes, not one big bowl: Individual portions cool faster and more evenly, which helps the pudding set with a consistent texture. It also makes for a more elegant presentation when you serve them.
- Make it a day ahead: The flavour of vanilla deepens overnight. Making the pudding 24 hours in advance allows the taste to mellow and meld, and the texture becomes even silkier.
Equipment You’ll Need
- Medium mixing bowls (heatproof glass or stainless steel)
- Balloon whisk
- Heavy-based saucepan (2-litre capacity)
- Wooden spoon or silicone spatula
- Fine-mesh sieve
- 4 serving glasses or ramekins (about 150 ml capacity each)
- Cling film
Common Mistakes to Avoid
- Overcrowding the pan: This doesn’t apply here as we only make one batch, but if doubling the recipe, use a larger pan. A full pan heats unevenly, and the custard will take too long to thicken, potentially scrambling the eggs.
- Wrong temperature: Keep the heat at medium-low throughout. If the mixture boils aggressively, the egg yolks will curdle into small, grainy pieces. A gentle, slow bubble is your target. The pudding should never reach a full, rolling boil.
- Skipping the rest time: Rushing the chilling process leads to a runny pudding. The cornflour needs a full 2 hours to fully hydrate and set the structure. A warm pudding will not hold its shape when unmoulded or layered.
What to Serve With Classic Homemade Vanilla Pudding
- A crisp, buttery biscuit like a Langue de Chat or a tuile for texture contrast
- A sharp berry compote made from raspberries and a splash of lemon juice to cut through the richness
- A drizzle of salted caramel sauce and a flaky sea salt finish
- A glass of Rose Lemonade Mocktail for a refreshing, non-alcoholic pairing
- A side of Chewy Funfetti Cookies for a playful crunch
Frequently Asked Questions
Classic Homemade Vanilla Pudding
Ingredients
Method
-
Prepare the custard base: In a medium bowl, whisk the egg yolks and sugar together vigorously until the mixture turns a pale, creamy yellow and falls from the whisk in a thick ribbon. This should take about 2 minutes. Sift the cornflour over the top and whisk again until no lumps remain. The paste will be thick and smell sweetly of raw sugar.
-
Heat the milk: Pour the milk into a heavy-based saucepan and place over a medium heat. Warm it until you see tiny bubbles forming around the edge of the pan and a gentle steam rises. Do not let it boil. You should hear a soft hissing sound, not a rapid bubble.
-
Temper the eggs: Ladle about 100 ml of the hot milk into the egg mixture, whisking constantly. This warms the yolks gently so they don’t scramble. The mixture will thin slightly and become glossy.
-
Combine and cook: Pour the tempered egg mixture back into the saucepan with the remaining milk. Return the pan to a medium-low heat and stir continuously with a wooden spoon, scraping the bottom and corners. After 3–4 minutes, the mixture will begin to thicken. You will feel the spoon meet resistance, and the pudding will start to bubble sluggishly. Cook for 1 full minute after the first large, slow bubble breaks the surface. The pudding should be thick enough to coat the back of the spoon and leave a clean trail when you run your finger through it.
-
Finish with butter and vanilla: Remove the pan from the heat immediately. Drop in the diced butter and the vanilla bean paste. Stir gently until the butter is completely melted and the vanilla is evenly distributed. The pudding will look glossy and smell intensely of warm vanilla.
-
Strain for perfection: For a truly restaurant-quality finish, pass the hot pudding through a fine-mesh sieve into a clean bowl. This catches any tiny lumps of cooked egg. The result will be a smooth, velvety mixture.
-
Chill and set: Divide the pudding among your serving dishes. Press a piece of cling film directly onto the surface of each pudding to prevent a skin from forming. Refrigerate for at least 2 hours, or until completely cold and firm to the touch.
Notes
I hope this recipe becomes your secret weapon for impressing guests without breaking a sweat. The true joy lies in the plating: a clean swipe of a palette knife, a few jewel-like berries, a whisper of mint. If you give it a go, I’d love to hear how you served it. Drop a comment below and tell me what garnish made your version sing. For more elegant desserts, have a look at our Classic Red Velvet Cheesecake or browse our Chocolate Treats for another showstopper. For more on the science of custards, you can read the relevant entry on Wikipedia.