Classic Banana Pudding With Vanilla Wafers
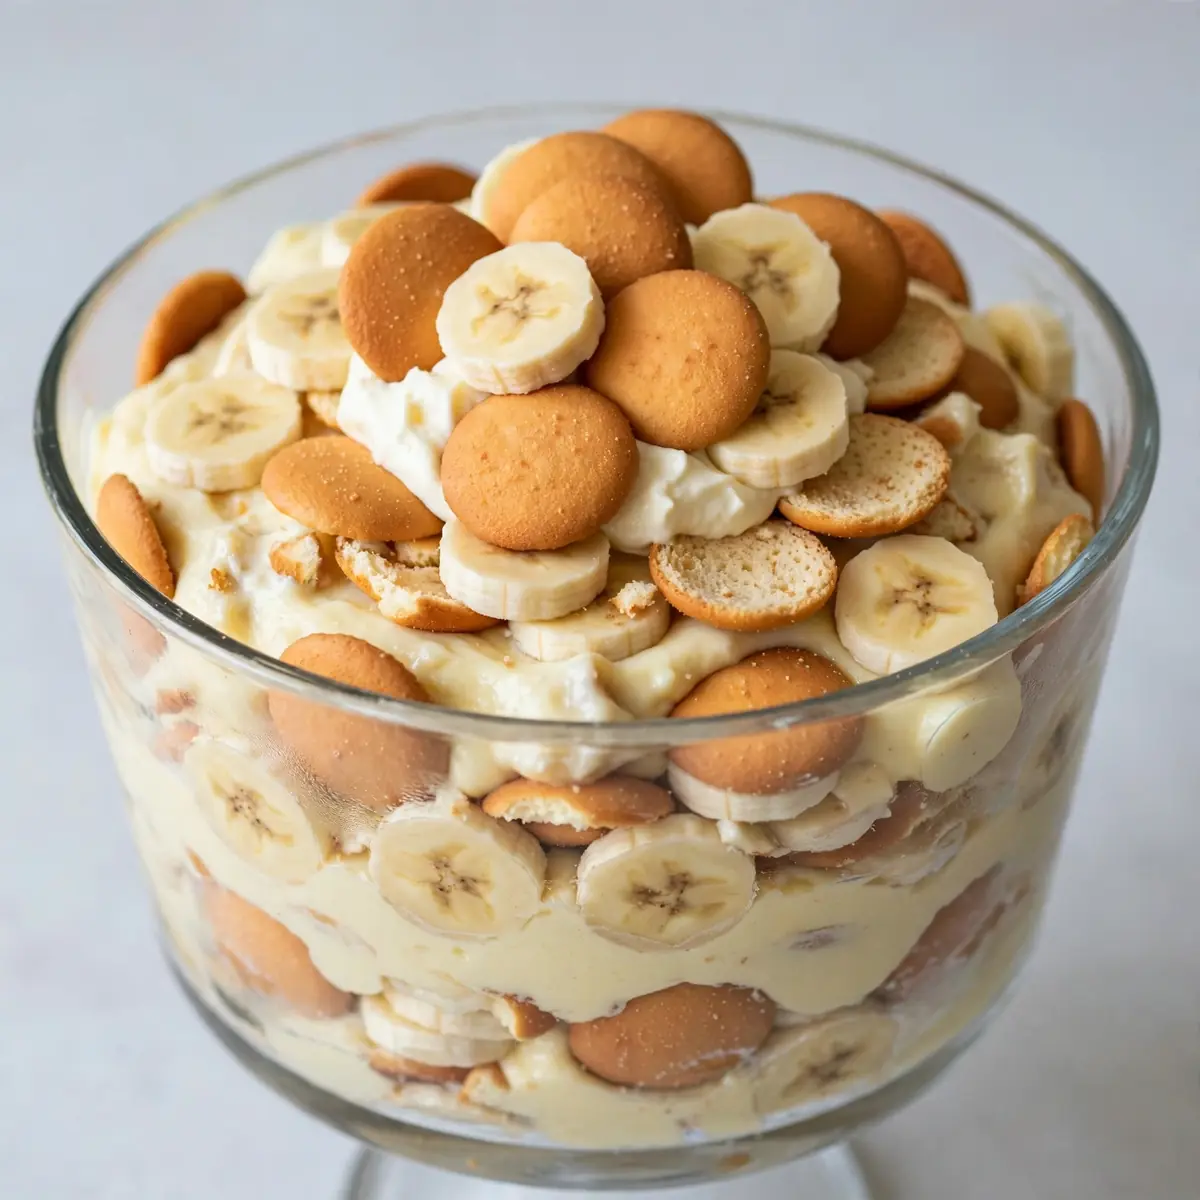
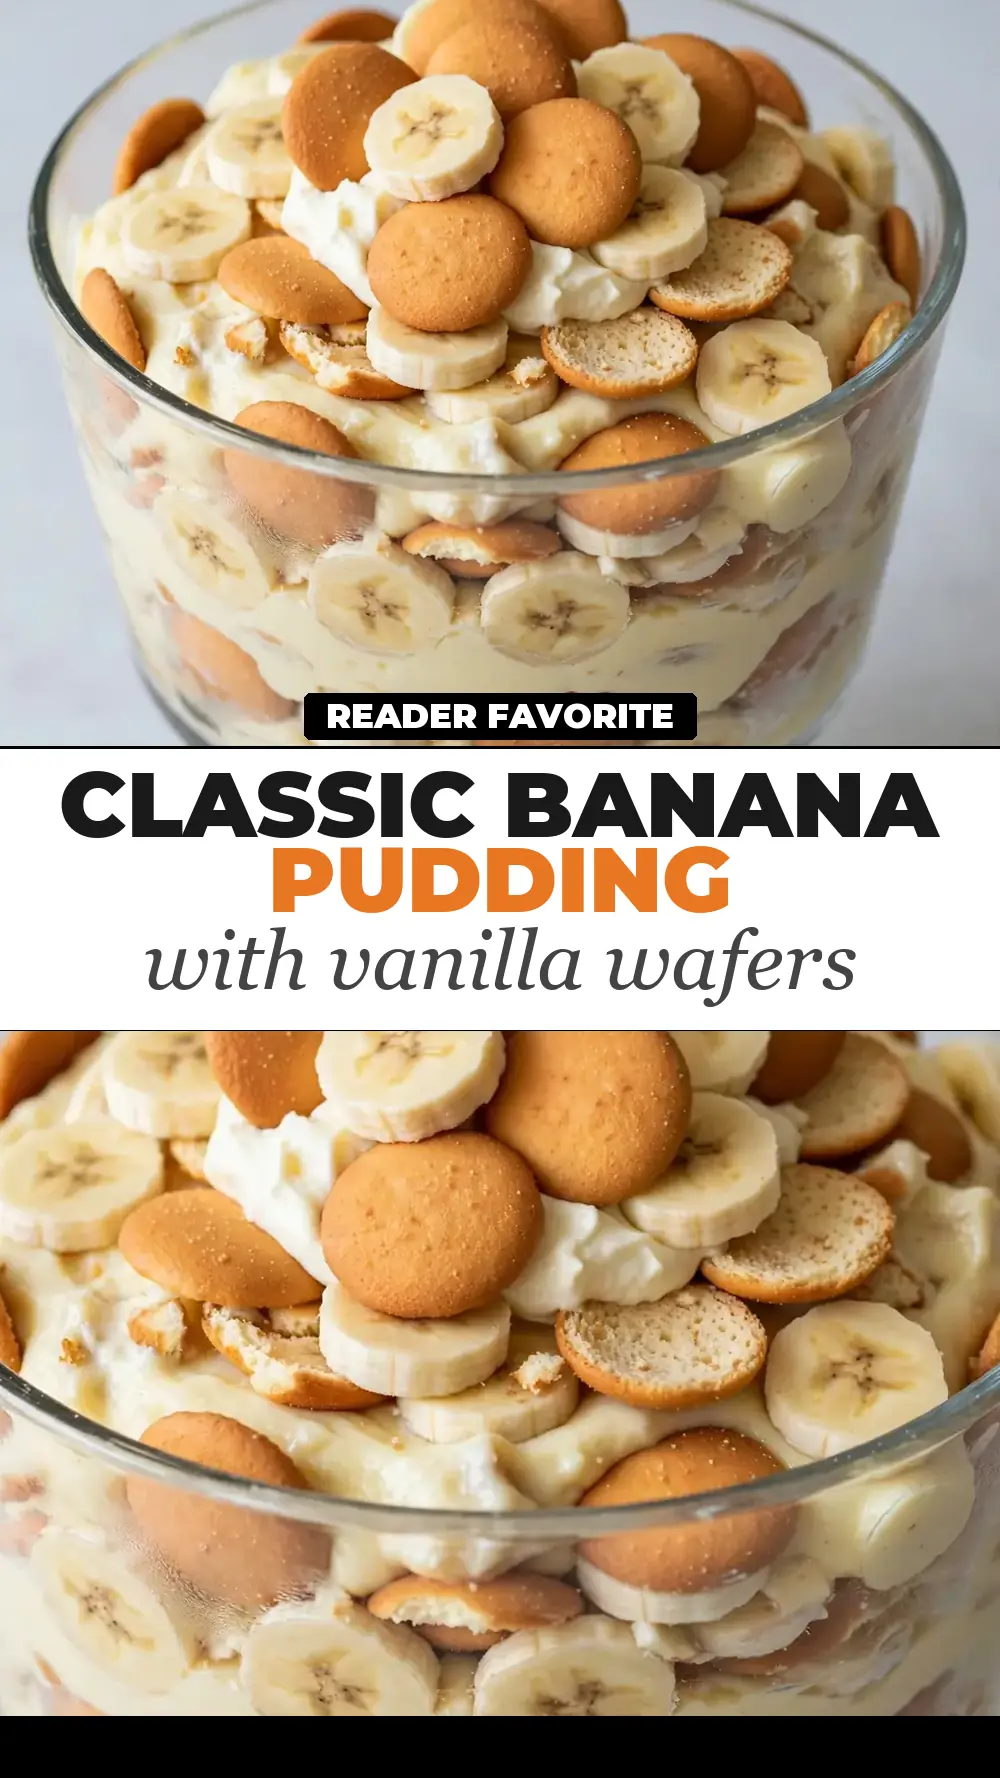
There’s a world of difference between a bowl of pudding scooped from the pot and a layered dessert that commands the table’s attention. This Classic Banana Pudding with Vanilla Wafers is my secret weapon for dinner parties, where the humble banana is elevated into a showstopping finale that feels far more complex than it is to assemble.
Recipe Overview
- Prep time: 25 minutes
- Cook time: 15 minutes
- Chilling time: 4 hours (minimum)
- Total time: 4 hours 40 minutes
- Servings: 8 generous portions
- Difficulty: Moderate (the custard requires attention)
Why You’ll Love This Classic Banana Pudding with Vanilla Wafers
- Restaurant-quality presentation: By layering the components in a glass dish and taking time with the garnish, you create a dessert that looks as though it came from a professional pastry kitchen.
- Deep, authentic banana flavour: We use a double hit of banana — ripe fruit in the layers and a subtle infusion in the custard itself — rather than relying on artificial extracts.
- Texture that tells a story: You get the crunch of the wafers, the silky custard, and the soft, almost buttery slices of banana in each spoonful. Every bite is different, and it pairs wonderfully with a refreshing glass of Watermelon Lemonade.
- Make-ahead magic: This pudding actually improves after a few hours in the fridge, making it the perfect dish to prepare before your guests arrive. The flavours meld, and the wafers soften to a cake-like consistency.
- Customisable for dietary needs: I’ve adapted this for friends with lactose intolerance and gluten sensitivities without sacrificing the luxurious mouthfeel. The variations section below covers these swaps.
Ingredients You’ll Need
- 475ml whole milk
- 120ml double cream
- 150g granulated sugar
- 3 large egg yolks
- 40g cornflour
- 1 teaspoon vanilla bean paste (or 2 teaspoons vanilla extract)
- Pinch of fine sea salt
- 5 medium, ripe bananas (with brown speckles on the skin — not green, not entirely black)
- 200g vanilla wafer biscuits (the classic round ones)
- 30g unsalted butter
- 300ml double cream, chilled
- 2 tablespoons icing sugar
- 1 teaspoon vanilla extract (for the topping)
Tip: Use a digital scale for the cornflour and sugar. Precise measurements are the difference between a custard that sets beautifully and one that remains soupy.
How to Make Classic Banana Pudding with Vanilla Wafers
- Prepare the banana-infused milk: In a medium saucepan, combine the whole milk, double cream, and 50g of the sugar. Peel one of the bananas, slice it into thin rounds, and add it to the pan. Gently heat over a medium flame, stirring occasionally, until small bubbles appear around the edge — you should see wisps of steam rising, but the mixture should not boil. Remove from the heat, cover, and let the banana steep for 30 minutes. You’ll smell a sweet, fruity aroma as the banana releases its flavour.
- Strain and reheat: Pour the infused milk through a fine-mesh sieve into a clean jug, pressing gently on the banana solids to extract every last drop of flavour. Discard the solids. Return the strained liquid to the saucepan and heat again over a medium flame until it’s hot to the touch — dip a clean finger in quickly; it should feel warm, not scalding.
- Temper the egg yolks: In a heatproof bowl, whisk the egg yolks, remaining 100g sugar, cornflour, and salt together until the mixture is pale and thick — it should fall from the whisk in a thick ribbon that holds its shape for a second before disappearing. While whisking constantly, slowly pour about 120ml of the hot milk mixture into the yolk mixture. This raises the temperature of the eggs gently so they don’t scramble. The mixture will look smooth and glossy.
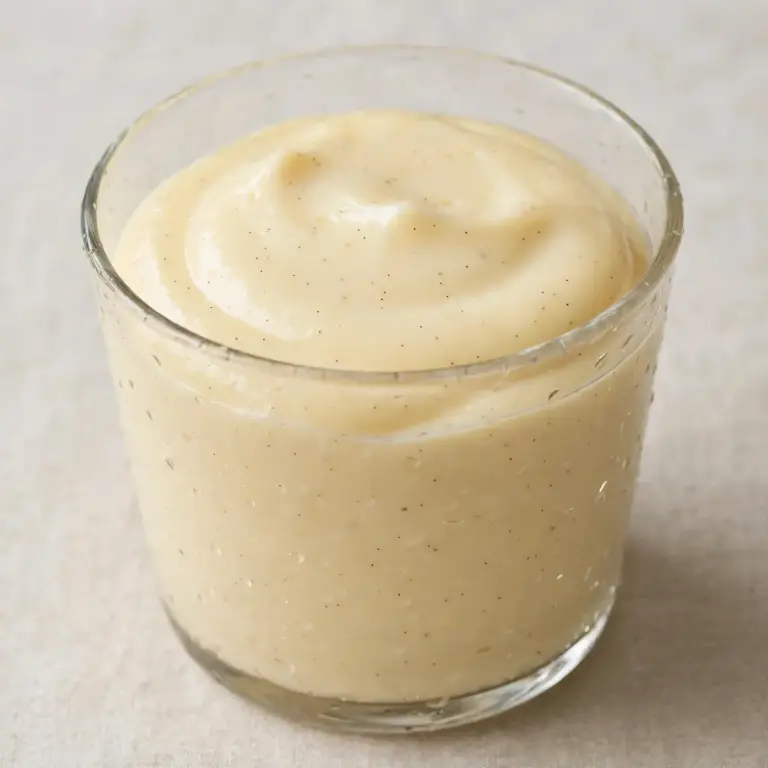
- Cook the custard: Pour the tempered egg mixture back into the saucepan with the remaining hot milk. Place over a medium heat and whisk continuously. Within 2 to 3 minutes, you’ll feel the mixture begin to thicken — the whisk will leave distinct tracks on the bottom of the pan. When it reaches a nappe consistency (coating the back of a spoon and holding a line when you run your finger through it), remove it from the heat immediately. The custard should be smooth, pale yellow, and smell richly of vanilla and banana. Stir in the vanilla bean paste.
- Cool the custard: Pour the custard into a shallow dish and press a piece of cling film directly onto the surface — this prevents a skin from forming. Let it cool at room temperature for 20 minutes, then refrigerate for at least 1 hour until it’s completely cold and set. The texture should be firm enough to hold its shape when spooned but still silky on the tongue.
- Whip the cream topping: In a large, chilled bowl, combine the 300ml double cream, icing sugar, and vanilla extract. Whisk with an electric mixer on medium speed until soft peaks form — when you lift the whisk, the cream should form a gentle peak that flops over slightly. Do not over-whip, or it will become grainy and separate.
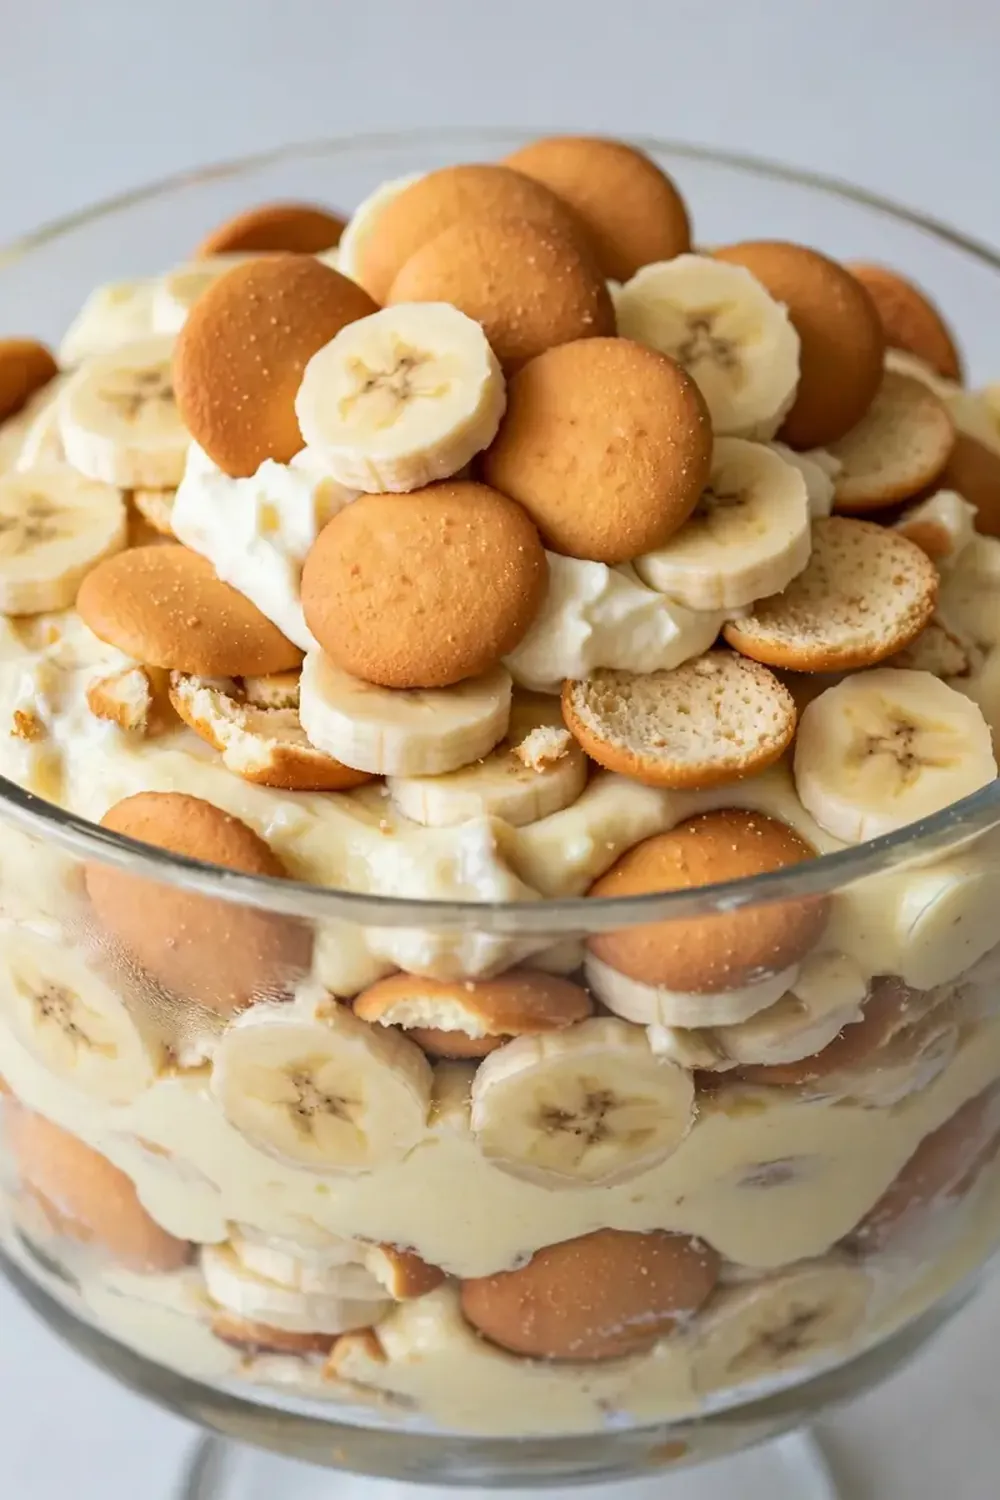
- Assemble the layers: Select a clear glass serving dish — a 2-litre trifle bowl or a deep rectangular dish works beautifully. Spread a thin layer of the cooled custard on the bottom. Arrange a single layer of vanilla wafers over the custard, overlapping them slightly. Slice the remaining 4 bananas into 1cm-thick rounds and arrange half of them over the wafers. Spread half of the remaining custard over the bananas. Repeat the layers: wafers, bananas, custard. Finish with a generous, even layer of the whipped cream, spreading it right to the edges of the dish. For a professional finish, use a piping bag fitted with a star nozzle to pipe rosettes of cream around the border.
- Chill and serve: Cover the dish gently with cling film and refrigerate for at least 4 hours, or preferably overnight. The wafers will soften into a tender, cake-like layer. Just before serving, crush a few extra wafers and sprinkle them over the top, along with a few thin slices of banana brushed with a little lemon juice to prevent browning. The contrast of the crunchy crumb against the soft cream is the final touch that makes this feel like a dessert from a fine-dining menu.
Tips From My Kitchen
- Choose your bananas with care: The ripeness of the banana is the single most important factor. Bananas that are too green will be starchy and lack sweetness. Bananas that are fully black will be mushy and make the layers soggy. Look for yellow bananas with brown speckles — this indicates the starches have converted to sugar, giving you maximum flavour and a firm texture that holds up to the custard.
- Steep the banana in the milk: I stumbled upon this combination by accident, and it’s been a hit ever since. By simmering a banana in the milk and cream before making the custard, you infuse the entire pudding with a natural banana essence. This trick means you don’t need artificial flavouring, and the flavour is more nuanced and aromatic.
- Don’t rush the tempering: Pouring hot liquid into eggs too quickly is the fastest way to end up with scrambled eggs in your custard. Add the hot milk in a thin, steady stream while whisking vigorously. The mixture should feel warm but not hot when you touch the bowl. Patience here pays off in a silky, lump-free texture.
- Let the pudding rest: The four-hour chill is non-negotiable. My husband, who’s usually picky, asked for seconds — but only after the pudding had set overnight. During this time, the wafers absorb moisture from the custard and transform into a soft, almost sponge-like layer. The flavours also meld together, creating a harmonious dessert rather than separate components.
- Garnish just before serving: Fresh banana slices will oxidise and turn brown within 20 minutes of being cut. To keep your presentation pristine, slice the garnish bananas at the last minute and brush them with a little lemon or lime juice. The crushed wafers will also lose their crunch if left on the pudding for too long, so add them right before you bring the dish to the table.
Equipment You’ll Need
- Medium saucepan (preferably heavy-bottomed for even heat distribution)
- Fine-mesh sieve
- Heatproof mixing bowl
- Balloon whisk
- Electric mixer or hand whisk (for the cream)
- Clear glass serving dish (2-litre capacity, preferably with straight sides for clean layers)
- Piping bag and star nozzle (optional, but highly recommended for professional presentation)
- Sharp knife and cutting board
- Cling film
Common Mistakes to Avoid
- Overcrowding the pan: When you cook the custard, do not use a pan that is too small. The mixture needs room to circulate as you whisk, or it will cook unevenly and develop lumps. A medium saucepan with a diameter of about 20cm is ideal. If the pan is too narrow, the heat concentrates in one spot and scorches the custard.
- Wrong temperature: The custard must be cooked over medium heat, not high. If the heat is too intense, the eggs will curdle and the cornflour will clump. You should see steam rising and small bubbles forming around the edge, but the mixture should never come to a full boil. If you see large, rolling bubbles, remove the pan from the heat immediately and whisk vigorously to cool it down.
- Skipping the rest time: This is the most common mistake I see. Serving the pudding immediately after assembly results in crunchy wafers and a runny, separated texture. The rest time allows the cornflour to fully set the custard, the wafers to soften, and the banana flavour to permeate every layer. Four hours is the absolute minimum; overnight is best.
Delicious Variations to Try
- Spicy Version: Add ½ teaspoon of ground cinnamon and a pinch of freshly grated nutmeg to the custard along with the vanilla. The warm spices complement the banana beautifully and add a sophisticated depth that surprises guests.
- Vegetarian/Vegan Option: Use full-fat coconut milk in place of the dairy milk and cream for the custard. For the topping, chill a can of full-fat coconut cream overnight, then whip the solid cream with icing sugar and vanilla. It’s incredibly luscious. Use vegan vanilla wafers (many brands are accidentally vegan).
- Different Protein: For a non-vegetarian twist, you can fold 100g of finely chopped, toasted pecans or walnuts into the whipped cream topping. The nutty crunch provides a wonderful contrast to the soft pudding. Alternatively, use a gluten-free vanilla wafer — the texture remains identical.
What to Serve With Classic Banana Pudding with Vanilla Wafers
- A small cup of strong, black coffee or an espresso — the bitterness cuts through the sweetness.
- A glass of cold milk for a classic pairing, or for adult guests, a milky, spiced chai (non-alcoholic, of course).
- If you’re serving a full menu, consider starting with a lighter dessert or a fresh fruit-based option like our Soft Strawberry Shortcake Cookies for a different texture experience.
- For a themed dessert table, pair it with our No Bake Chocolate Trifle With Whipped Cream for a stunning chocolate-and-cream contrast.
- A refreshing, palate-cleansing drink such as Lavender Lemonade works beautifully to balance the richness of the pudding.
Still hungry for ideas? You might also love Sticky Banana Bread Pudding Cake With Toffee Sauce, Quick No Bake Banana Pudding from our sister kitchens.
Frequently Asked Questions
Classic Banana Pudding with Vanilla Wafers
Ingredients
Method
-
Prepare the banana-infused milk: In a medium saucepan, combine the whole milk, double cream, and 50g of the sugar. Peel one of the bananas, slice it into thin rounds, and add it to the pan. Gently heat over a medium flame, stirring occasionally, until small bubbles appear around the edge — you should see wisps of steam rising, but the mixture should not boil. Remove from the heat, cover, and let the banana steep for 30 minutes. You’ll smell a sweet, fruity aroma as the banana releases its flavour.
-
Strain and reheat: Pour the infused milk through a fine-mesh sieve into a clean jug, pressing gently on the banana solids to extract every last drop of flavour. Discard the solids. Return the strained liquid to the saucepan and heat again over a medium flame until it’s hot to the touch — dip a clean finger in quickly; it should feel warm, not scalding.
-
Temper the egg yolks: In a heatproof bowl, whisk the egg yolks, remaining 100g sugar, cornflour, and salt together until the mixture is pale and thick — it should fall from the whisk in a thick ribbon that holds its shape for a second before disappearing. While whisking constantly, slowly pour about 120ml of the hot milk mixture into the yolk mixture. This raises the temperature of the eggs gently so they don’t scramble. The mixture will look smooth and glossy.
-
Cook the custard: Pour the tempered egg mixture back into the saucepan with the remaining hot milk. Place over a medium heat and whisk continuously. Within 2 to 3 minutes, you’ll feel the mixture begin to thicken — the whisk will leave distinct tracks on the bottom of the pan. When it reaches a nappe consistency (coating the back of a spoon and holding a line when you run your finger through it), remove it from the heat immediately. The custard should be smooth, pale yellow, and smell richly of vanilla and banana. Stir in the vanilla bean paste.
-
Cool the custard: Pour the custard into a shallow dish and press a piece of cling film directly onto the surface — this prevents a skin from forming. Let it cool at room temperature for 20 minutes, then refrigerate for at least 1 hour until it’s completely cold and set. The texture should be firm enough to hold its shape when spooned but still silky on the tongue.
-
Whip the cream topping: In a large, chilled bowl, combine the 300ml double cream, icing sugar, and vanilla extract. Whisk with an electric mixer on medium speed until soft peaks form — when you lift the whisk, the cream should form a gentle peak that flops over slightly. Do not over-whip, or it will become grainy and separate.
-
Assemble the layers: Select a clear glass serving dish — a 2-litre trifle bowl or a deep rectangular dish works beautifully. Spread a thin layer of the cooled custard on the bottom. Arrange a single layer of vanilla wafers over the custard, overlapping them slightly. Slice the remaining 4 bananas into 1cm-thick rounds and arrange half of them over the wafers. Spread half of the remaining custard over the bananas. Repeat the layers: wafers, bananas, custard. Finish with a generous, even layer of the whipped cream, spreading it right to the edges of the dish. For a professional finish, use a piping bag fitted with a star nozzle to pipe rosettes of cream around the border.
-
Chill and serve: Cover the dish gently with cling film and refrigerate for at least 4 hours, or preferably overnight. The wafers will soften into a tender, cake-like layer. Just before serving, crush a few extra wafers and sprinkle them over the top, along with a few thin slices of banana brushed with a little lemon juice to prevent browning. The contrast of the crunchy crumb against the soft cream is the final touch that makes this feel like a dessert from a fine-dining menu.
Notes
I’d love to hear how your Classic Banana Pudding with Vanilla Wafers turns out. Drop a comment below and let me know if your guests were as impressed as mine — and if you discovered a variation of your own, please share it. Happy cooking, and remember: the best desserts are the ones that bring people together around the table.