Easy Strawberry Pie
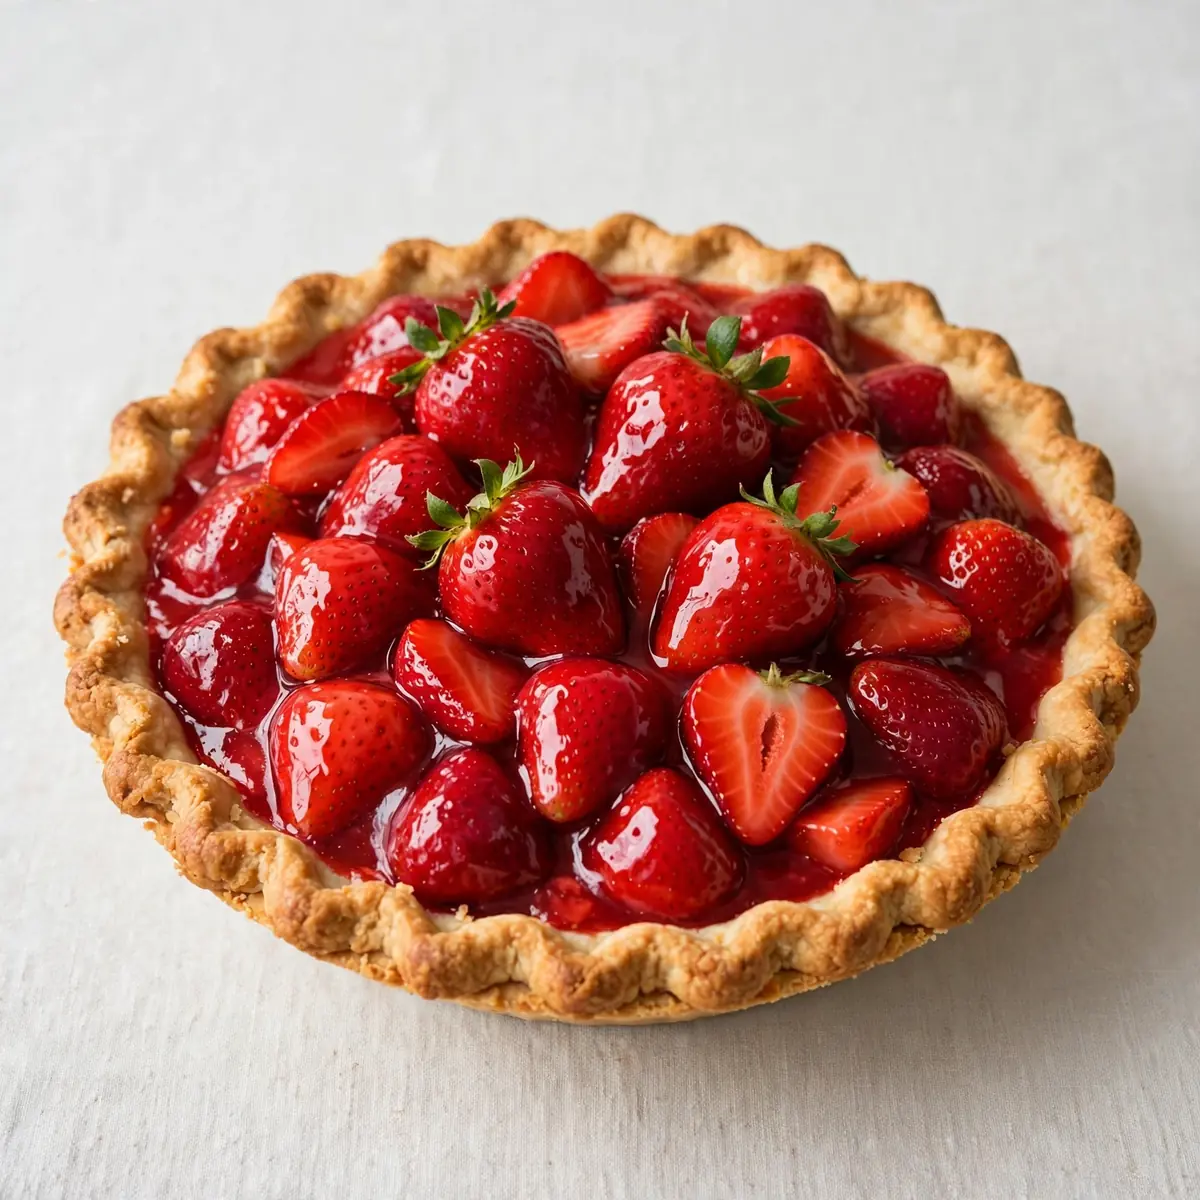
I remember the first time I served this Easy Strawberry Pie at a dinner party, the room went quiet for a second before the compliments started rolling in. The secret wasn’t just the taste, but the way it looked on the plate — glossy, jewel-bright, and utterly restaurant-worthy. I’m going to show you exactly how to achieve that same stunning presentation at home.
Recipe Overview
- Prep Time: 30 minutes
- Cook Time: 15 minutes (for the crust)
- Chill Time: 4 hours (minimum)
- Total Time: 4 hours 45 minutes
- Servings: 8 generous slices
- Difficulty: Medium — but the results are well worth the effort
Why You’ll Love This Easy Strawberry Pie
- Restaurant-quality presentation: The glazed topping, neat edges, and perfect slice release make it look like it came from a patisserie window.
- Uses fresh, seasonal strawberries: This pie celebrates the fruit at its peak, with no artificial flavours or fillers.
- Make-ahead friendly: You can prepare it the day before your gathering, which takes the stress out of entertaining.
- Customisable to your taste: Adjust the sweetness, add a splash of citrus, or swap the crust for a gluten-free option.
- Impresses without requiring a pastry chef’s skill: The techniques are straightforward, but the final result is genuinely showstopping.
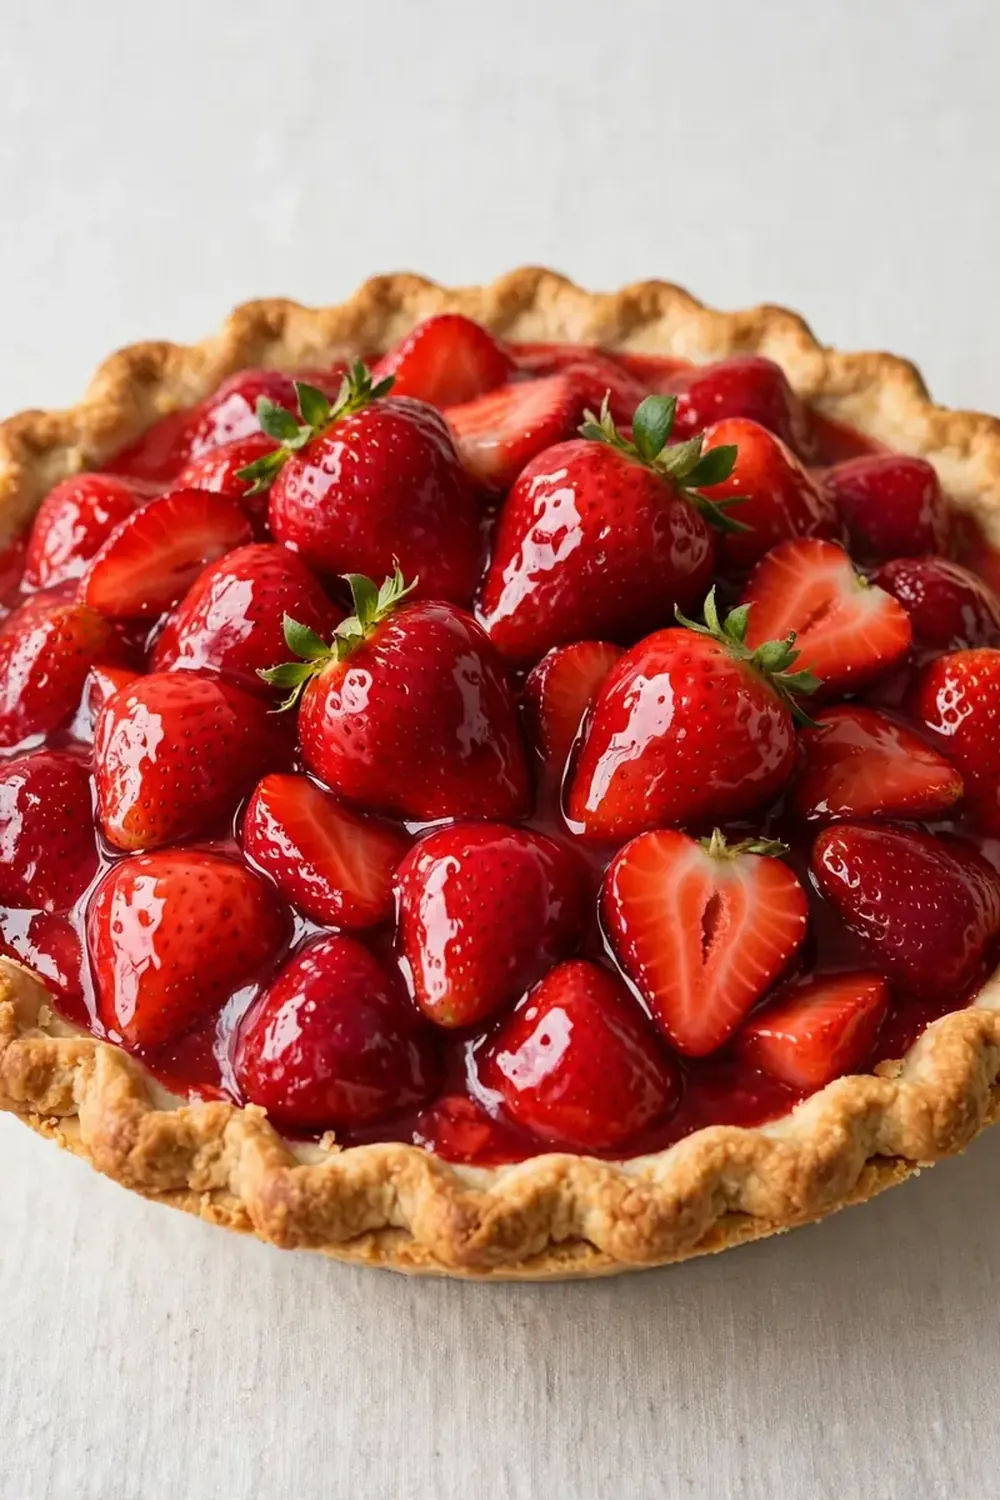
Ingredients You’ll Need
- 1 pre-baked 23cm shortcrust pastry shell (or homemade, if you prefer)
- 1.2 kg fresh strawberries, hulled and halved (or quartered if large)
- 150 g caster sugar
- 3 tablespoons cornflour
- 1 tablespoon lemon juice (freshly squeezed)
- 1 teaspoon vanilla bean paste or extract
- Pinch of fine sea salt
- 200 ml cold water
- 30 g unsalted butter, chilled and diced
- Fresh mint leaves, for garnish (optional, but highly recommended)
- Icing sugar, for dusting (optional)
Tip: For the most vibrant colour and flavour, use strawberries that are deep red all the way through. Avoid pale or white-tipped berries, as they will make the pie taste less intense.
How to Make Easy Strawberry Pie
- Prepare your pastry shell: If using a homemade shell, blind bake it at 180°C (fan) for 12–15 minutes until it is a pale, golden brown and smells nutty. If using a shop-bought shell, follow the packet instructions. Allow it to cool completely on a wire rack — the base should feel firm and dry to the touch, not greasy.
- Macerate the strawberries: In a large bowl, gently toss the prepared strawberries with 50 g of the caster sugar. Let them sit for 15 minutes. You’ll notice the berries begin to release their juice, creating a glossy, ruby-red liquid at the bottom of the bowl. This step builds the flavour base.
- Make the glaze: In a medium saucepan, whisk together the remaining 100 g caster sugar, the cornflour, and the pinch of salt. Slowly pour in the cold water and the lemon juice, whisking constantly to prevent lumps. Set the pan over a medium heat and stir continuously. After about 3–4 minutes, the mixture will thicken dramatically — you’ll see it turn from a cloudy liquid into a clear, glossy gel that coats the back of a spoon.
- Finish the glaze: Remove the pan from the heat. Stir in the vanilla bean paste and the chilled, diced butter. The butter will melt into the warm glaze, giving it a beautiful, silky sheen. Let the glaze cool for 2–3 minutes — it should still be warm but not hot, so it doesn’t cook the strawberries further.
- Assemble the pie: Arrange the macerated strawberries inside the cooled pastry shell, packing them snugly but not crushing them. The berries should sit in a single, even layer, with their cut sides facing down for a neat appearance. Slowly pour the warm glaze over the berries, ensuring it seeps into all the gaps. Tap the pie dish gently on the counter to release any air bubbles — you’ll see small pockets of air rise to the surface and pop.
- Chill to set: Place the assembled pie in the refrigerator for at least 4 hours, or overnight. The glaze will set into a firm, jelly-like consistency that holds its shape when sliced. The surface should be smooth and glossy, with no sticky residue when you touch it lightly.
- Slice and serve: For clean, professional slices, dip your knife in hot water and wipe it dry between each cut. The filling should hold together firmly, with the strawberries glistening under the glaze. Garnish each slice with a small sprig of fresh mint and a light dusting of icing sugar for a final flourish.
Tips From My Kitchen
- Use a hot knife for perfect slices: This is the single most important tip for a clean presentation. A warm knife glides through the glaze without dragging or sticking, leaving you with sharp, neat edges. I used to struggle with this dish until I discovered this technique — now my slices look like they belong in a glossy magazine.
- Don’t skip the maceration step: Tossing the strawberries with sugar before glazing draws out their natural moisture and concentrates their flavour. It also softens them slightly, so they meld beautifully with the glaze. The result is a pie that tastes intensely of summer, not just of sugar.
- Chill the pie for the full 4 hours: This is non-negotiable. The glaze needs time to set into a stable gel that won’t run when you cut into it. If you’re in a rush, pop it in the freezer for 30 minutes after the initial 2 hours of chilling, but keep a close eye on it — you don’t want it to freeze solid.
- Blot the strawberries dry if they’re very wet: If your berries are exceptionally juicy, pat them gently with a paper towel after macerating. Too much liquid can make the glaze runny and prevent it from setting properly. You want a firm, sliceable pie, not a soupy one.
- Experiment with the glaze thickness: For a thicker, more jelly-like glaze, add an extra half tablespoon of cornflour. For a thinner, more syrupy glaze, reduce the cornflour by the same amount. Adjust based on how you want the final texture to feel on the tongue.
- Garnish strategically: A small mint leaf and a dusting of icing sugar are classic, but you can also add a few tiny edible flowers or a drizzle of balsamic reduction for a sophisticated twist. These small touches are what make the pie feel restaurant-quality.
Equipment You’ll Need
- 23cm loose-bottomed tart or pie tin
- Baking tray (to catch any drips during baking)
- Parchment paper and baking beans (for blind baking)
- Wire cooling rack
- Medium saucepan
- Whisk
- Large mixing bowl
- Sharp knife and chopping board
- Measuring spoons and jug
- Fine-mesh sieve (for dusting icing sugar)
Common Mistakes to Avoid
- Overcrowding the pie tin: Packing too many strawberries into the shell can cause the filling to dome and crack when sliced. Arrange the berries in a single, even layer with small gaps for the glaze to flow into. This ensures every bite has a balanced ratio of fruit to glaze.
- Wrong temperature for the glaze: Pouring the glaze over the strawberries while it’s boiling hot can cook the berries, turning them mushy and releasing too much juice. Let it cool for 2–3 minutes until it’s warm but not hot — you should be able to dip a clean finger in without discomfort.
- Skipping the rest time: Cutting into the pie before it has fully set is the fastest way to a messy, disappointing slice. The glaze needs the full chilling time to firm up into a stable gel. Patience here is rewarded with a clean, beautiful slice every time.
- Using under-ripe strawberries: Pale or tart berries lack the natural sweetness and deep colour that make this pie shine. They also hold more water, which can dilute the glaze. Always choose berries that are fully red and fragrant for the best result.
- Not sealing the pastry shell: If your baked shell has any cracks or holes, the glaze can leak through and make the base soggy. Before adding the strawberries, brush the inside of the shell with a thin layer of melted white chocolate or egg white and bake for 2 more minutes to create a waterproof seal.
Delicious Variations to Try
- Spicy Version: Add a finely chopped red chilli or a pinch of cayenne pepper to the glaze along with the lemon juice. The gentle heat contrasts beautifully with the sweet strawberries and adds an unexpected layer of complexity that will surprise your guests.
- Vegetarian/Vegan Option: Replace the butter in the glaze with a vegan block margarine (not the spreadable kind from a tub) and use a plant-based shortcrust pastry. The result is just as glossy and delicious, and no one will notice the difference.
- Different Berry Combination: Swap half the strawberries for raspberries or sliced peaches. The mix of colours and flavours creates a stunning, multi-toned pie that looks even more impressive on the plate. Just adjust the sugar slightly based on the sweetness of the other fruit.
What to Serve With Easy Strawberry Pie
- A dollop of lightly whipped double cream or crème fraîche — the tanginess cuts through the sweetness perfectly.
- A scoop of vanilla bean ice cream, for a classic, decadent pairing.
- A small glass of iced tea or a chilled sparkling water with a slice of lemon to balance the richness.
Still hungry for ideas? You might also love Strawberry Rhubarb Pie Recipe from our sister kitchens.
Frequently Asked Questions
Easy Strawberry Pie
Ingredients
Method
- Prepare your pastry shell: If using a homemade shell, blind bake it at 180°C (fan) for 12–15 minutes until it is a pale, golden brown and smells nutty. If using a shop-bought shell, follow the packet instructions. Allow it to cool completely on a wire rack — the base should feel firm and dry to the touch, not greasy.
- Macerate the strawberries: In a large bowl, gently toss the prepared strawberries with 50 g of the caster sugar. Let them sit for 15 minutes. You'll notice the berries begin to release their juice, creating a glossy, ruby-red liquid at the bottom of the bowl. This step builds the flavour base.
- Make the glaze: In a medium saucepan, whisk together the remaining 100 g caster sugar, the cornflour, and the pinch of salt. Slowly pour in the cold water and the lemon juice, whisking constantly to prevent lumps. Set the pan over a medium heat and stir continuously. After about 3–4 minutes, the mixture will thicken dramatically — you'll see it turn from a cloudy liquid into a clear, glossy gel that coats the back of a spoon.
- Finish the glaze: Remove the pan from the heat. Stir in the vanilla bean paste and the chilled, diced butter. The butter will melt into the warm glaze, giving it a beautiful, silky sheen. Let the glaze cool for 2–3 minutes — it should still be warm but not hot, so it doesn't cook the strawberries further.
- Assemble the pie: Arrange the macerated strawberries inside the cooled pastry shell, packing them snugly but not crushing them. The berries should sit in a single, even layer, with their cut sides facing down for a neat appearance. Slowly pour the warm glaze over the berries, ensuring it seeps into all the gaps. Tap the pie dish gently on the counter to release any air bubbles — you'll see small pockets of air rise to the surface and pop.
- Chill to set: Place the assembled pie in the refrigerator for at least 4 hours, or overnight. The glaze will set into a firm, jelly-like consistency that holds its shape when sliced. The surface should be smooth and glossy, with no sticky residue when you touch it lightly.
- Slice and serve: For clean, professional slices, dip your knife in hot water and wipe it dry between each cut. The filling should hold together firmly, with the strawberries glistening under the glaze. Garnish each slice with a small sprig of fresh mint and a light dusting of icing sugar for a final flourish.
Notes
Friends always ask me for this recipe after trying it at dinner parties, and now it’s yours to master. I’d love to hear how your Easy Strawberry Pie turns out — drop a comment below and tell me about your plating tricks or favourite variations. Happy baking!
