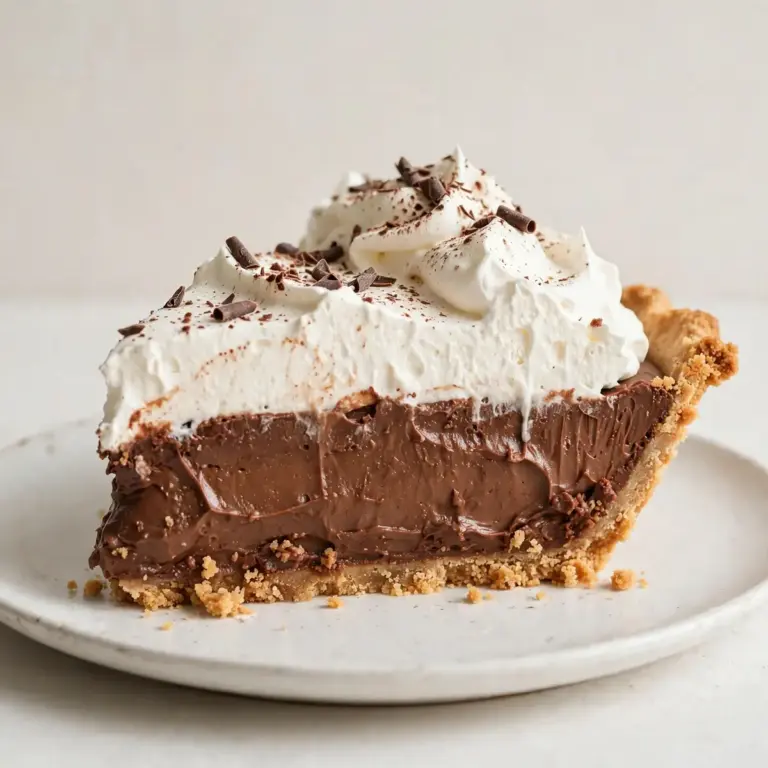
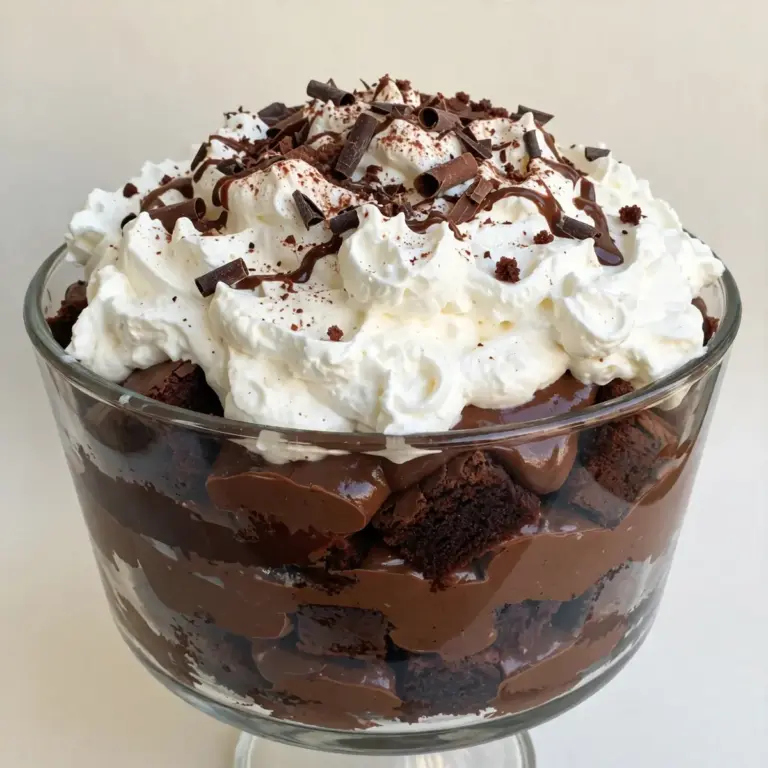
Easy Chocolate Pudding From Scratch
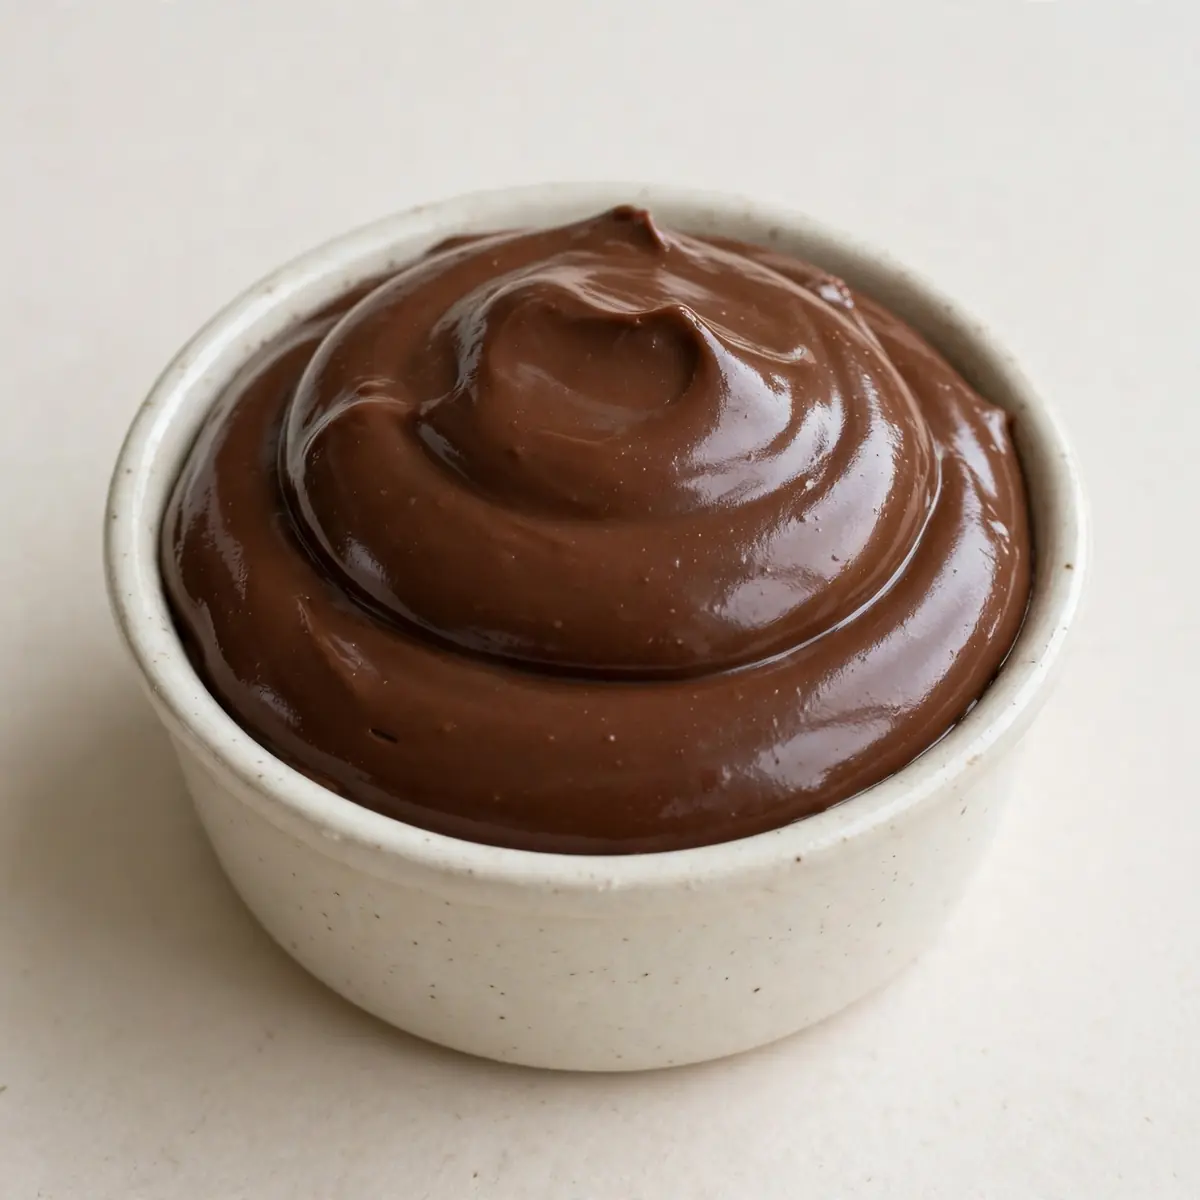
There’s a quiet art to presenting a dessert that makes your guests pause mid-conversation, and this Easy Chocolate Pudding from Scratch is my secret weapon. It’s the kind of silky, deep-flavoured finale that turns a simple dinner into a memorable evening, yet it asks for nothing more than a whisk and a bit of patience. Let’s get straight to it, because the best dishes are the ones you can pull off without a fuss.
Recipe Overview
- Prep Time: 10 minutes
- Cook Time: 15 minutes
- Chilling Time: 2 hours (minimum)
- Total Time: 2 hours 25 minutes
- Servings: 4 generous portions
- Difficulty: Easy
Why You’ll Love This Easy Chocolate Pudding from Scratch
- Restaurant-quality plating at home: With a few deliberate garnishes and proper serving dishes, this humble pudding looks like it came from a professional kitchen. Friends always ask me for this recipe after trying it at dinner parties, and the presentation is half the magic.
- Deep, complex chocolate flavour: Using good-quality cocoa powder and real dark chocolate creates a richness that shop-bought mixes simply cannot replicate. The depth develops as it chills, rewarding you with a more sophisticated taste.
- Silky, not stodgy texture: The whisking technique and precise temperature control ensure a velvety smooth mouthfeel. There is no graininess or floury aftertaste, just pure, luscious creaminess.
- Completely doable ahead of time: This pudding actually improves after a few hours rest in the fridge, making it the perfect stress-free dessert for entertaining. You can focus on your guests instead of the stove.
- Simple, everyday ingredients: You likely have most of these in your pantry already. There is no need for fancy equipment or hard-to-find items, just good technique and a little love.
Ingredients You’ll Need
- 500ml whole milk
- 60g granulated sugar
- 30g unsweetened cocoa powder (preferably Dutch-processed)
- 20g cornflour (cornstarch)
- 2 large egg yolks
- 100g dark chocolate (70% cocoa solids), finely chopped
- 1 teaspoon vanilla extract
- A pinch of fine sea salt
- 30g unsalted butter, cut into small cubes
Tip: For the most impressive result, use a high-quality dark chocolate you’d happily eat on its own. The flavour will shine through, and guests will notice the difference. Also, ensure your milk is full-fat for the silkiest texture.
How to Make Easy Chocolate Pudding from Scratch
- Whisk the dry base: In a medium, heavy-based saucepan, combine the sugar, cocoa powder, cornflour, and salt. Use a balloon whisk to break up any lumps until the mixture looks like a fine, dark powder with no streaks. The smell of cocoa will be the first sensory clue that you’re on the right track.
- Incorporate the egg yolks: In a small bowl, lightly beat the egg yolks. Add about 100ml of the milk to the yolks and whisk until smooth. Pour this yolk mixture into the dry ingredients in the saucepan, whisking constantly. You’ll see a thick, dark paste form—don’t worry, this is exactly what we want.
- Add the remaining milk: Gradually pour in the rest of the milk while whisking continuously. The paste will loosen into a thin, liquid batter the colour of rich dark chocolate. Listen for the gentle slosh of the liquid against the pan as it comes together.
- Cook over medium heat: Place the saucepan over medium heat and whisk constantly. Do not walk away. Within 3 to 5 minutes, you’ll notice the mixture beginning to steam and then thicken. You will feel the whisk meet resistance, and the sound will change from a liquid swish to a thicker, slower thump against the sides of the pan. The first large bubble breaking the surface is your signal.
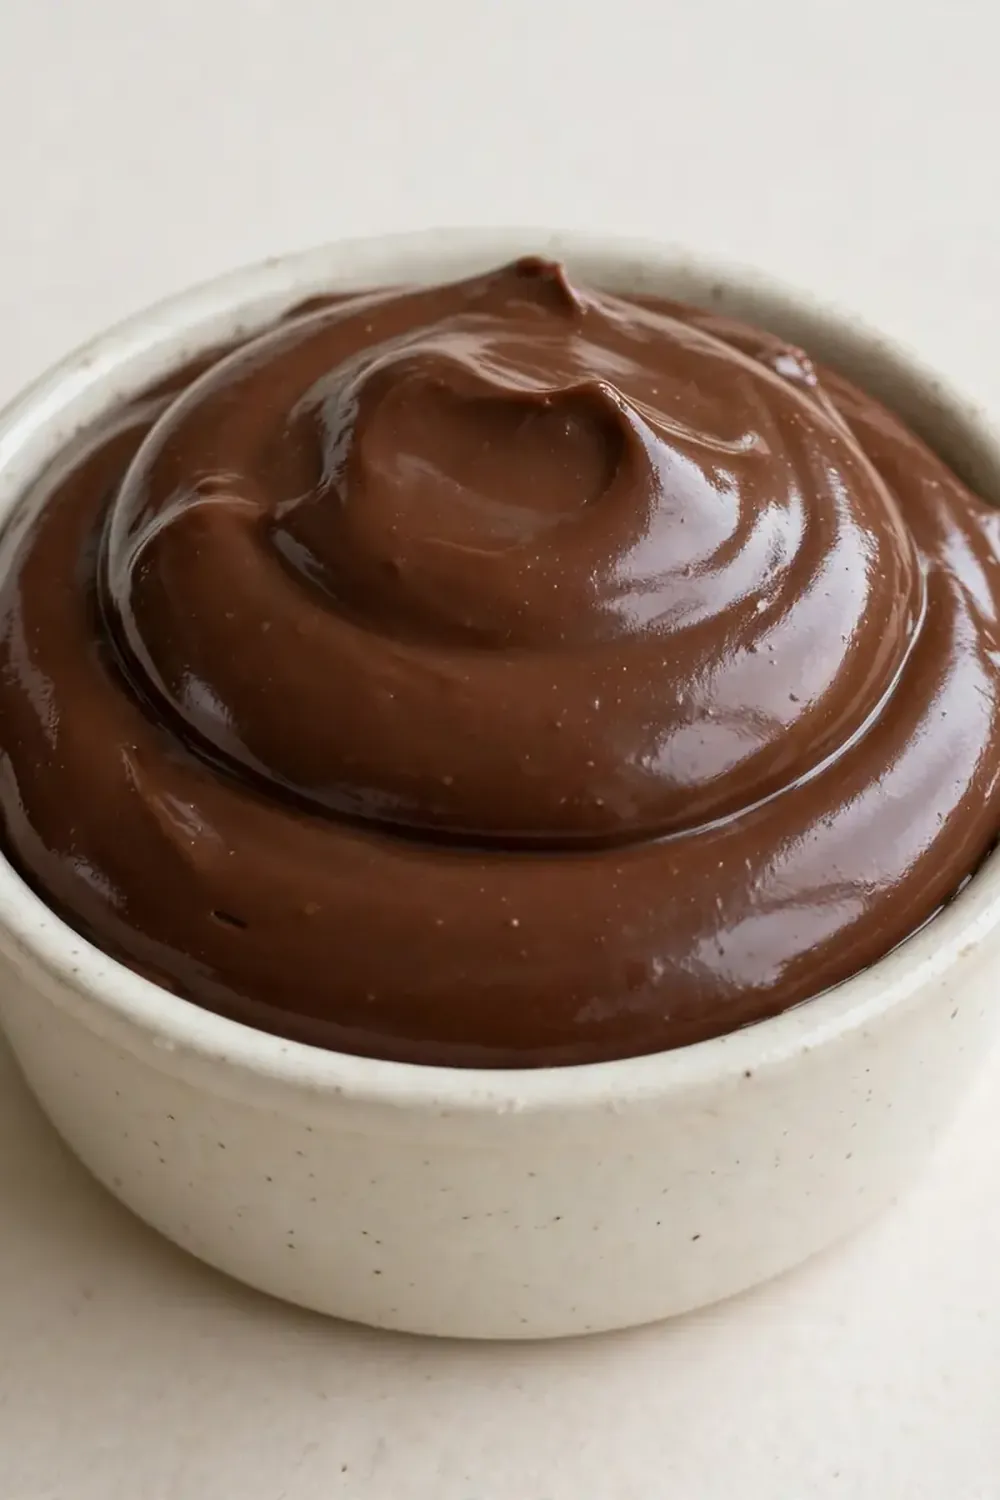
- Simmer and finish: Once the first bubble appears, continue whisking for exactly one minute more. This cooks out the raw cornflour taste. Remove the pan from the heat. The pudding will look glossy and thick, almost like a soft custard, and will coat the back of a spoon heavily.
- Add the chocolate and butter: Immediately add the chopped dark chocolate, cubed butter, and vanilla extract. Whisk gently until everything is melted and fully incorporated. The mixture will become even shinier and smell intensely of melted chocolate. The texture should be completely smooth and velvety.
- Strain for perfection: For a truly restaurant-worthy finish, pour the hot pudding through a fine-mesh sieve into a clean bowl. This removes any tiny lumps that might have formed. You’ll be left with a completely silky, unblemished cream.
- Portion and chill: Divide the pudding evenly among four serving glasses or small bowls. Tap each glass gently on the counter to settle the pudding and release any trapped air bubbles. Cover each with cling film, pressing it directly onto the surface to prevent a skin from forming. Refrigerate for at least 2 hours, until completely set and chilled. The texture will be firm yet wobbly, like a perfect panna cotta.
Tips From My Kitchen
- Whisk, whisk, whisk: The most common mistake is stopping whisking for even a few seconds during the cooking stage. Lumps form in an instant. Use a balloon whisk and keep it moving in a figure-eight pattern to ensure even thickening. My husband, who’s usually picky, asked for seconds after I perfected this technique.
- Don’t rush the chilling time: Two hours is the absolute minimum, but overnight is better. The pudding needs this time to fully set and for the flavours to meld and deepen. A rushed pudding will be soupy and less satisfying.
- Strain for elegance: Even if you whisk perfectly, a stray bit of cooked egg or a tiny cocoa lump can appear. Straining is a tiny step that makes a huge difference in the final, silky mouthfeel. It’s the hallmark of a careful cook.
- Use a heavy-based pan: A thin pan can cause hot spots that scorch the pudding before it thickens evenly. A heavy-based saucepan distributes heat gently and gives you better control over the final texture.
- Temperature matters for serving: This pudding is best served well-chilled, straight from the fridge. If you let it sit at room temperature for more than 15 minutes, it will begin to soften and lose its elegant structure. Keep it cold until the last possible moment.
Common Mistakes to Avoid
- Overcrowding the pan: This recipe is designed for a medium saucepan. Using a pan that is too small makes whisking difficult and increases the risk of lumps forming. The mixture needs room to move freely. Stick to a pan that holds at least 1.5 litres.
- Wrong temperature: Cooking over high heat is a sure path to scorched pudding and raw lumps. Keep the heat at a steady medium. If you see wisps of steam followed by too-rapid bubbling, lower the heat immediately. The pudding should thicken slowly over 4-5 minutes, not in 30 seconds.
- Skipping the rest time: No matter how tempting it is to serve this pudding immediately, it will be thin and warm. The chilling time is not optional; it is an essential step for setting the cornflour and allowing the chocolate flavour to mature. Patience is rewarded with a perfect, sliceable texture.
What to Serve With Easy Chocolate Pudding from Scratch
- A dollop of lightly whipped, barely-sweetened double cream provides a lovely contrast to the rich pudding.
- Fresh raspberries or a few slices of ripe strawberry add a bright, acidic pop that cuts through the chocolate.
- A delicate, crunchy biscuit, like a thin butter cookie or a brandy snap, adds textural contrast.
- For a more elaborate finish, a dusting of cocoa powder and a few flakes of sea salt elevate the visual appeal instantly.
- If you’re building a dessert spread, this pudding pairs beautifully with a slice of Fluffy Vanilla Birthday Cake for a contrasting texture.
Still hungry for ideas? You might also love Chocolate Protein Pudding With Avocado 2, Fudgy Easy Turtle Brownies From Scratch from our sister kitchens.
Frequently Asked Questions
Easy Chocolate Pudding from Scratch
Ingredients
Method
- Whisk the dry base: In a medium, heavy-based saucepan, combine the sugar, cocoa powder, cornflour, and salt. Use a balloon whisk to break up any lumps until the mixture looks like a fine, dark powder with no streaks. The smell of cocoa will be the first sensory clue that you’re on the right track.
- Incorporate the egg yolks: In a small bowl, lightly beat the egg yolks. Add about 100ml of the milk to the yolks and whisk until smooth. Pour this yolk mixture into the dry ingredients in the saucepan, whisking constantly. You’ll see a thick, dark paste form—don’t worry, this is exactly what we want.
- Add the remaining milk: Gradually pour in the rest of the milk while whisking continuously. The paste will loosen into a thin, liquid batter the colour of rich dark chocolate. Listen for the gentle slosh of the liquid against the pan as it comes together.
- Cook over medium heat: Place the saucepan over medium heat and whisk constantly. Do not walk away. Within 3 to 5 minutes, you’ll notice the mixture beginning to steam and then thicken. You will feel the whisk meet resistance, and the sound will change from a liquid swish to a thicker, slower thump against the sides of the pan. The first large bubble breaking the surface is your signal.
- Simmer and finish: Once the first bubble appears, continue whisking for exactly one minute more. This cooks out the raw cornflour taste. Remove the pan from the heat. The pudding will look glossy and thick, almost like a soft custard, and will coat the back of a spoon heavily.
- Add the chocolate and butter: Immediately add the chopped dark chocolate, cubed butter, and vanilla extract. Whisk gently until everything is melted and fully incorporated. The mixture will become even shinier and smell intensely of melted chocolate. The texture should be completely smooth and velvety.
- Strain for perfection: For a truly restaurant-worthy finish, pour the hot pudding through a fine-mesh sieve into a clean bowl. This removes any tiny lumps that might have formed. You’ll be left with a completely silky, unblemished cream.
- Portion and chill: Divide the pudding evenly among four serving glasses or small bowls. Tap each glass gently on the counter to settle the pudding and release any trapped air bubbles. Cover each with cling film, pressing it directly onto the surface to prevent a skin from forming. Refrigerate for at least 2 hours, until completely set and chilled. The texture will be firm yet wobbly, like a perfect panna cotta.
Notes
I hope this Easy Chocolate Pudding from Scratch becomes a staple in your entertaining repertoire, just as it has in mine. The magic is in the details: a careful whisk, a generous garnish, and the quiet satisfaction of serving something deeply good that you made yourself. Have you tried it yet? I’d love to hear how you plated yours and what your guests thought. Drop a comment below and share your experience. For a lovely non-alcoholic accompaniment to your dinner party, consider a Sparkling Raspberry Lemonade to cleanse the palate between courses.