No-Bake Peanut Butter Chocolate Fudge
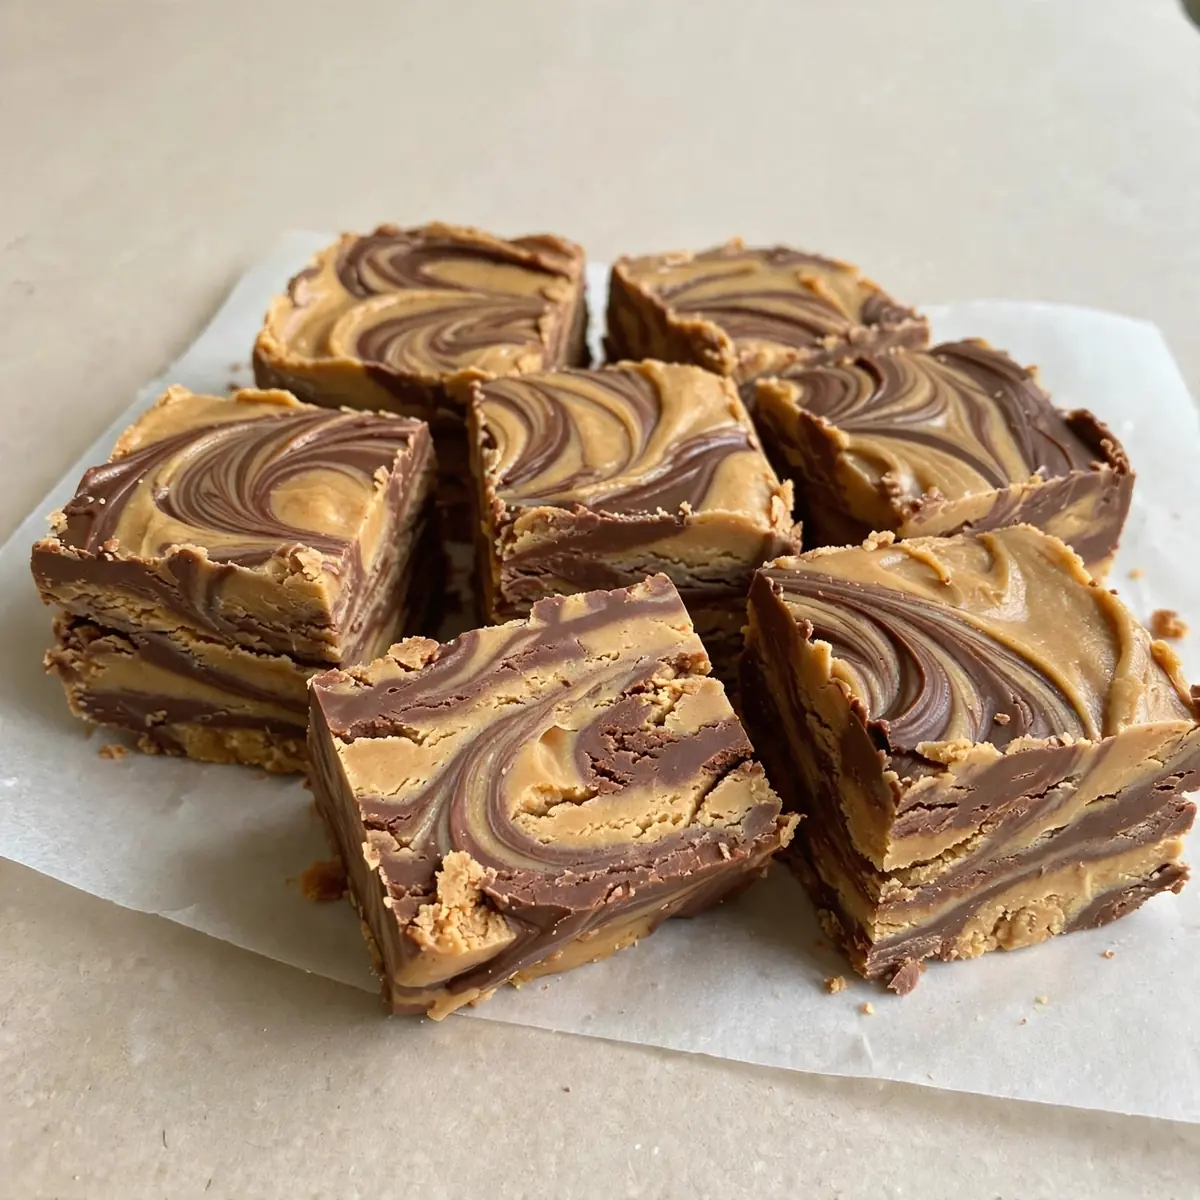
There’s no greater trick at a dinner party than serving a dessert that tastes like it came from a Michelin-starred kitchen, yet was made without turning on your oven. This No-Bake Peanut Butter Chocolate Fudge is that secret weapon. It’s a lesson in restraint and richness, and when you plate it with a sprinkle of sea salt and a sliver of dark chocolate, your guests won’t believe you made it in your own kitchen.
Recipe Overview
- Prep Time: 15 minutes
- Chill Time: 3 hours (minimum)
- Total Time: 3 hours 15 minutes
- Servings: 36 squares (approx. 2.5cm pieces)
- Difficulty: Easy
Why You’ll Love This No-Bake Peanut Butter Chocolate Fudge
- It’s a showstopper without the stress. The glossy, mirror-like chocolate top and clean, sharp edges make it look like a professional patisserie creation.
- The texture is divine—a soft, melt-in-the-mouth peanut butter centre contrasts beautifully with a firm, snappy chocolate layer. It’s a textural journey in every bite.
- It’s endlessly customisable for presentation. A dusting of cocoa, a few gold leaf flakes, or a drizzle of white chocolate all elevate the visual appeal instantly.
- No oven required, which means no hot kitchen on a summer’s day. Plus, it’s a perfect make-ahead dessert—just slice and plate when you’re ready.
- It travels beautifully. Take a neatly packed box to a friend’s house, and you’ll arrive looking like a hero. After testing this recipe five times, I finally got it just right for a flawless, clean cut every time.
Ingredients You’ll Need
- 350g smooth peanut butter (no added sugar or salt is best)
- 115g unsalted butter, softened to room temperature
- 1 teaspoon vanilla extract
- 500g icing sugar, sifted
- 200g dark chocolate (70% cocoa solids), chopped
- 100g milk chocolate, chopped
- 60ml double cream
- Flaky sea salt, for garnish
- 1 tablespoon coconut oil (optional, for a glossier chocolate top)
Tip: Sifting the icing sugar is non-negotiable. Lumps will create a gritty texture in the peanut butter layer, which ruins the silky finish we’re aiming for.
How to Make No-Bake Peanut Butter Chocolate Fudge
- Prepare the baking dish. Line a 20cm square baking dish with two long strips of aluminium foil, leaving an overhang on two opposite sides. This creates a sling for lifting the fudge out later. Lightly grease the foil with a little butter. You’ll hear the foil crinkle as you press it into the corners—make sure it’s smooth, as any creases will mark the fudge’s surface.
- Make the peanut butter base. In a large mixing bowl, beat the softened butter and peanut butter together with an electric mixer on medium speed until the mixture is pale and fluffy. This should take about 2 minutes. The colour will lighten from a deep tan to a soft caramel, and it will smell intensely nutty and rich.
- Add the sugar. With the mixer on low, gradually add the sifted icing sugar and the vanilla extract. The mixture will first look like dry crumbs, then slowly come together into a thick, cohesive dough. Stop mixing once it’s fully combined—the texture should feel like soft, pliable playdough. Scrape down the sides to ensure no streaks of butter remain.
- Press the base into the dish. Transfer the peanut butter mixture into the prepared dish. Using the back of a metal spoon or your fingertips (lightly dampened to prevent sticking), press it into an even, compact layer. The surface should be perfectly flat and level. You’ll feel the resistance as it compresses. Pop the dish into the fridge to chill for at least 30 minutes, or until the base is firm to the touch.
- Prepare the chocolate topping. While the base chills, place the chopped dark chocolate, milk chocolate, and double cream in a heatproof bowl set over a pan of barely simmering water. The water must not touch the base of the bowl. Stir gently with a rubber spatula until the chocolate is completely melted and the mixture is smooth and glossy. If using coconut oil, stir it in now. The mixture will be thick and should fall from the spatula in a silky ribbon.
- Pour and set the chocolate layer. Remove the chilled peanut butter base from the fridge. Pour the melted chocolate over the top. Using an offset spatula, spread it evenly to the very edges, ensuring it covers the entire surface. Tilt the dish gently to help it settle. The chocolate should look like a dark, polished mirror. Tap the dish lightly on the counter to release any air bubbles.
- Final chill. Place the dish back in the fridge for at least 2.5 hours, or until the chocolate is completely set and firm. When you press the surface, it should feel solid and not leave a fingerprint.
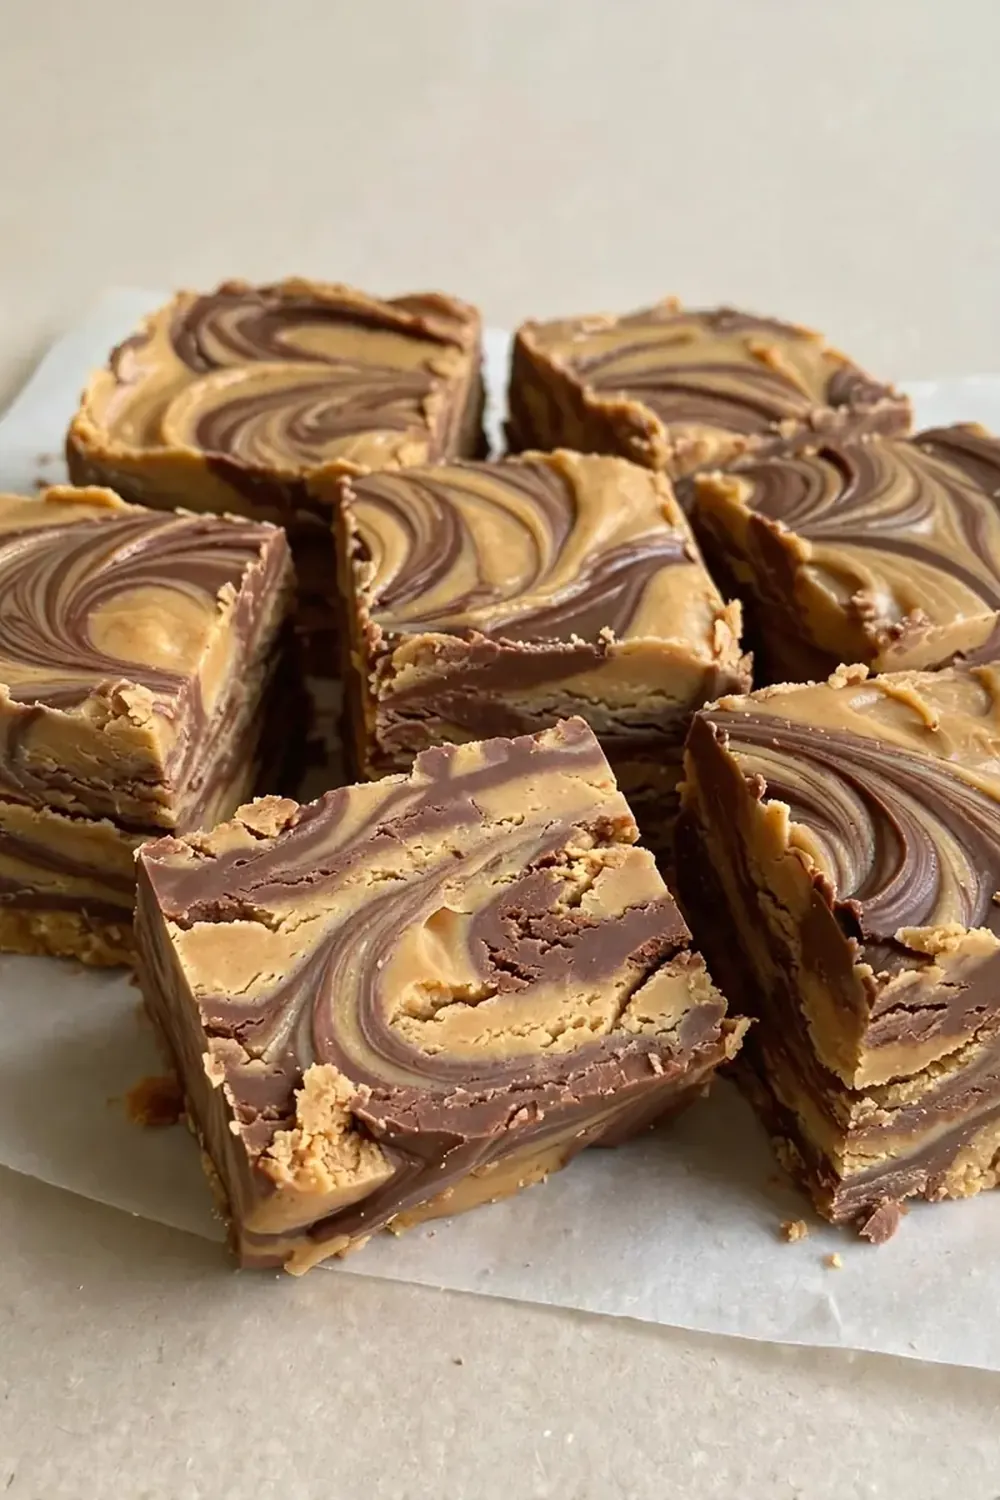
- Slice and serve. Using the foil sling, lift the entire block of fudge out of the dish. Place it on a cutting board. Using a sharp, large knife, slice into even squares. For the cleanest cuts, wipe the knife clean with a hot, damp cloth between cuts. The top layer will crack with a satisfying snap, revealing the creamy, pale centre beneath.
Tips From My Kitchen
- Use room-temperature butter. Cold butter won’t cream properly with the peanut butter, leaving you with a lumpy base. Let it sit out for an hour before you start. The butter should be soft enough that your finger leaves a gentle dent.
- Don’t overmix the base. Once the icing sugar is incorporated, stop. Overmixing introduces too much air, creating a crumbly rather than a fudgy texture. You want dense, not airy.
- Chill the base before adding the chocolate. This is vital. If the base is warm, the melted chocolate will sink into it, creating a muddy, marbled mess. A cold base keeps the layers perfectly distinct.
- Use good-quality chocolate. The chocolate is the star of the top layer. A cheap chocolate bar will seize or taste waxy. Splurge on a bar with at least 70% cocoa for a deep, complex flavour that balances the sweet peanut butter.
- Patience with the final chill. The fudge needs a full 3 hours to set completely. Rushing this step will result in a messy cut and a chocolate layer that smears. I once took it out after 2 hours, and it was a sticky disaster. My husband, who’s usually picky, asked for seconds anyway, but the presentation was ruined.
Equipment You’ll Need
- 20cm square baking dish (9×13 inch works, but the fudge will be thinner)
- Aluminium foil
- Electric hand mixer or stand mixer
- Large mixing bowls
- Sharp chef’s knife
- Offset spatula (helps get a perfectly smooth chocolate layer)
- Heatproof bowl and saucepan for the bain-marie
Common Mistakes to Avoid
- Using the wrong peanut butter: Natural, oily peanut butter separates and can cause the base to be greasy and unstable. Use a standard, processed peanut butter that is thick and homogenous—like the classic supermarket brands. The texture matters here.
- Not sifting the icing sugar: Lumps of icing sugar will not dissolve in the fat. They remain as hard, grainy bits in the fudge. Sifting is a 30-second job that guarantees a smooth, luxurious mouthfeel.
- Skipping the rest time before cutting: The fudge must be fully chilled and firm. If you cut too soon, the chocolate layer will stick to the knife and the peanut butter base will squish out. Let it rest in the fridge undisturbed.
Delicious Variations to Try
- Spicy Version: Add ½ teaspoon of cayenne pepper or a pinch of chipotle chilli powder to the melted chocolate. The heat cuts through the sweetness and creates a sophisticated, adult flavour profile. A sprinkle of chilli flakes on top as a garnish makes for a stunning visual.
- Vegan Option: Substitute the butter for a high-quality vegan block butter (not spreadable). Use a plant-based double cream alternative in the chocolate topping. Ensure your dark chocolate is dairy-free. The texture remains remarkably similar.
- Different Nut Butter: Swap the peanut butter for almond butter or cashew butter. For almond, toast the nuts first for a deeper flavour. Cashew butter creates an even milder, creamier centre that pairs beautifully with a dark, bitter chocolate.
What to Serve With No-Bake Peanut Butter Chocolate Fudge
- A dollop of lightly whipped cream, spiked with a touch of vanilla.
- A small glass of cold milk or a rich, dark coffee to contrast the sweetness.
- Fresh raspberries or sliced strawberries—their tartness cuts through the richness.
- A dusting of edible gold or silver leaf for an ultra-luxurious finish.
- Serve alongside a glass of Lavender Lemonade for a refreshing, floral counterpoint.
Still hungry for ideas? You might also love Nutty Brown Butter Banana Bread Recipe To Bake, Homemade No Bake Peanut Butter Cookies from our sister kitchens.
Frequently Asked Questions
No-Bake Peanut Butter Chocolate Fudge
Ingredients
Method
- Prepare the baking dish. Line a 20cm square baking dish with two long strips of aluminium foil, leaving an overhang on two opposite sides. This creates a sling for lifting the fudge out later. Lightly grease the foil with a little butter. You’ll hear the foil crinkle as you press it into the corners—make sure it’s smooth, as any creases will mark the fudge’s surface.
- Make the peanut butter base. In a large mixing bowl, beat the softened butter and peanut butter together with an electric mixer on medium speed until the mixture is pale and fluffy. This should take about 2 minutes. The colour will lighten from a deep tan to a soft caramel, and it will smell intensely nutty and rich.
- Add the sugar. With the mixer on low, gradually add the sifted icing sugar and the vanilla extract. The mixture will first look like dry crumbs, then slowly come together into a thick, cohesive dough. Stop mixing once it’s fully combined—the texture should feel like soft, pliable playdough. Scrape down the sides to ensure no streaks of butter remain.
- Press the base into the dish. Transfer the peanut butter mixture into the prepared dish. Using the back of a metal spoon or your fingertips (lightly dampened to prevent sticking), press it into an even, compact layer. The surface should be perfectly flat and level. You’ll feel the resistance as it compresses. Pop the dish into the fridge to chill for at least 30 minutes, or until the base is firm to the touch.
- Prepare the chocolate topping. While the base chills, place the chopped dark chocolate, milk chocolate, and double cream in a heatproof bowl set over a pan of barely simmering water. The water must not touch the base of the bowl. Stir gently with a rubber spatula until the chocolate is completely melted and the mixture is smooth and glossy. If using coconut oil, stir it in now. The mixture will be thick and should fall from the spatula in a silky ribbon.
- Pour and set the chocolate layer. Remove the chilled peanut butter base from the fridge. Pour the melted chocolate over the top. Using an offset spatula, spread it evenly to the very edges, ensuring it covers the entire surface. Tilt the dish gently to help it settle. The chocolate should look like a dark, polished mirror. Tap the dish lightly on the counter to release any air bubbles.
- Final chill. Place the dish back in the fridge for at least 2.5 hours, or until the chocolate is completely set and firm. When you press the surface, it should feel solid and not leave a fingerprint.
- Slice and serve. Using the foil sling, lift the entire block of fudge out of the dish. Place it on a cutting board. Using a sharp, large knife, slice into even squares. For the cleanest cuts, wipe the knife clean with a hot, damp cloth between cuts. The top layer will crack with a satisfying snap, revealing the creamy, pale centre beneath.
Notes
This fudge has become my signature for dinner parties. It’s the one dessert that always prompts a request for the recipe, and I love the look on people’s faces when I tell them it came from my home kitchen, not a patisserie. I’d love to hear how you plate yours—do you go for a minimalist square, or do you add a dramatic drizzle? Share your thoughts and your own presentation ideas in the comments below. For another showstopping dessert that’s equally impressive, take a look at the Classic Caramel Pecan Cheesecake or the delicate Classic Tres Leches Cake.