Classic Chocolate Cream Pie
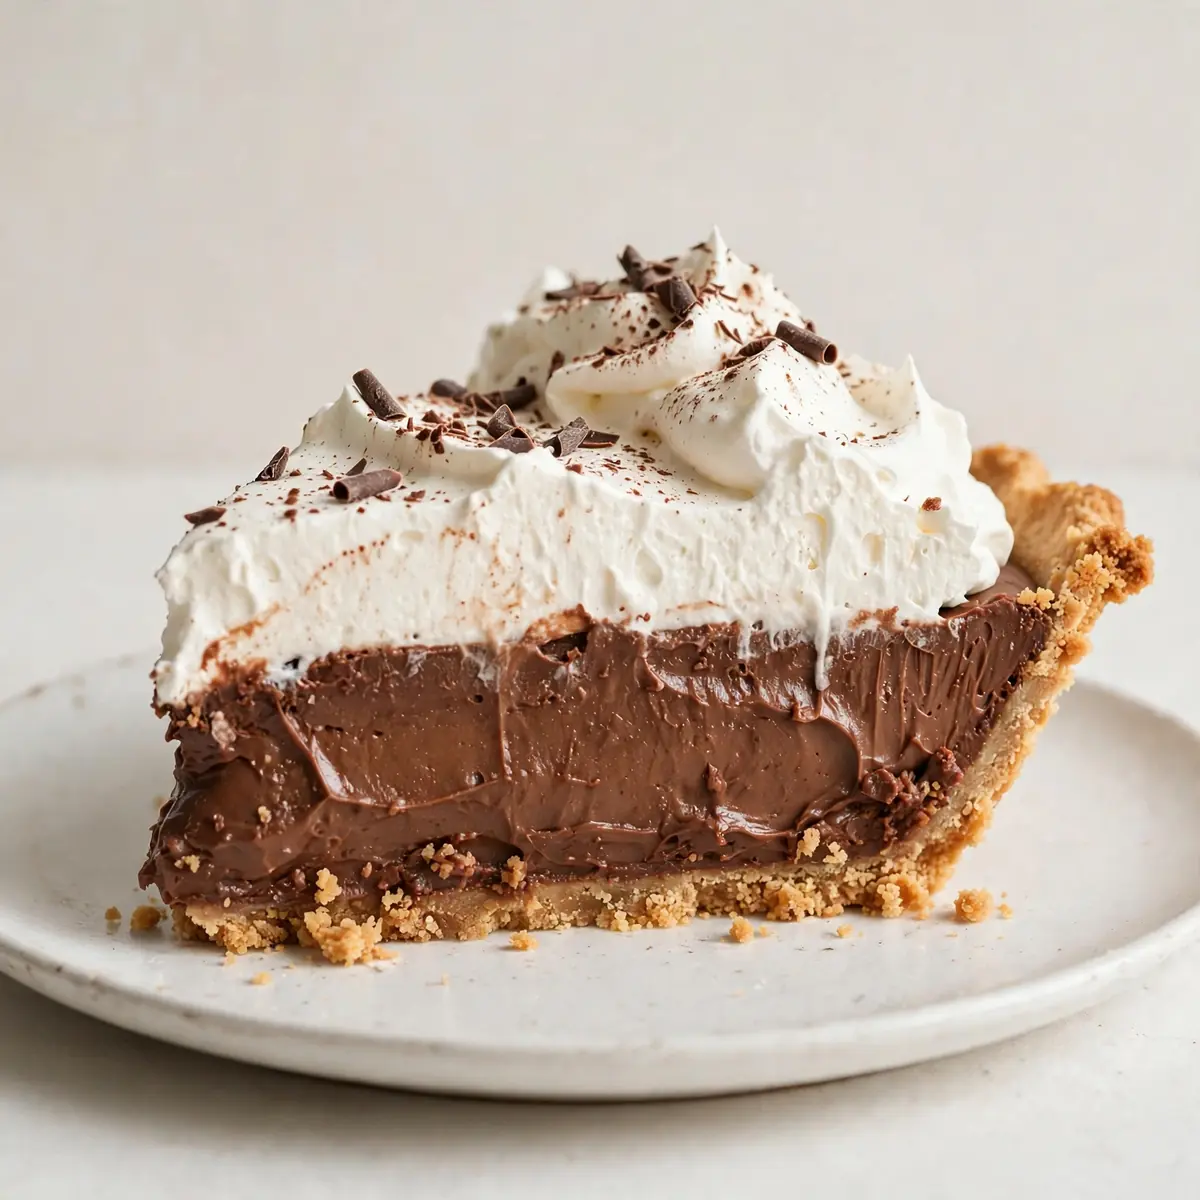
There’s something about a Classic Chocolate Cream Pie that stops a dinner party conversation dead. The first time I served this, my husband, who’s usually picky, asked for seconds before I’d even finished pouring the coffee. I’ve refined the technique over several attempts, and I’m convinced the restaurant-quality finish comes down to a few precise steps and a willingness to plate with intention, not haste.
Recipe Overview
- Prep Time: 45 minutes
- Cook Time: 25 minutes
- Chill Time: 4 hours (minimum)
- Total Time: 5 hours 10 minutes
- Servings: 8 generous slices
- Difficulty: Intermediate
Why You’ll Love This Classic Chocolate Cream Pie
- Luxurious, velvety texture: The filling sets to a silky, spoonable consistency that feels decadent on the tongue, not heavy or cloying.
- Stunning presentation potential: From chocolate curls to a swooping piped cream border, this pie is designed to impress before anyone takes a bite.
- Make-ahead convenience: The pie needs several hours to chill, so you can prepare it completely the day before your gathering and focus on your guests.
- Balanced sweetness: The dark chocolate base keeps the sugar in check, so each slice tastes deeply of cocoa rather than pure sweetness.
- Versatile base for creativity: Once you master the classic version, you can easily adapt it with different toppings, spices, or crusts as your confidence grows.
Ingredients You’ll Need
- 200g digestive biscuits
- 100g unsalted butter, melted
- 30g caster sugar
- 500ml whole milk
- 120g dark chocolate (70% cocoa), finely chopped
- 100g caster sugar
- 40g cornflour
- 4 large egg yolks
- 30g unsalted butter, cubed
- 1 teaspoon vanilla extract
- 300ml double cream
- 1 tablespoon icing sugar
- Chocolate shavings or curls, for garnish
- Cocoa powder, for dusting (optional)
Tip: For the most reliable set, ensure your eggs are at room temperature before you begin. Cold yolks can cause the cornflour mixture to seize when combined with the hot milk.
How to Make Classic Chocolate Cream Pie
- Make the biscuit crust: Place the digestive biscuits in a sealed bag and crush them with a rolling pin until they resemble fine, sandy crumbs. You want a uniform texture with no large shards. Tip the crumbs into a bowl, stir in the 30g of caster sugar, then pour over the melted butter. Mix until every crumb is coated and the mixture clumps together when pressed between your fingers.
- Press and bake the crust: Tip the buttery crumbs into a 23cm loose-bottomed tart tin. Press them firmly and evenly across the base and up the sides using the flat bottom of a glass or a measuring cup. The layer should feel compact and solid, not crumbly. Bake at 170°C (fan) for 10 minutes — you’ll smell a warm, toasty, biscuity aroma. Allow it to cool completely on a wire rack while you make the filling.
- Whisk the dry base: In a medium saucepan, whisk together the 100g caster sugar and the cornflour until no white lumps remain. Add the egg yolks one at a time, whisking vigorously after each addition. The mixture will be thick and paste-like, and it should turn a pale, lemony yellow colour.
- Heat the milk and combine: In a separate small saucepan, warm the 500ml of whole milk over a medium heat until it’s steaming and small bubbles form around the edge — do not let it boil. Remove from the heat. Slowly pour the hot milk into the egg yolk mixture in a thin, steady stream, whisking constantly. This gentle, gradual addition prevents the eggs from scrambling. The mixture will look thin and milky at this point.
- Cook the custard: Return the mixture to the saucepan and place it over a medium-low heat. Stir continuously with a wooden spoon or a heatproof spatula, scraping the bottom and sides. After 3 to 4 minutes, you’ll feel the mixture begin to resist your stirring — it will thicken visibly, and you’ll hear a soft bubbling sound. Once it’s as thick as a pudding and holds a clear trail when you drag the spoon through, remove it from the heat. This takes roughly 5 to 7 minutes total.
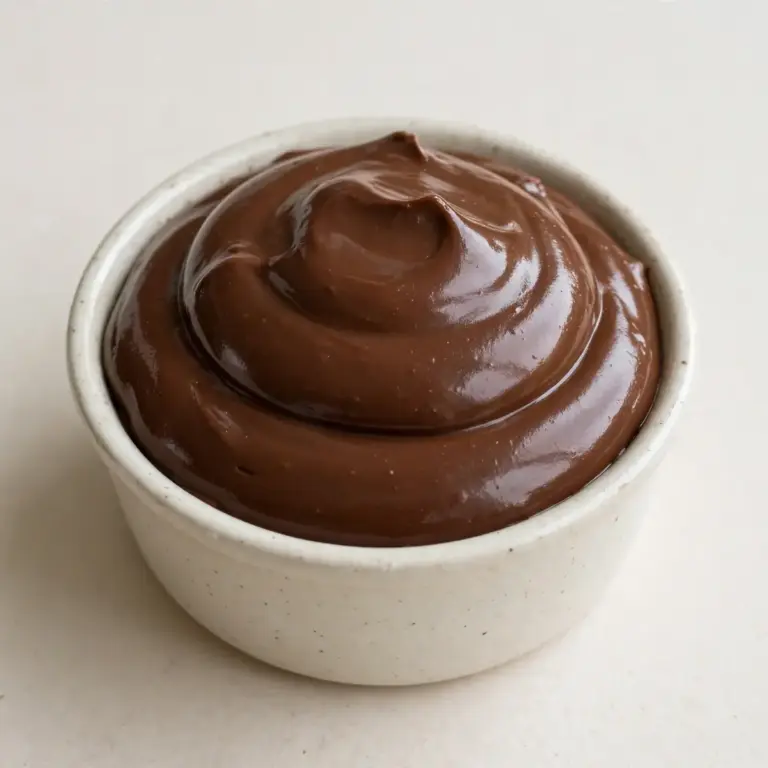
- Add the chocolate and butter: Immediately tip the finely chopped dark chocolate into the hot custard and stir until it has melted completely. The mixture will turn a deep, glossy mahogany colour. Add the cubed butter and the vanilla extract, stirring until the butter is incorporated and the filling looks smooth and shiny. Pour the hot filling into the cooled biscuit crust, spreading it evenly with a small offset spatula.
- Chill the pie: Press a piece of cling film directly onto the surface of the filling — this prevents a skin from forming. Refrigerate for a minimum of 4 hours, though overnight is better. The filling should be completely set and feel firm to a gentle touch, with no wobble in the centre.
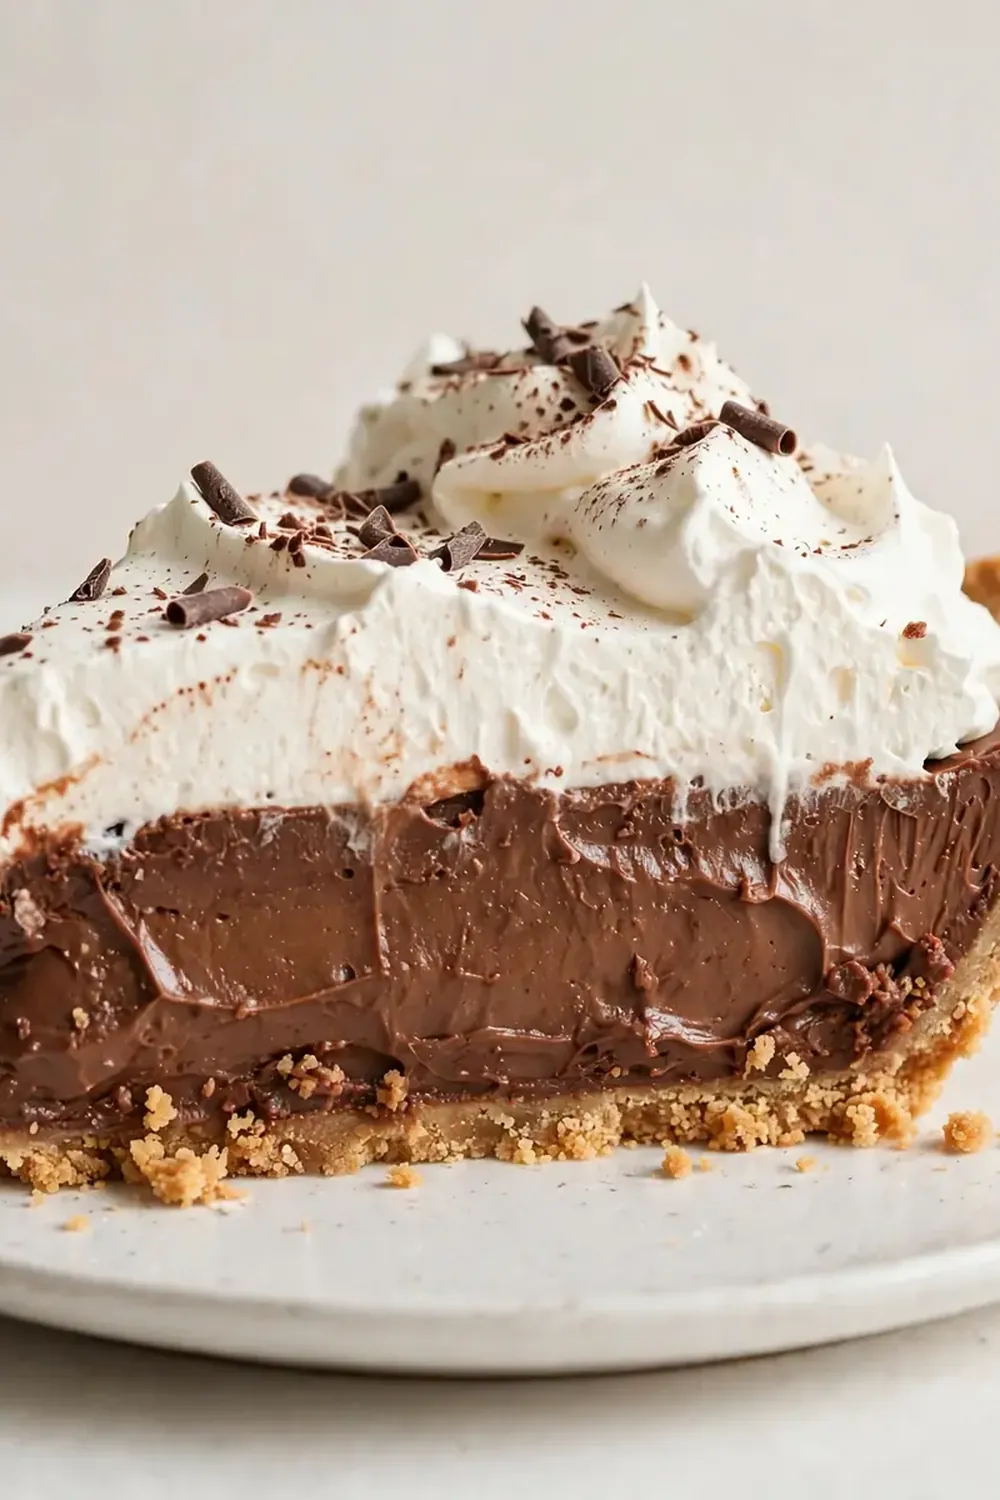
- Whip the cream and finish: Just before serving, pour the double cream and icing sugar into a chilled bowl. Whisk with an electric mixer until soft peaks form — the cream should hold its shape when you lift the whisk, but it should not look grainy or stiff. Spoon or pipe the cream over the set chocolate filling. Finish with chocolate shavings or curls and a light dusting of cocoa powder for a professional, finished look.
Tips From My Kitchen
- Toast your biscuit crumbs for deeper flavour: Before mixing the crumbs with butter, spread them on a baking tray and toast them in the oven at 160°C for 5 minutes. This deepens the nutty, caramel notes in the crust and adds a subtle complexity that contrasts beautifully with the rich chocolate filling.
- Use a fine-mesh sieve for the cornflour: Cornflour loves to form stubborn little lumps. Sifting it directly into the saucepan before adding the egg yolks guarantees a silky, lump-free custard from the very start. This small step saves you from having to strain the finished filling.
- Let the crust cool completely before filling: A warm crust will melt the butter in the chocolate filling on contact, creating a soggy, blurred line between the layers. Patience here is crucial — I usually prepare the crust first and let it sit while I gather the remaining ingredients.
- Chill your serving plates: For a truly restaurant-quality presentation, place your dessert plates in the fridge for 15 minutes before you plate the pie. The cold plate helps the whipped cream hold its shape and keeps the first bite refreshingly cool.
- Use a hot, dry knife for clean slices: Dip your chef’s knife into a jug of hot water, wipe it completely dry with a clean tea towel, then slice. The heat glides through the chilled filling without dragging or smearing. Wipe and reheat the blade between each cut for perfect, presentation-worthy wedges.
- Pipe the cream with a star nozzle: A simple star-shaped piping nozzle transforms a dollop of cream into an elegant rosette. Overlap the rosettes in a spiral pattern, starting from the outer edge and working inward. This creates a professional, textured surface that catches the light beautifully.
Delicious Variations to Try
- Spicy Version: Add a generous pinch of smoked paprika and a small pinch of cayenne pepper to the custard along with the chocolate. The gentle heat builds slowly and complements the dark chocolate’s bitterness, leaving a warm, lingering finish on the palate.
- Vegan Option: Replace the whole milk with a barista-style oat milk for its creamy consistency. Use a vegan block butter in the crust and filling, and substitute the egg yolks with 2 tablespoons of cornflour mixed with 4 tablespoons of cold water (add this with the milk). For the topping, use a chilled tin of full-fat coconut cream, whipped with a teaspoon of vanilla extract until light and fluffy.
- Different Base: Swap the digestive biscuit crust for a chocolate wafer or Oreo-style biscuit base (remove any filling first). The double chocolate hit creates an intensely decadent pie that pairs wonderfully with a simple, unsweetened whipped cream topping.
What to Serve With Classic Chocolate Cream Pie
- A small dish of lightly sweetened, salted whipped cream on the side for those who want extra indulgence.
- A scattering of fresh raspberries or halved strawberries — their sharp acidity cuts through the richness of the chocolate.
- An espresso or a strong black coffee served alongside to balance the sweetness and cleanse the palate between bites.
- A delicate, crisp biscotti or tuile for textural contrast against the creamy filling.
Still hungry for ideas? You might also love Boston Cream Pie Cookies Recipe, Chocolate Pie With Frosting Sweet Treat from our sister kitchens.
Frequently Asked Questions
Classic Chocolate Cream Pie
Ingredients
Method
- Make the biscuit crust: Place the digestive biscuits in a sealed bag and crush them with a rolling pin until they resemble fine, sandy crumbs. You want a uniform texture with no large shards. Tip the crumbs into a bowl, stir in the 30g of caster sugar, then pour over the melted butter. Mix until every crumb is coated and the mixture clumps together when pressed between your fingers.
- Press and bake the crust: Tip the buttery crumbs into a 23cm loose-bottomed tart tin. Press them firmly and evenly across the base and up the sides using the flat bottom of a glass or a measuring cup. The layer should feel compact and solid, not crumbly. Bake at 170°C (fan) for 10 minutes — you'll smell a warm, toasty, biscuity aroma. Allow it to cool completely on a wire rack while you make the filling.
- Whisk the dry base: In a medium saucepan, whisk together the 100g caster sugar and the cornflour until no white lumps remain. Add the egg yolks one at a time, whisking vigorously after each addition. The mixture will be thick and paste-like, and it should turn a pale, lemony yellow colour.
- Heat the milk and combine: In a separate small saucepan, warm the 500ml of whole milk over a medium heat until it's steaming and small bubbles form around the edge — do not let it boil. Remove from the heat. Slowly pour the hot milk into the egg yolk mixture in a thin, steady stream, whisking constantly. This gentle, gradual addition prevents the eggs from scrambling. The mixture will look thin and milky at this point.
- Cook the custard: Return the mixture to the saucepan and place it over a medium-low heat. Stir continuously with a wooden spoon or a heatproof spatula, scraping the bottom and sides. After 3 to 4 minutes, you'll feel the mixture begin to resist your stirring — it will thicken visibly, and you'll hear a soft bubbling sound. Once it's as thick as a pudding and holds a clear trail when you drag the spoon through, remove it from the heat. This takes roughly 5 to 7 minutes total.
- Add the chocolate and butter: Immediately tip the finely chopped dark chocolate into the hot custard and stir until it has melted completely. The mixture will turn a deep, glossy mahogany colour. Add the cubed butter and the vanilla extract, stirring until the butter is incorporated and the filling looks smooth and shiny. Pour the hot filling into the cooled biscuit crust, spreading it evenly with a small offset spatula.
- Chill the pie: Press a piece of cling film directly onto the surface of the filling — this prevents a skin from forming. Refrigerate for a minimum of 4 hours, though overnight is better. The filling should be completely set and feel firm to a gentle touch, with no wobble in the centre.
- Whip the cream and finish: Just before serving, pour the double cream and icing sugar into a chilled bowl. Whisk with an electric mixer until soft peaks form — the cream should hold its shape when you lift the whisk, but it should not look grainy or stiff. Spoon or pipe the cream over the set chocolate filling. Finish with chocolate shavings or curls and a light dusting of cocoa powder for a professional, finished look.
Notes
I stumbled upon this combination by accident, and it’s been a hit ever since. The secret is in the details — the toasted crumbs, the patient stirring, the chilled plate. If you’re looking for another showstopping dessert to add to your repertoire, my No Bake Chocolate Trifle With Whipped Cream is a brilliant make-ahead option, or you could try a Classic New York Baked Cheesecake for a different kind of creamy indulgence. For more ideas, browse our full collection of Chocolate Treats. I’d love to hear how your pie turns out — drop a comment below and tell me about your plating style.